By pairing your email address in servis.ai, you can send emails to your Contacts directly from servis.ai. You can send emails automatically or in bulk and see all your email communications in the Activity Timeline.
User Permissions: No special permissions are required to send emails.
Prerequisites: To send an email from FreeAgent you must first pair your email with servis.ai. Refer to the Pair Email Address article to learn more.
Send an Email from an App
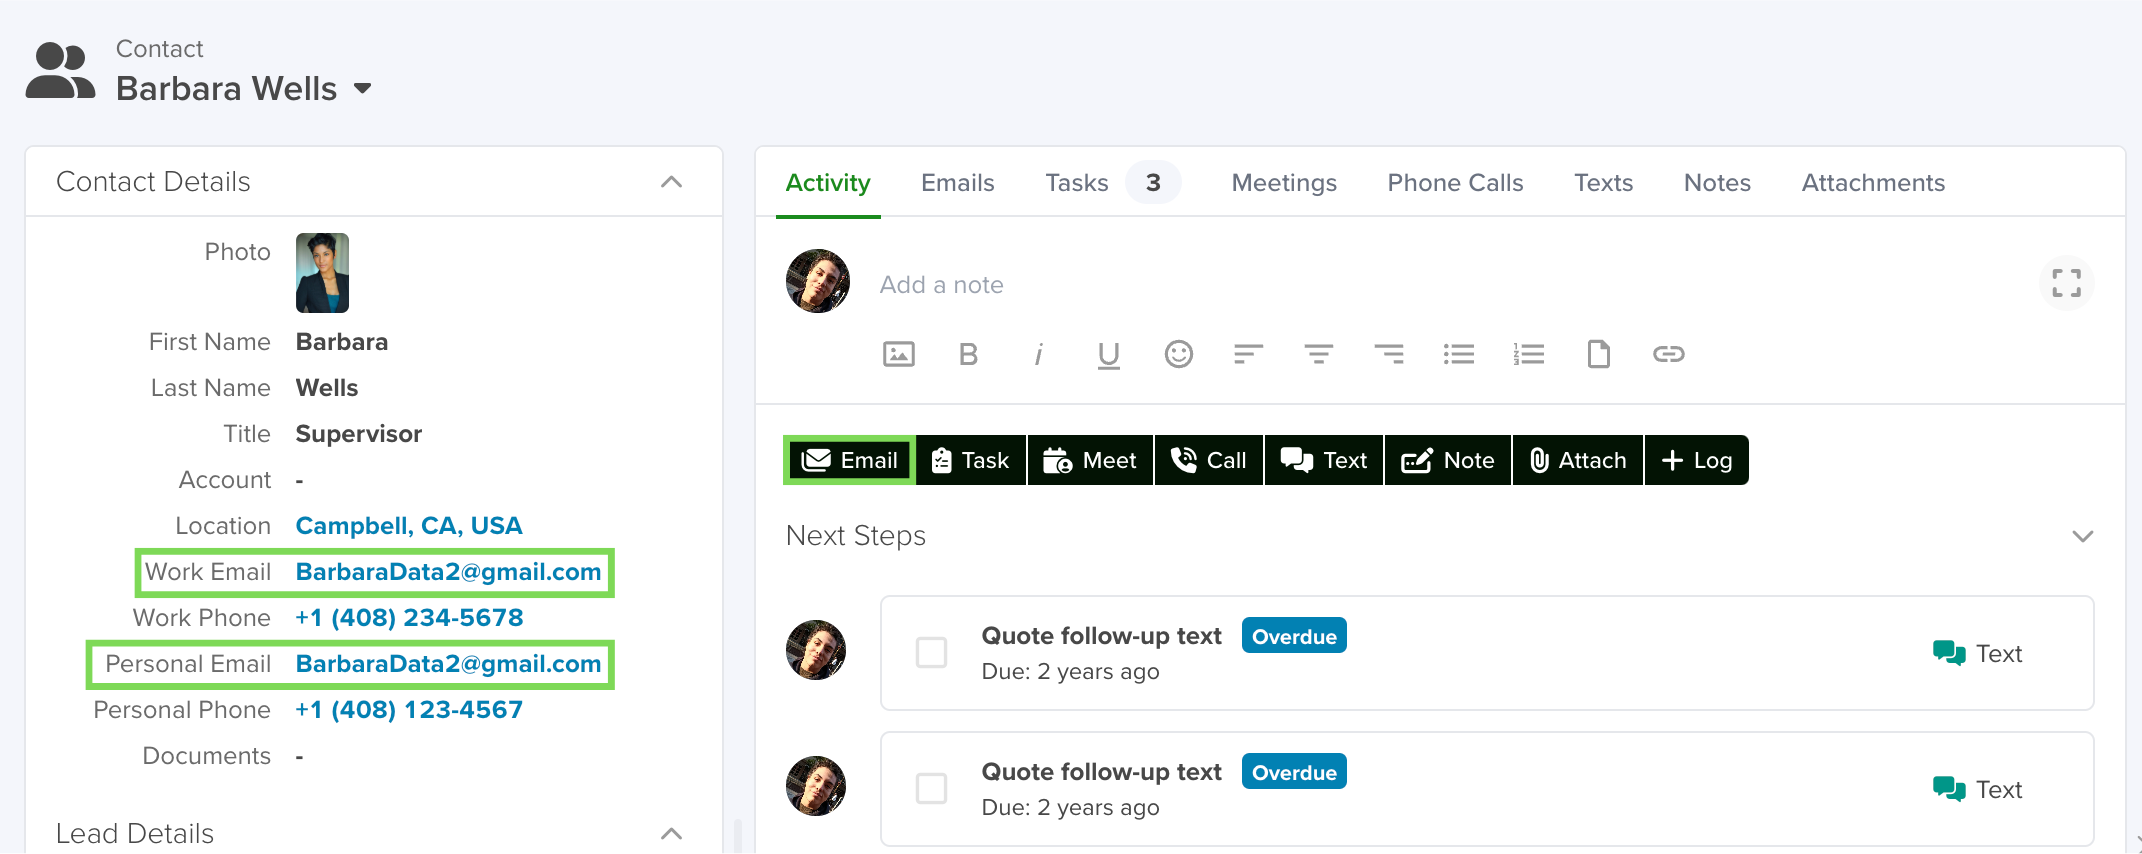
You can send emails from any App in servis.ai as long as that App has an email field. You can do so in a couple of different ways:
- Click on the Email field
- Click the Email button above the Activity Timeline
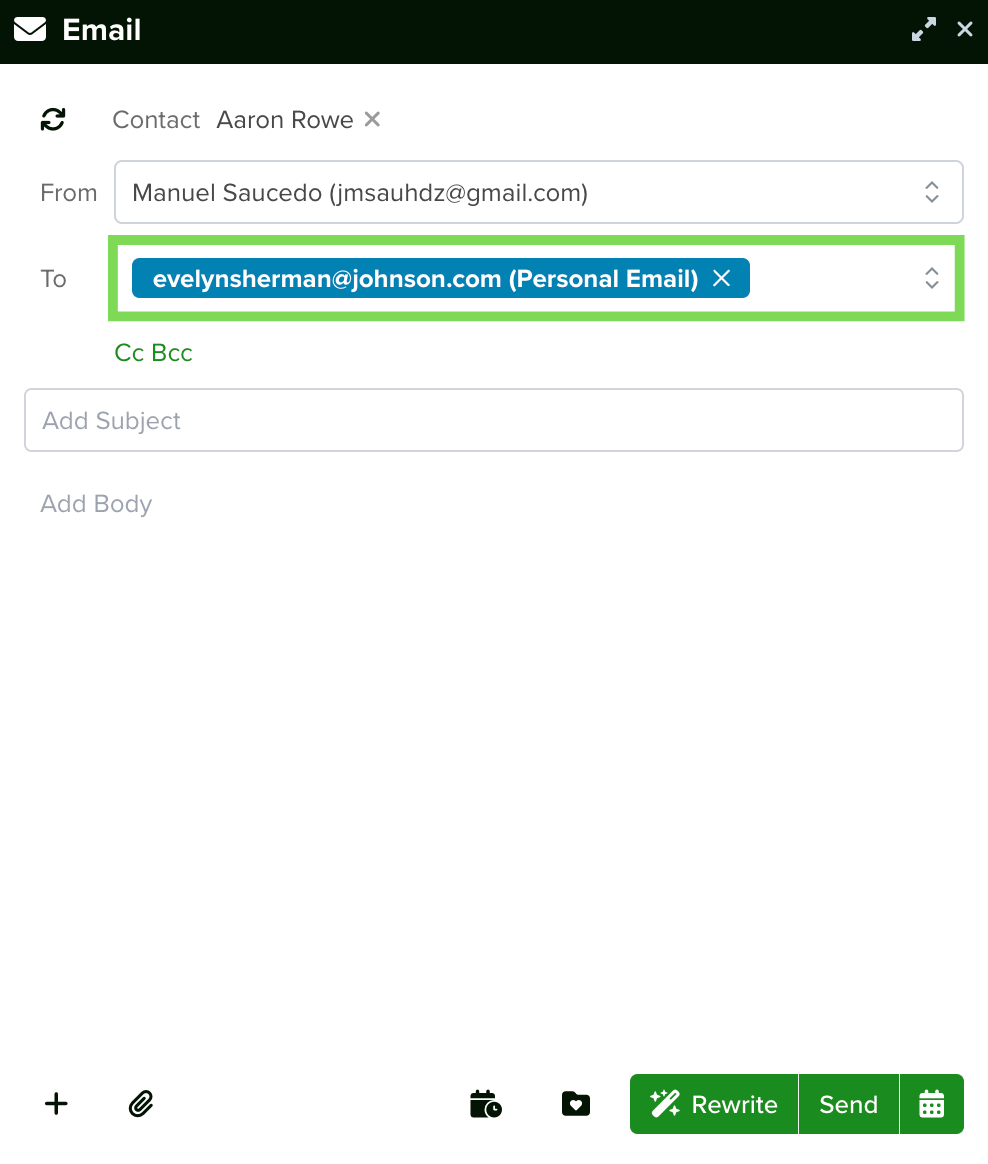
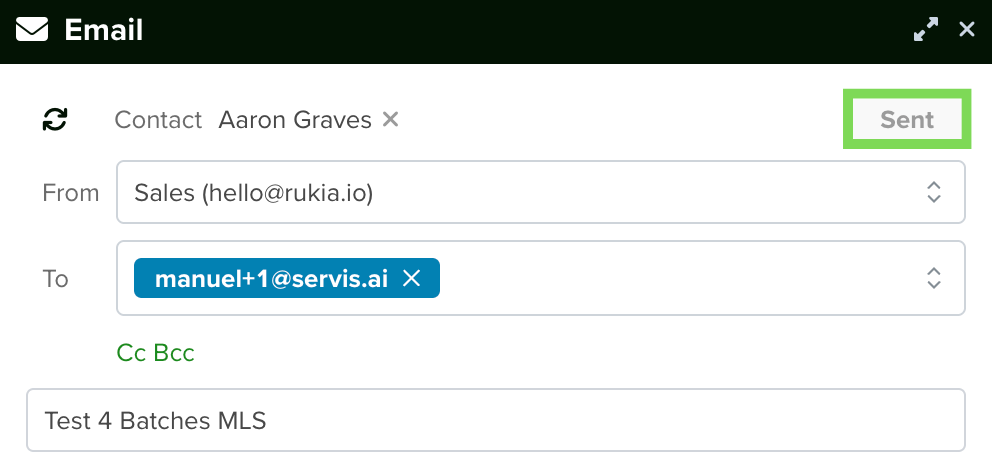
 This will open the Email window. The To field will already be populated.
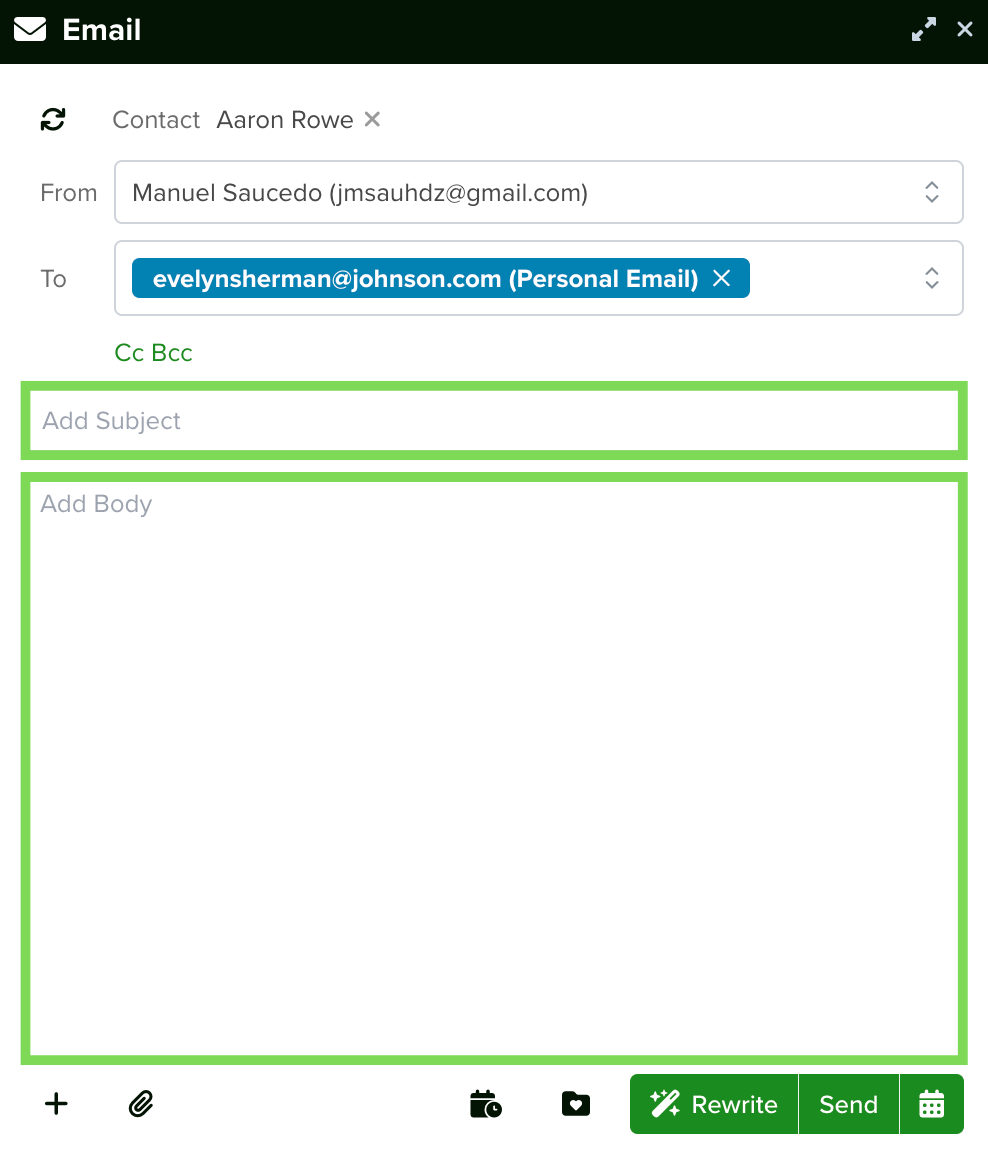
 Enter a subject in the Subject field and compose the body of the email. Click the Send button in the bottom right hand side of the Email window to send the email.
You can use Merge Tags here.
Send an Email from the Tasks App
You can send an email from the Tasks App. To do so, select the Task you want to send the email from and click the Email button above the Activity Timeline.
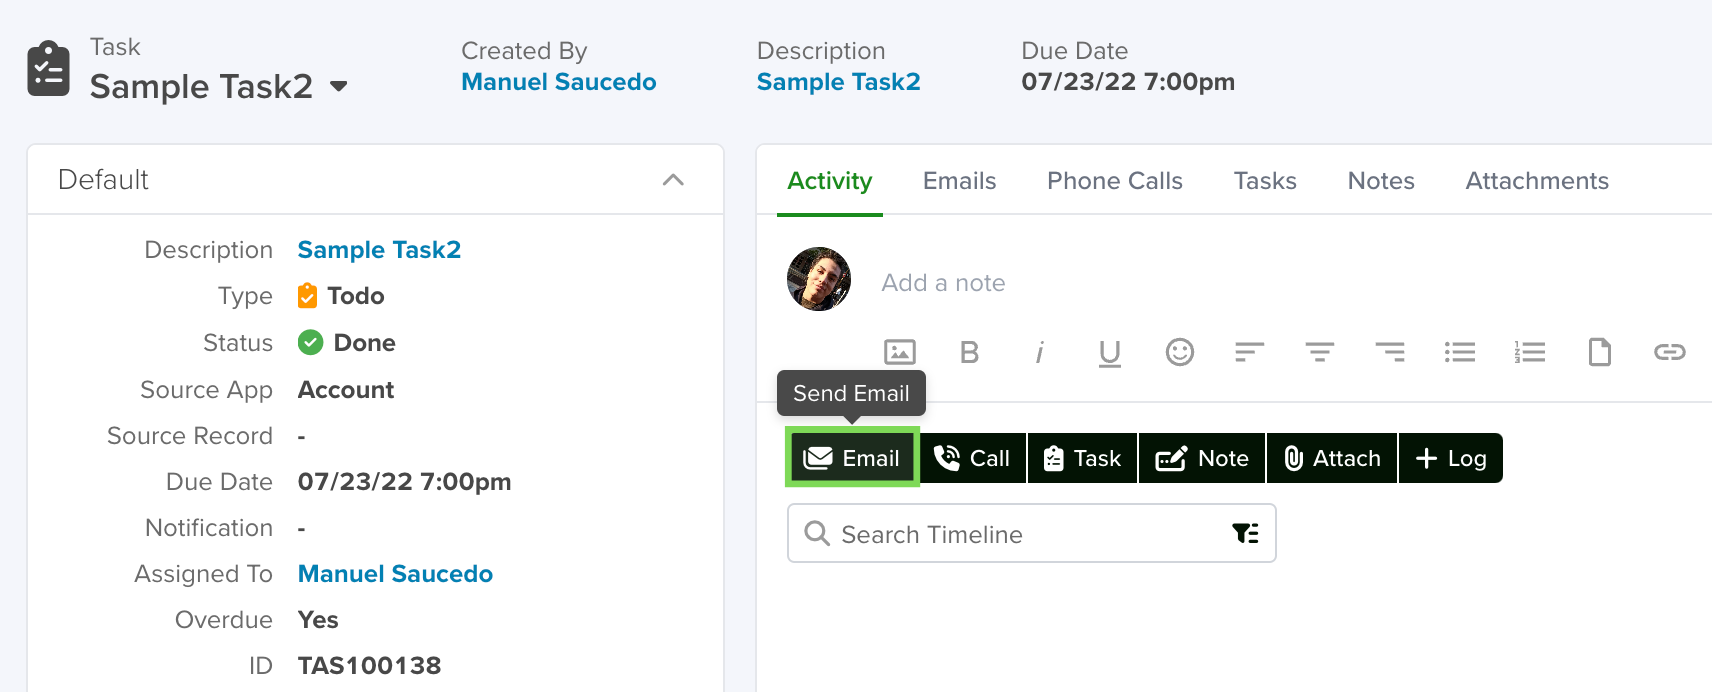
This will open the Email window. Fill it out as detailed above.
Note: You will have to enter the email address in the To field when sending an email from the Tasks App.
Send an Email as a Task from Any App
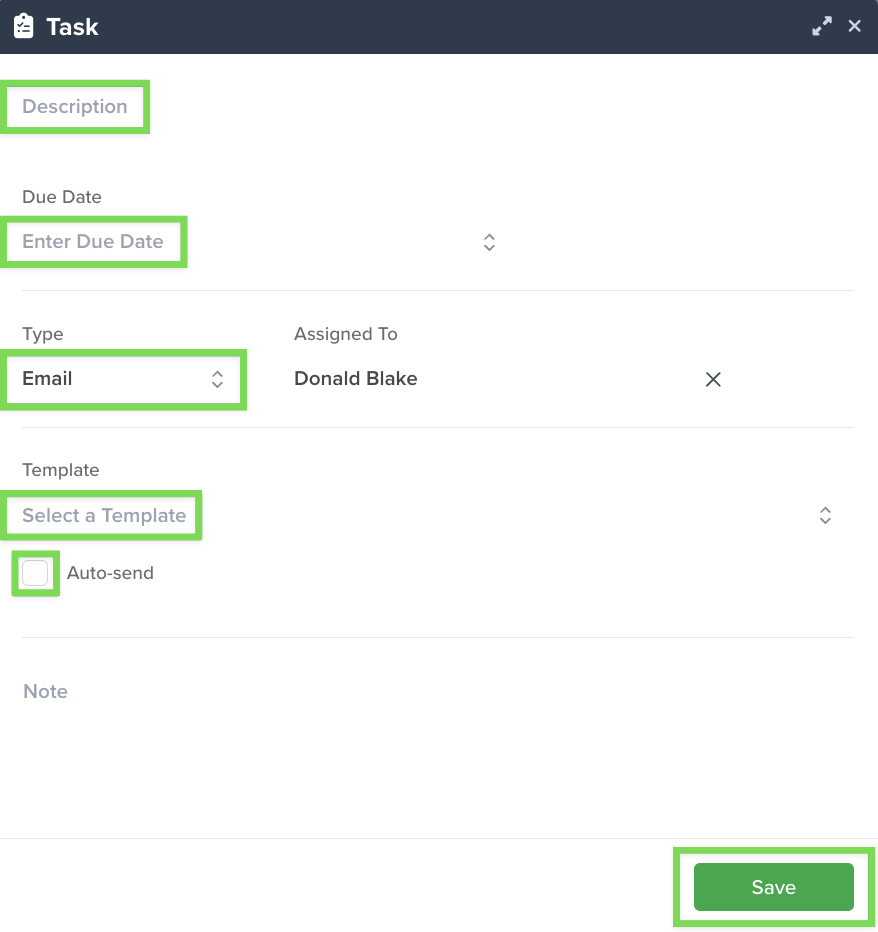
You can send an email as a Task of the Email type from any App. To do so, navigate to the App record you want to send the email from and click the Task button above the Activity Timeline.

From here:
- Enter a Description for the Task
- Designate a time for the email to be sent in the Enter Due Date field
- Set the Task type as Email
- Select a Template to use for the email
- Click the Auto-send button
- Save the Task by clicking the Save button in the bottom right hand corner of the Task window
The email will be sent at the designated time automatically.
Refer to the Tasks article to learn more about Tasks and Task types.
Send Later
The Send Later button allows you to schedule your email to be sent at a later date and time.
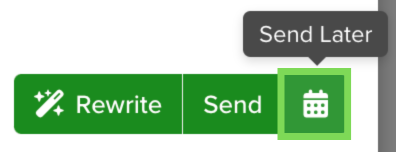
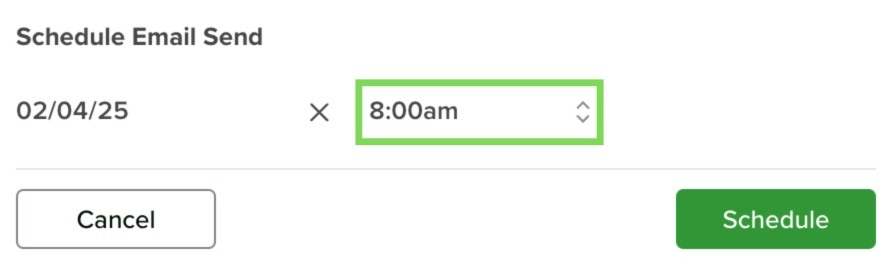
When you click the Send Later button the Schedule Email Send window will appear.
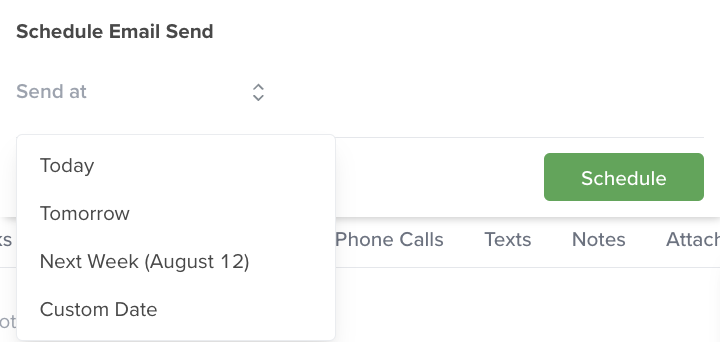
From the Schedule Email Send window you can schedule the email to go out Today, Tomorrow, Next Week or you can input a Custom Date. Once you select a date, you will then need to select the time of day for the email to send.
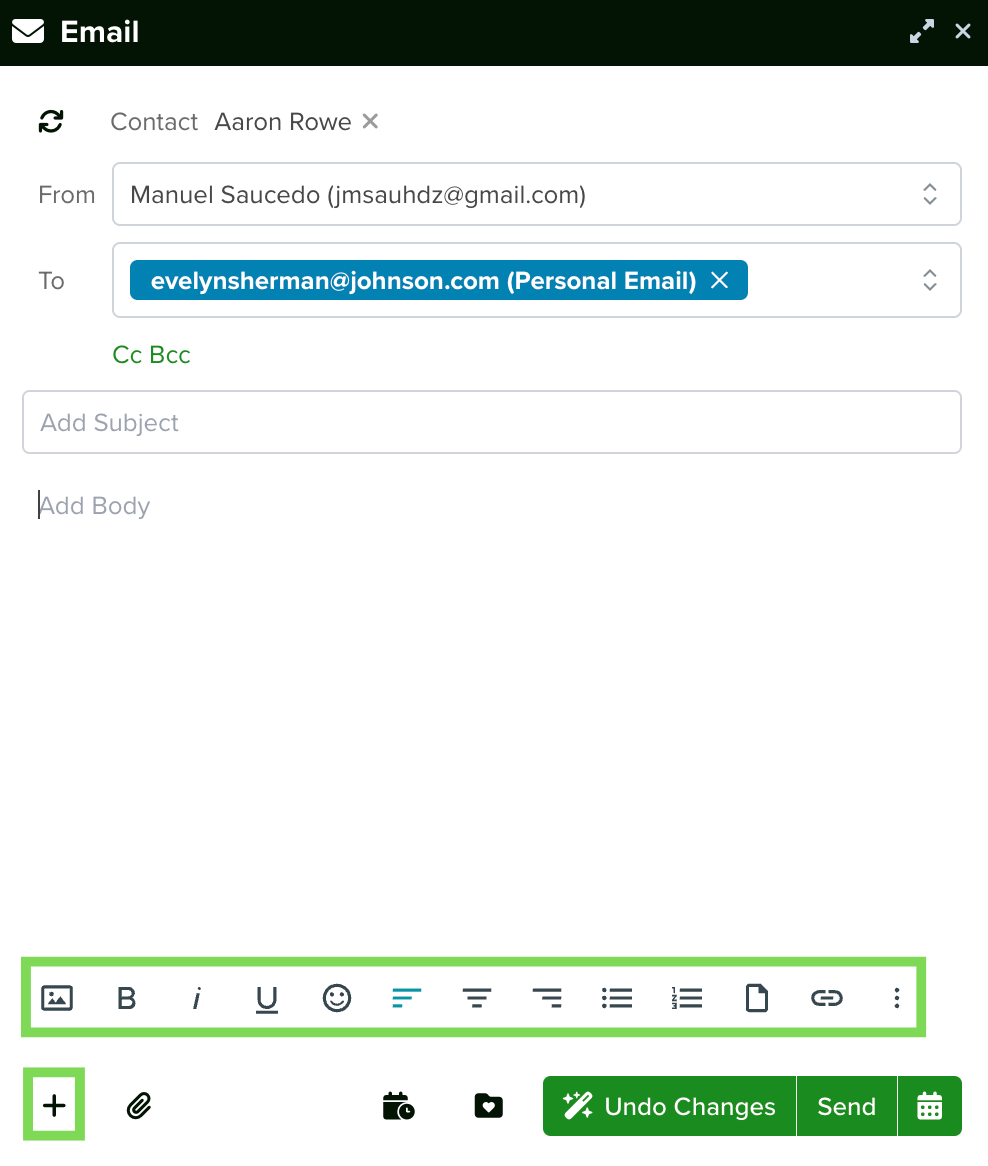
Formatting Options for Email
There are a number of options for formatting the text of an email. Click the Formatting Options button in the bottom right hand side of the Email window to access the Formatting Options menu bar.
Add Image
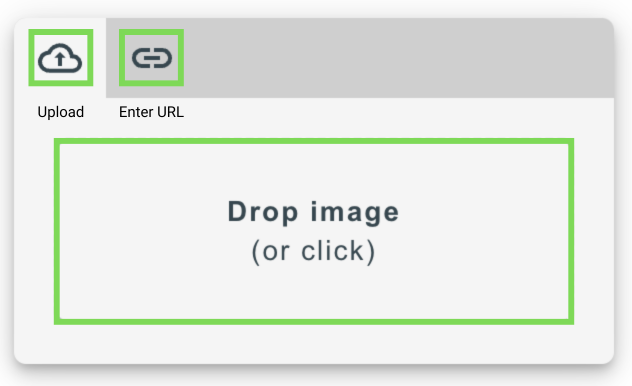
The Add Image button allows you to add an image to an email.

When you click the Add Image button the Add Image window will appear. This allows you to drag and drop an image directly into the Add Image window, enter a URL for an image or upload a saved image.
Bold, Italic, Underline
The next three icons allow you to bold, italicize and/or underline the text in the body of the email.

Emoticons
The Emoticons button allows you to add emoticons (emojis) to the text in the body of the email.

Align Left, Align Center, Align Right
The next three icons allow you to align the text in the body of the email.

Unordered List
The Unordered List button allows you to create a bulleted list in the body of the email.

Ordered List
The Ordered List button allows you to create a numbered list in the body of the email.

Upload File
The Upload File button allows you to add a file to an email. You can drag and drop a file directly into the Upload File window.

Insert Link
The Insert Link button allows you to add a link to the body of the email.

When you click the Insert Link button the Link window will appear.
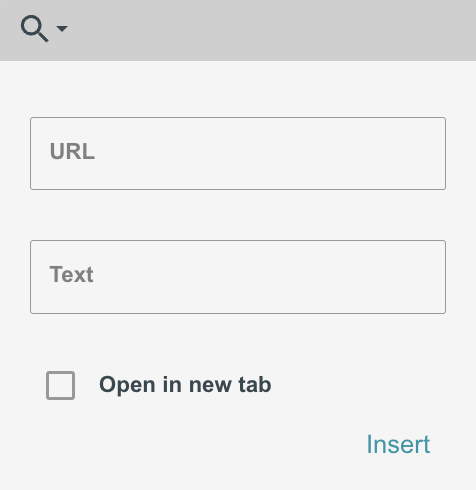
From the Link window you can enter the URL for the link, enter the text that will appear in place of the link URL and designate the link to open in a new tab. Click the Insert button in the bottom right hand corner of the Link window to finish adding the link.
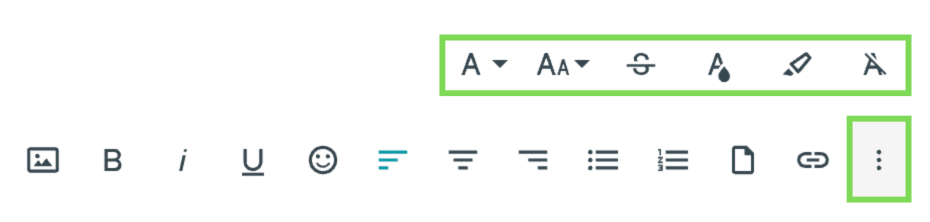
More Misc
The More Misc button accesses another menu that allows you to further edit the font settings of the email. When you click the More Misc button Font Menu will appear above.
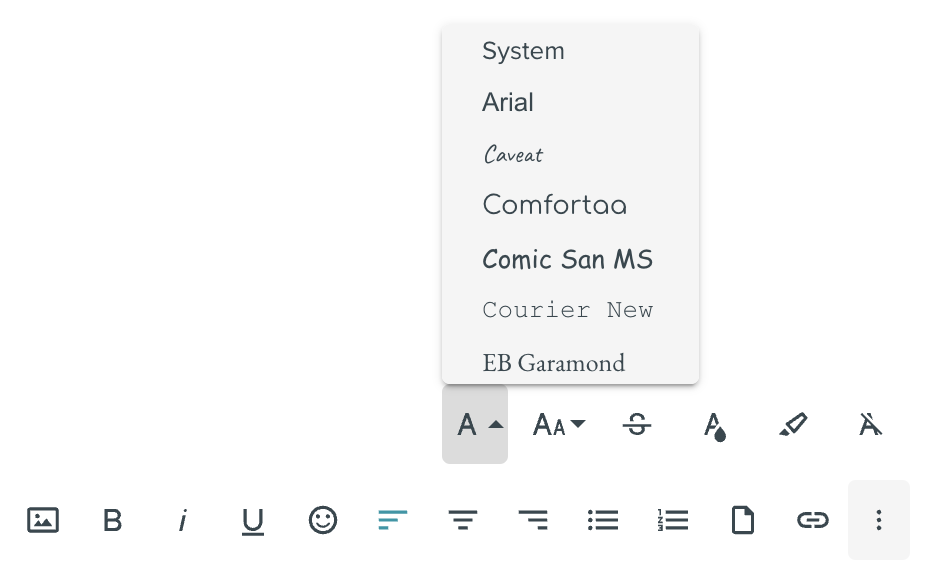
Font Family
The Font Family button allows you to choose the font style for the body of the email.
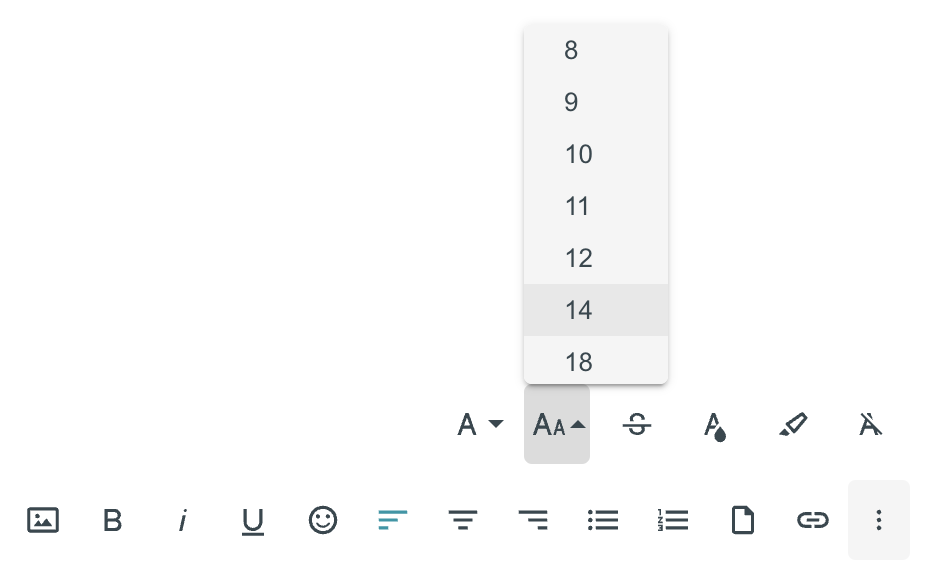
Font Size
The Font Size button allows you to choose the size of the font for the body of the email.
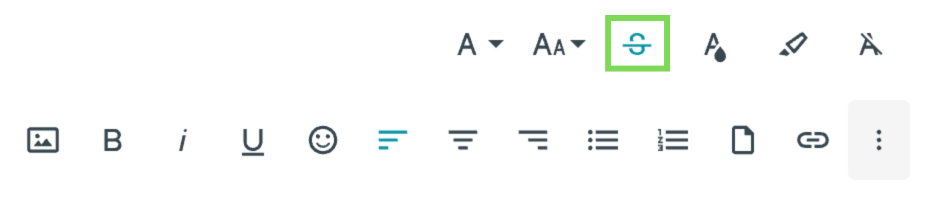
Strikethrough
The strikethrough function is used in text editing to cross out words or phrases while keeping them visible. This is often used to indicate edits, changes, or removed content without deleting it entirely.
Text Color
The Text Color button allows you to choose the color of the font for the body of the email.

Background Color
The Background Color button allows you to choose the color for the highlight of the font for the body of the email.
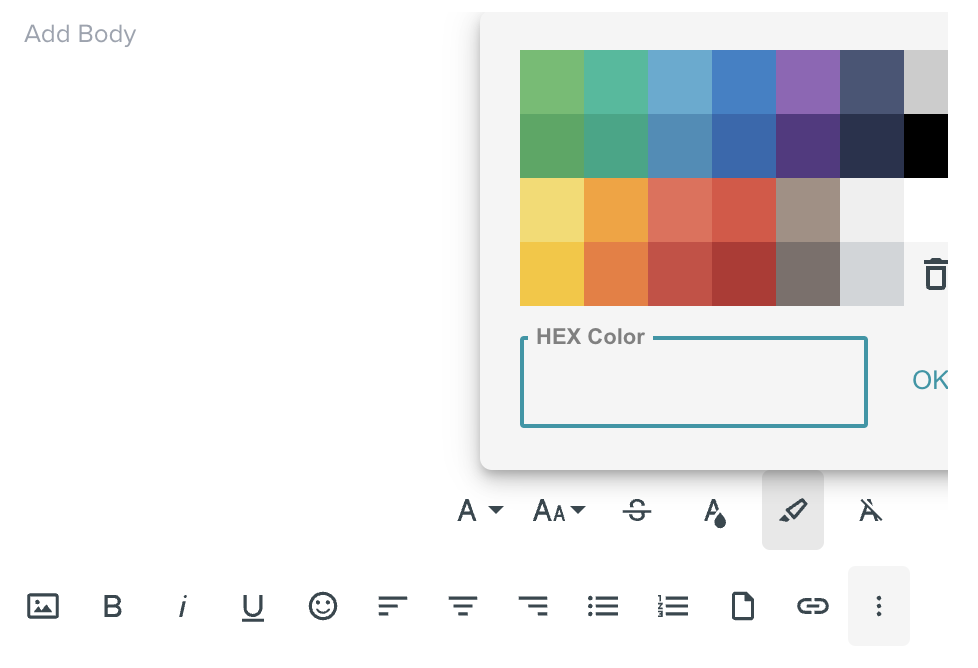
Note: There is no Background Color selected by default.
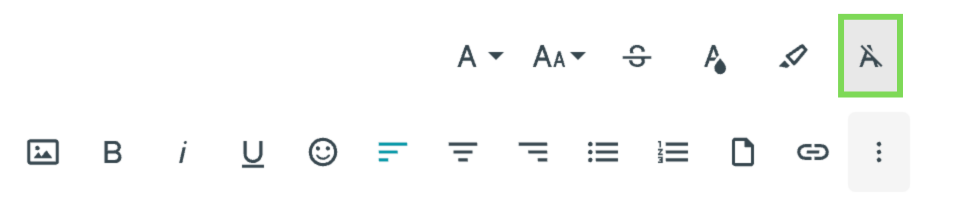
Clear Formatting
The Clear Formatting button allows you to reset the formatting options back to the default settings.
Add Attachments
The Add Attachments button allows you to add attachments to the email.
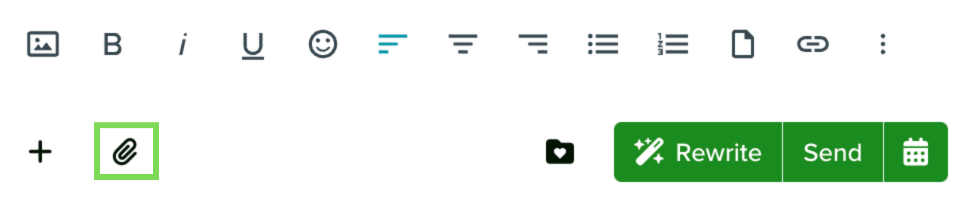
Note: Options for attachments will be based on the device you are using to send the email.
Select Template
The Select Template button allows you to choose an email template to use for the email.
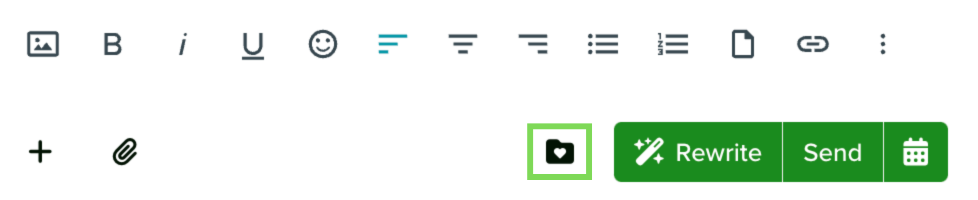
When you click the Select Template button the Email Template Selector window will appear. This contains all of the email templates you have access to.
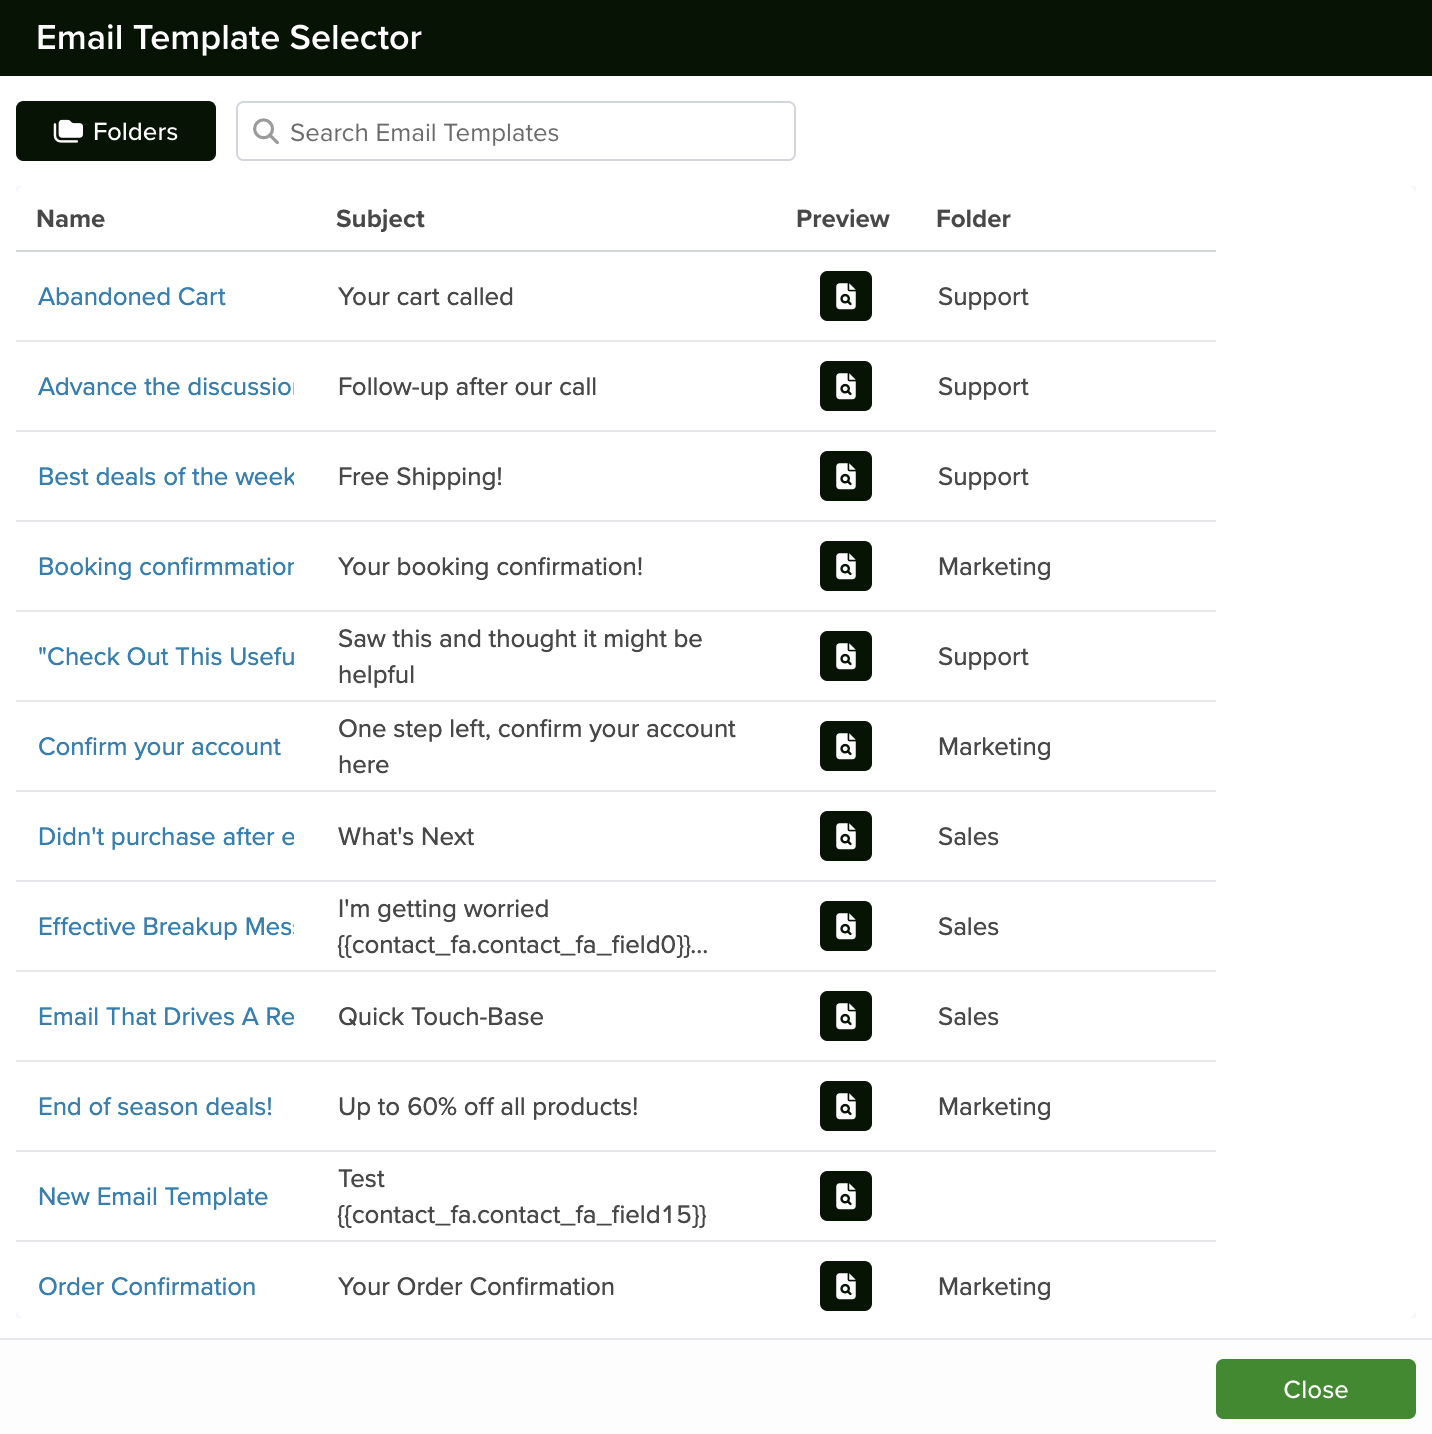
Refer to the Email Templates article to learn more about creating, managing and accessing email templates.
Rewrite with AI
The Rewrite with AI button allows you to rewrite an email you’re composing with the help of AI.
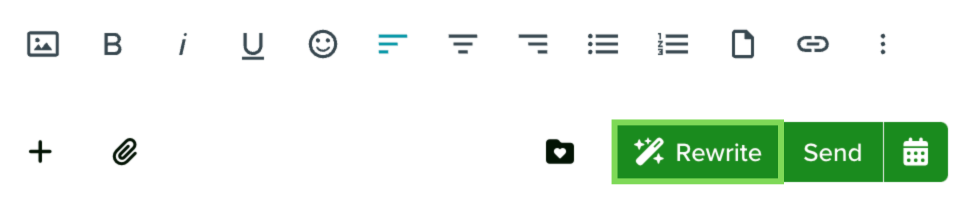
Click the Rewrite with AI button and servis.ai will re-write your email to make it even more professional, clear, and succinct.
After the email has been rewritten the Rewrite button will change to the Undo Changes button. Click the Undo Changes button to revert to your original text.
Sending Bulk Emails
You can send bulk emails directly from the List View of any app. This feature is fully customizable and works across all apps in servis.ai.
Want to learn more? Check out this article for a complete guide!
How to Validate Email Delivery
After an email has been sent you can check to see its delivery status.
To check the status of an email, navigate to the Email Activities App. From the Emails list view, click the Edit button to pull up the Email window.
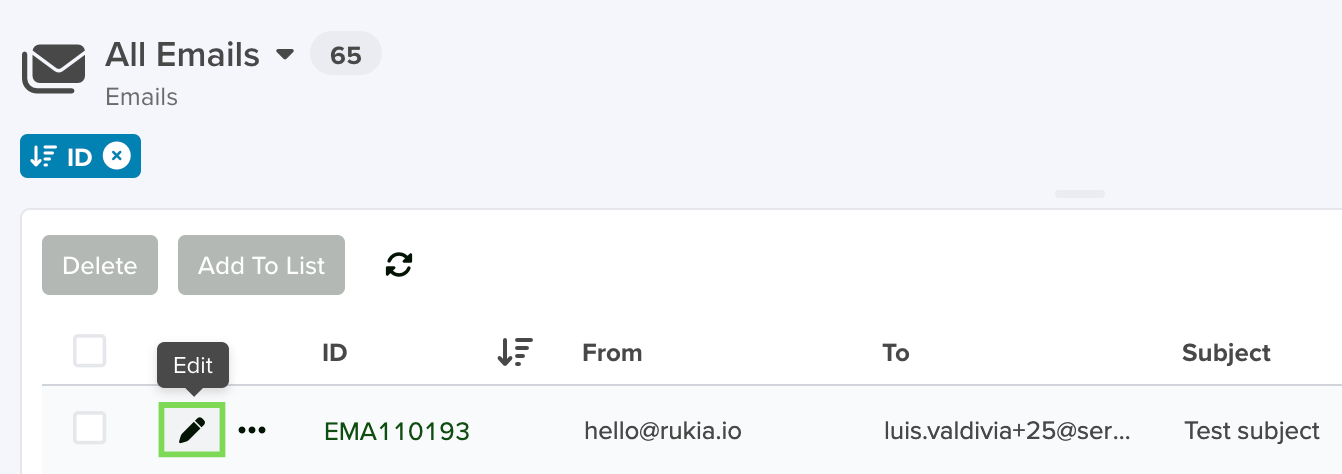
The email’s deliverability status can be found in the top right hand side.
Alternatively, you can check the Sent folder of the email service (gmail, outlook) you used to send the email.
Note: You can use the servis.ai Notification Builder to send you a notification if an email is bounced or undelivered. Refer to the Notifications article to learn how to create automated notifications.
Open a Received Email
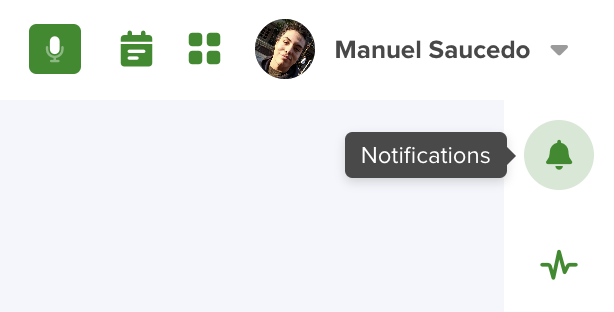
There are two ways to open a received email. The first is to select the email from the Notifications tab in the Right Hand Menu.
The second is to navigate to the Activity Timeline of the Contact or Account that received the email and select the email there.
Reply to a Received Email
To Reply to a received email, open the received email and click the Reply or Reply All button located above the body of the received email.
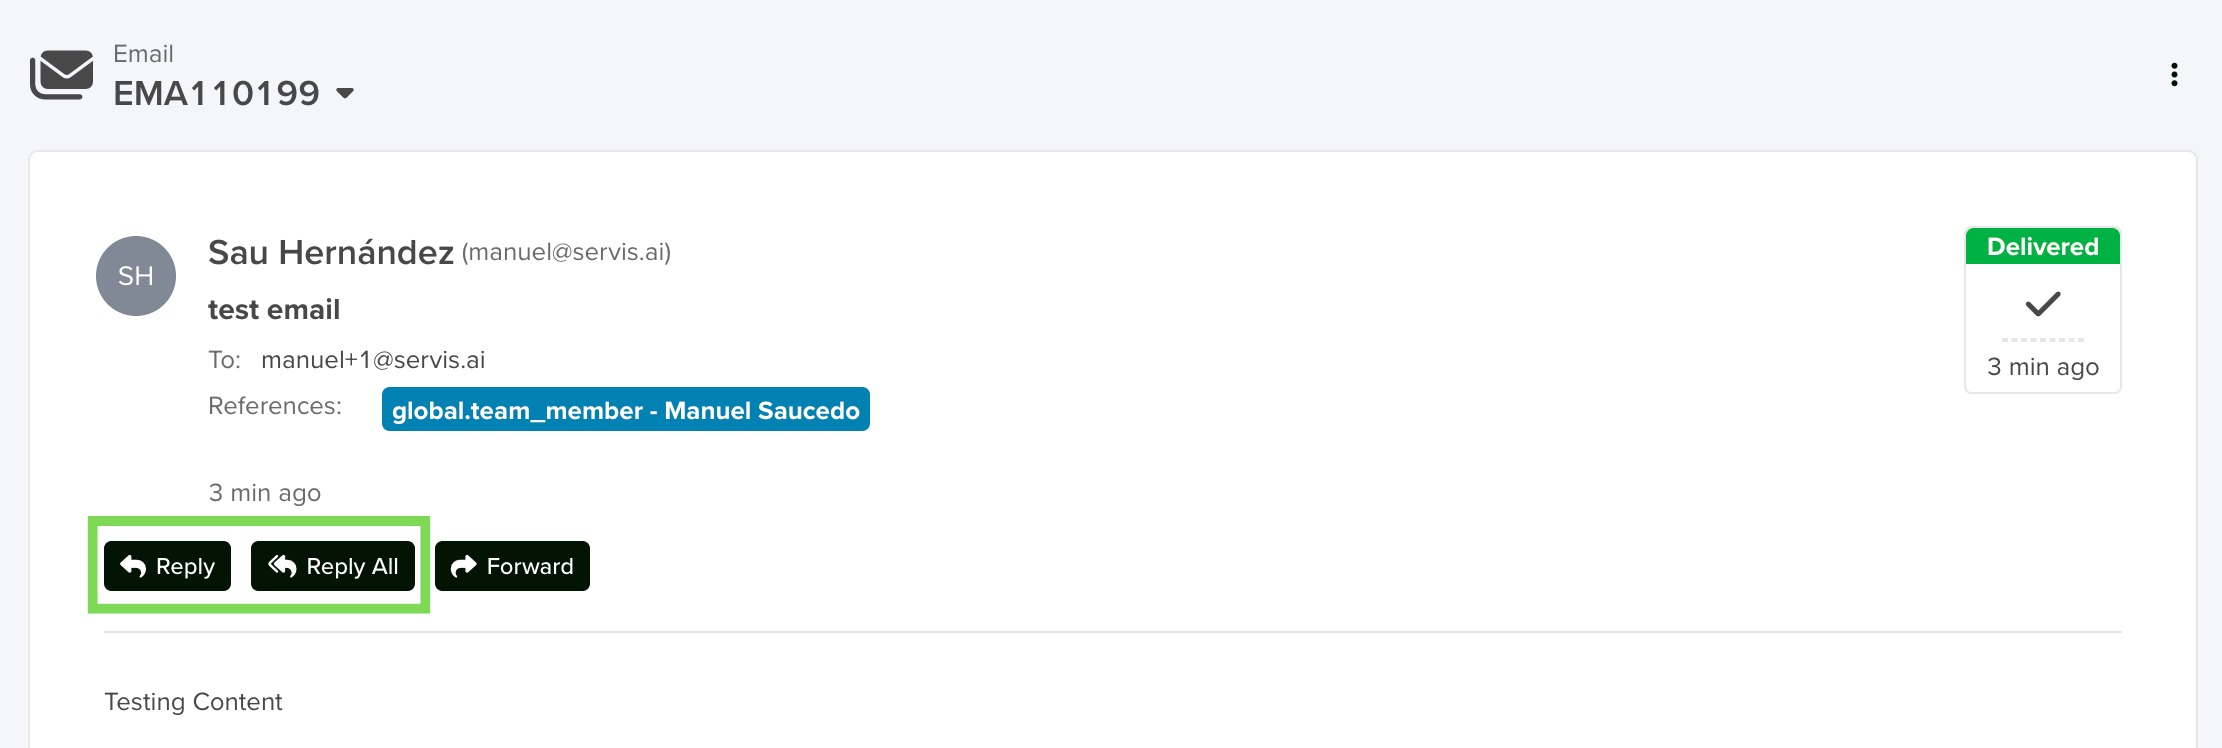
Reply
The Reply button allows you to send your response email to the sender of the email.
Reply All
The Reply All button allows you to send your response email to every person who received the email.
Forward a Received Email
To Forward a received email, open the received email and click the Forward button located above the body of the received email.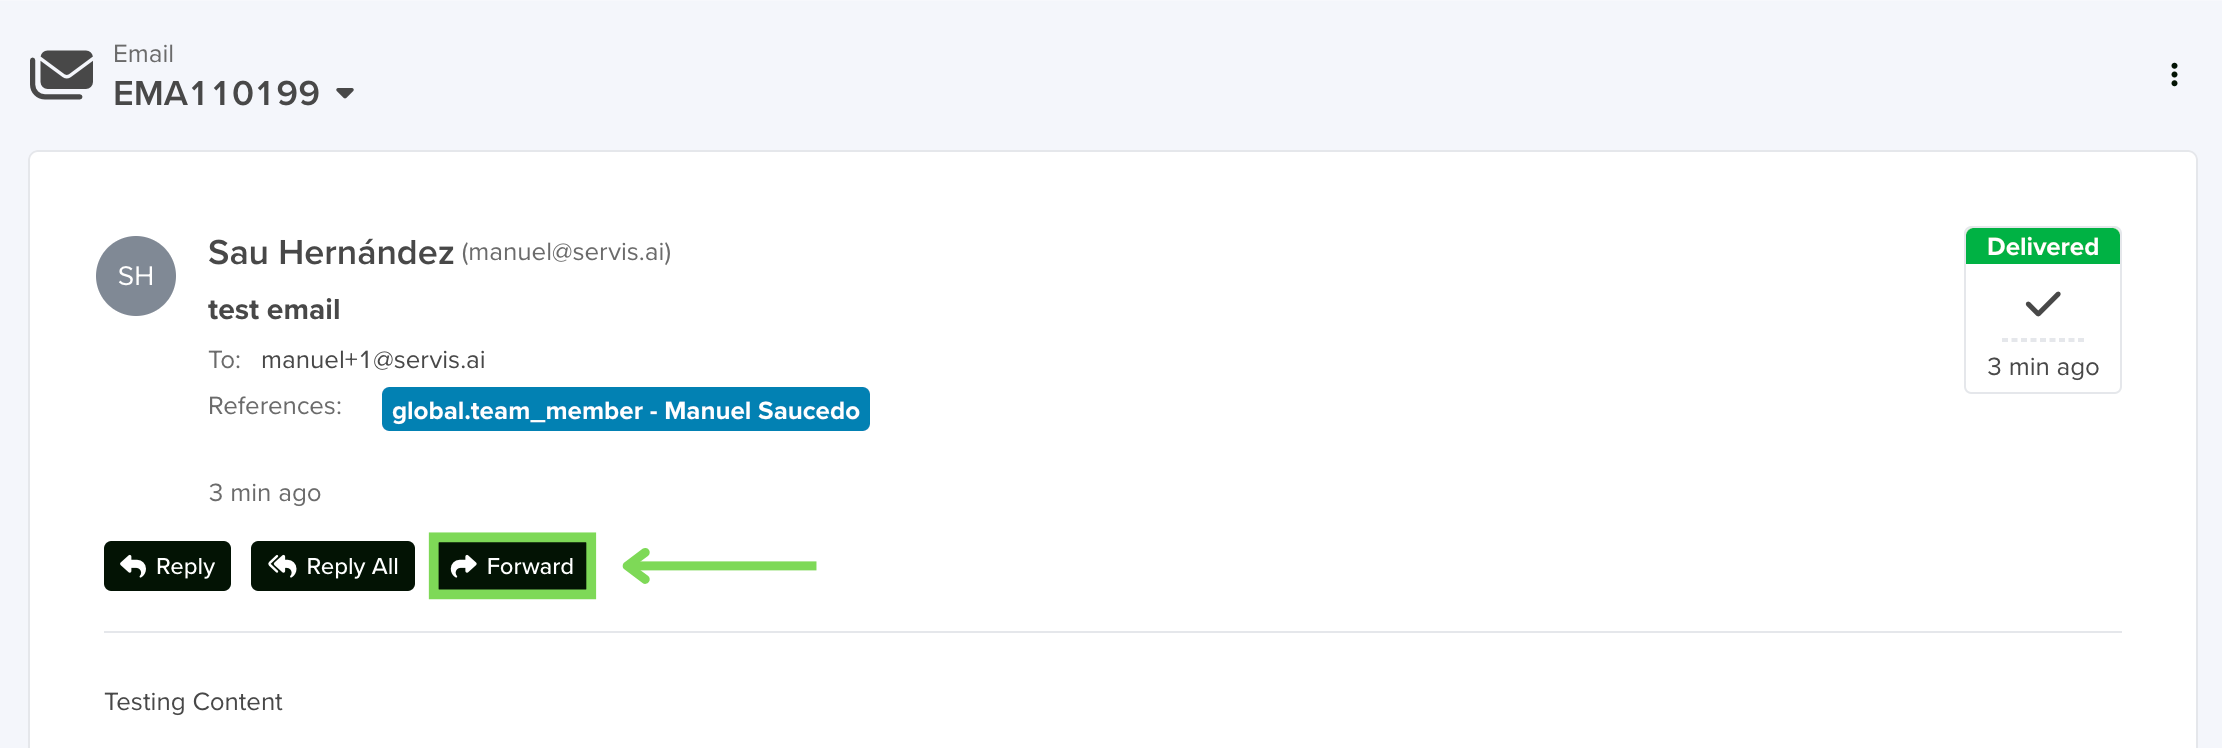
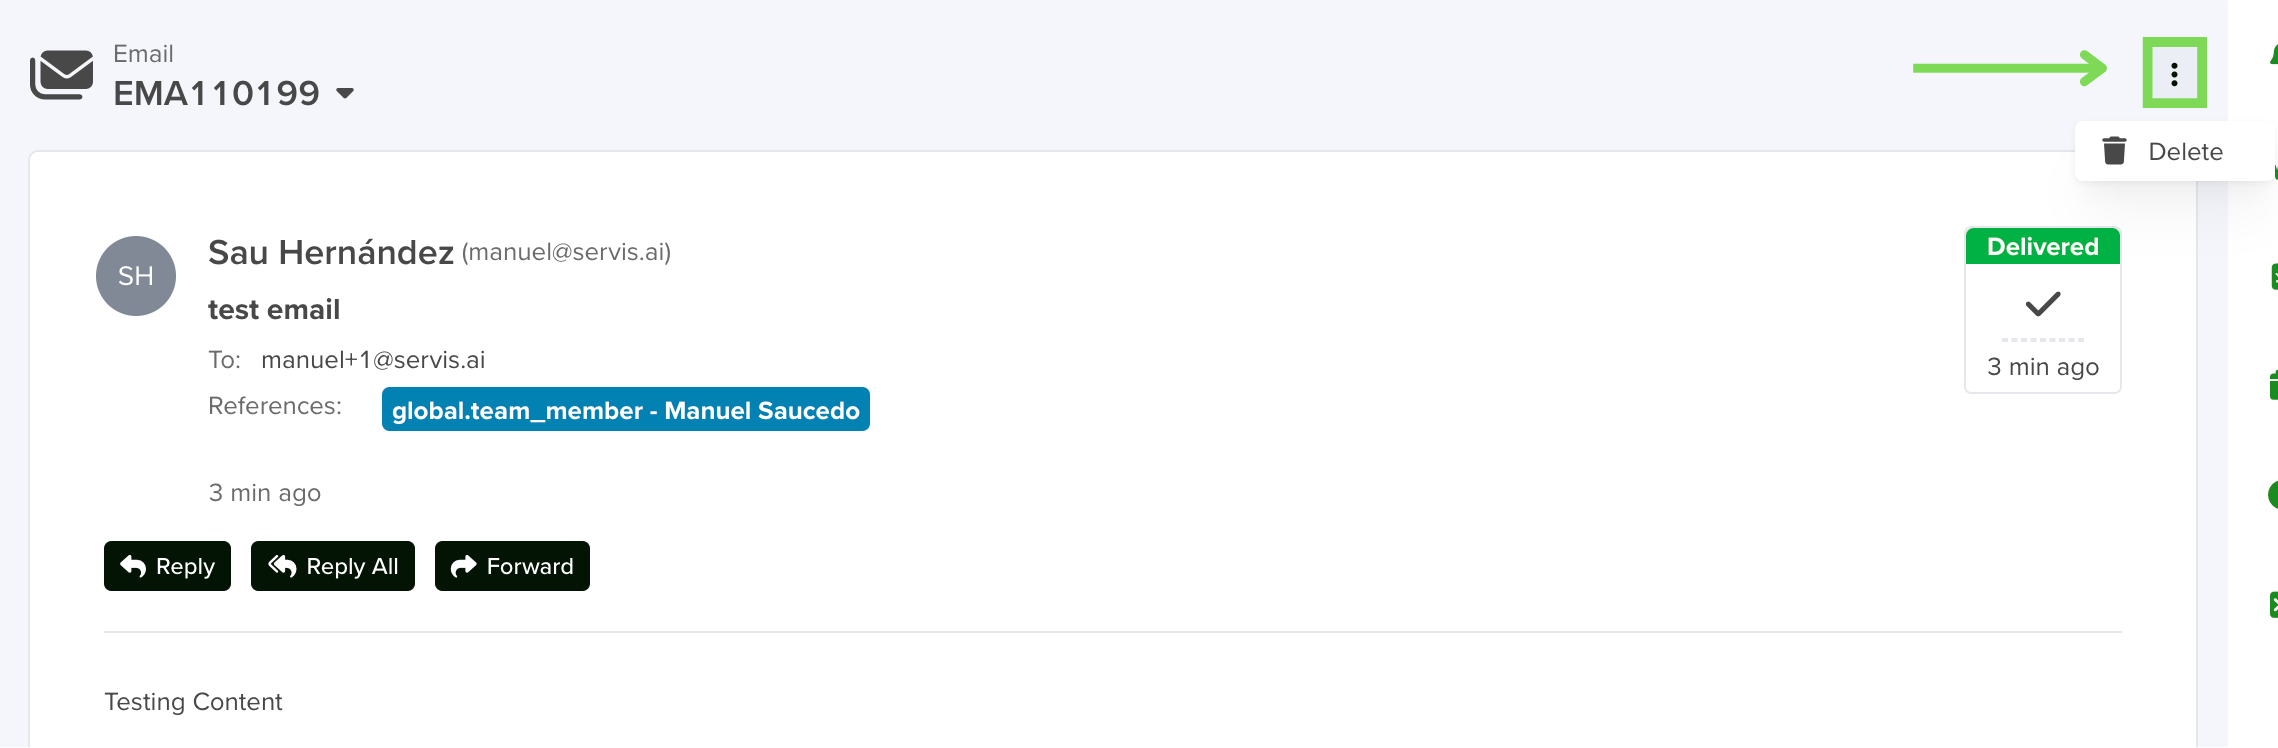
Delete a Received Email
To Delete a received email, open the received email and click the Options button in the top right hand corner of the Email window.