The Email Templates builder in servis.ai has everything you need to build smart, personalized templates for your business needs. You can use email templates to send emails faster from any record, or send them automatically through Automations and Email Campaigns.
This guide covers creating, editing, previewing, testing, and troubleshooting email templates — from your first template to advanced features like multi-language support, effectiveness metrics, and AI-assisted rewriting.
User Permissions: No special permissions are required to use this feature.
Key Concepts
|
Term
|
Description
|
|---|---|
|
Email Template
|
A reusable email design stored in the Email Templates app. Templates contain a subject line, body content, and optional merge tags that personalize each email automatically.
|
|
Merge Tag
|
A placeholder like {{contact.full_name}} that is automatically replaced with real data from a record when the email is sent.
|
|
App for Merge Tags
|
Each template is linked to a specific App (for example, Contacts, Deals, or a custom App). The merge tags available in the template come from the fields in that App.
|
|
Share with Team
|
Templates can be shared so all team members can use them, or kept private for your own use. Private templates cannot be used in automations.
|
|
Email Builder
|
The visual editor where you design the body of your email template. It supports a basic rich text editor and a drag-and-drop design tool.
|
|
Email Campaign
|
A bulk send (also called an “email blast”) that uses a template to deliver emails to a large list of recipients, with scheduling and detailed metrics.
|
|
Dot Walking
|
The ability to reference fields through relationships. For example, {{contact.account.accountOwner}} pulls the account owner through the contact’s linked Account record.
|
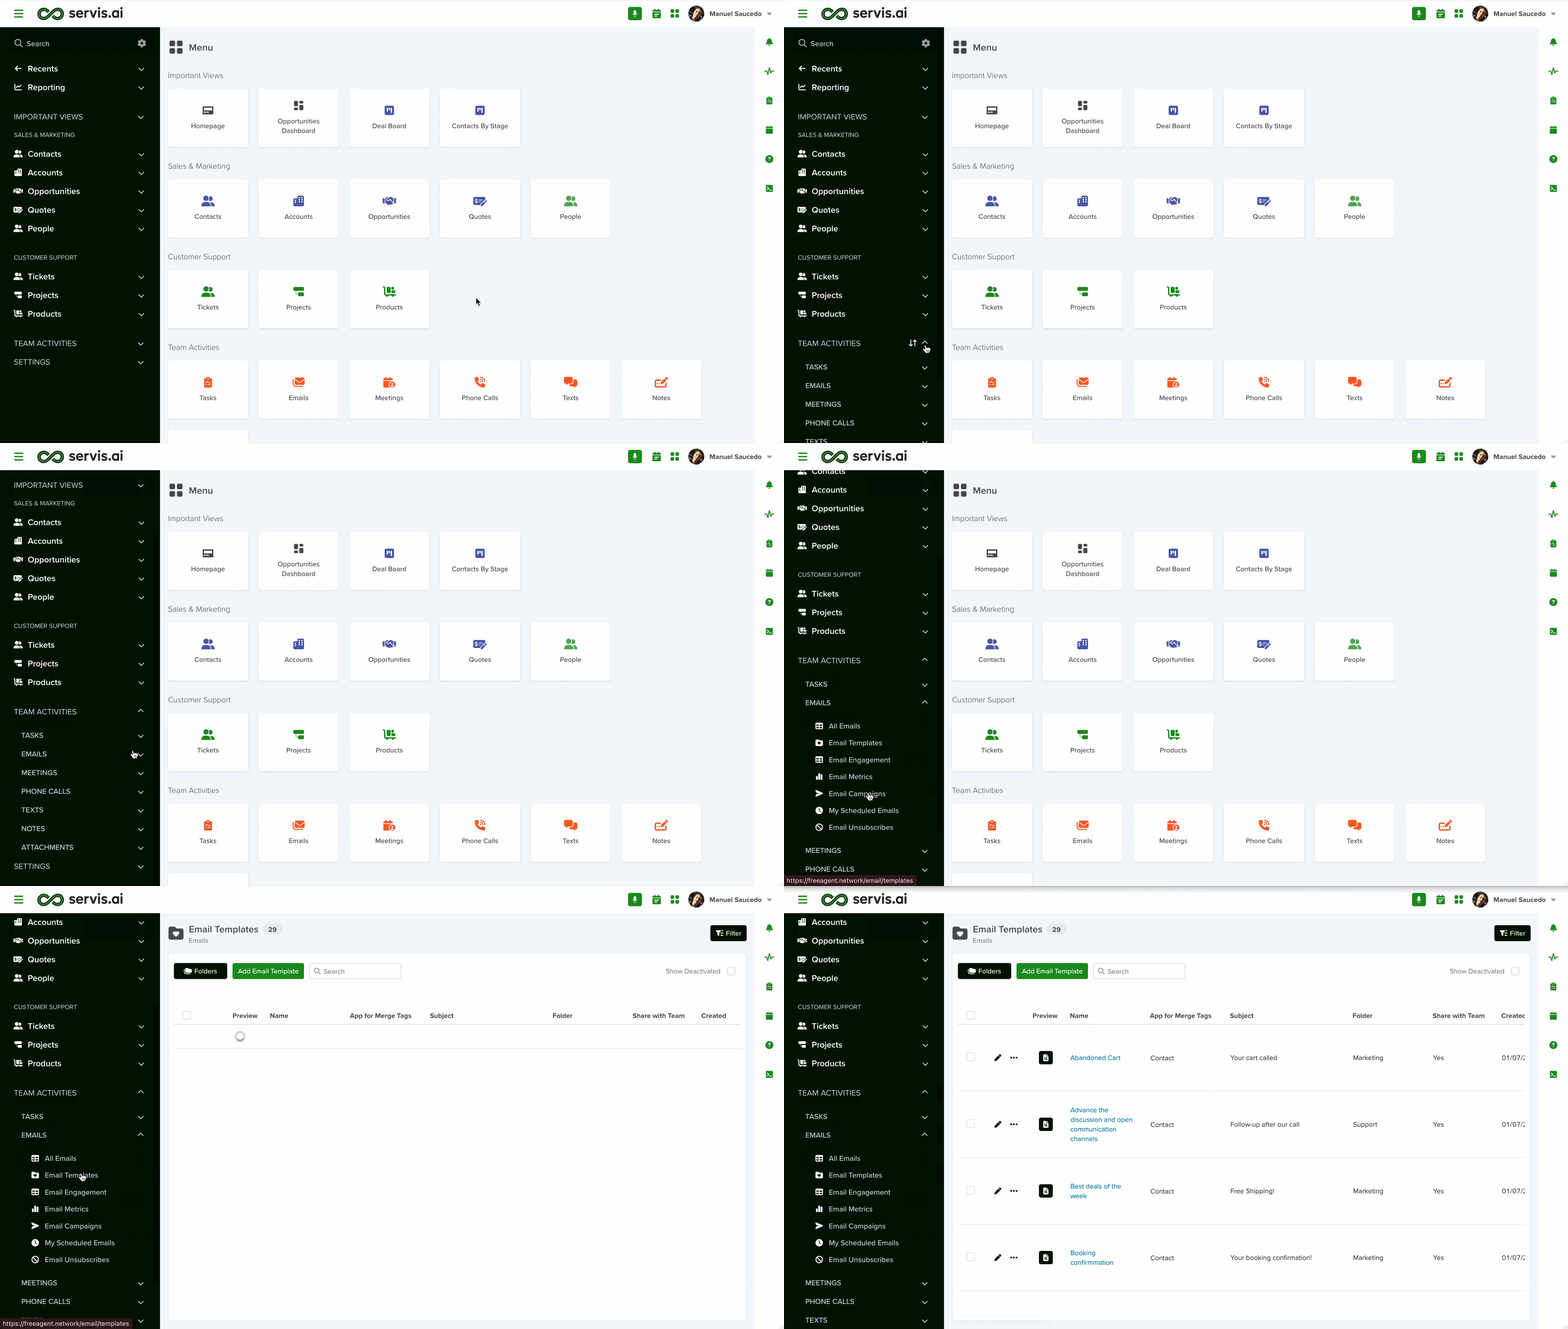
Navigate to Email Templates
Go to Activities > Email > Email Templates. You can also type in ‘templates’ in the search box.
Where to Find Email Templates
From Preferences
 When Composing an Email
 When Composing an Email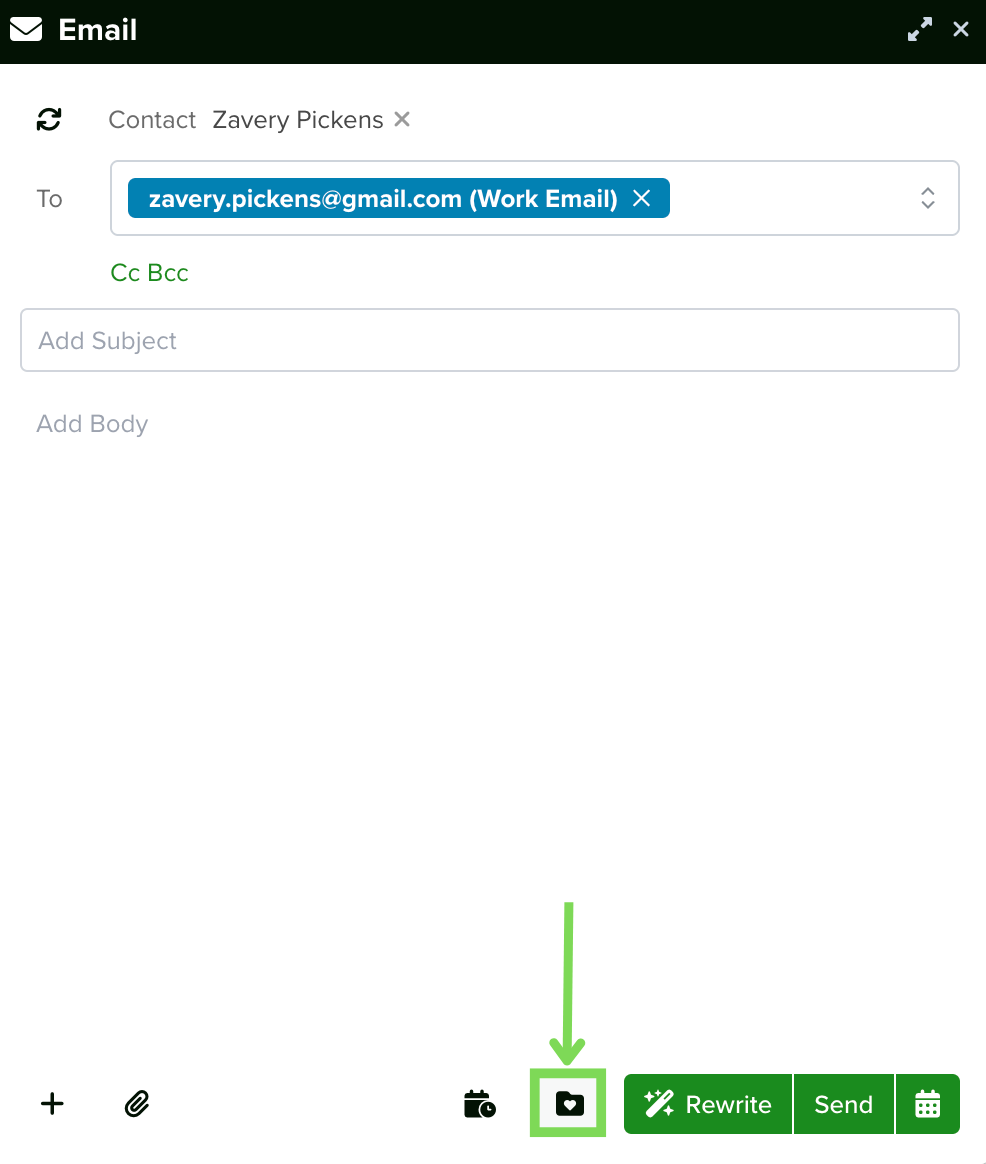
In Automations
Managing your Templates
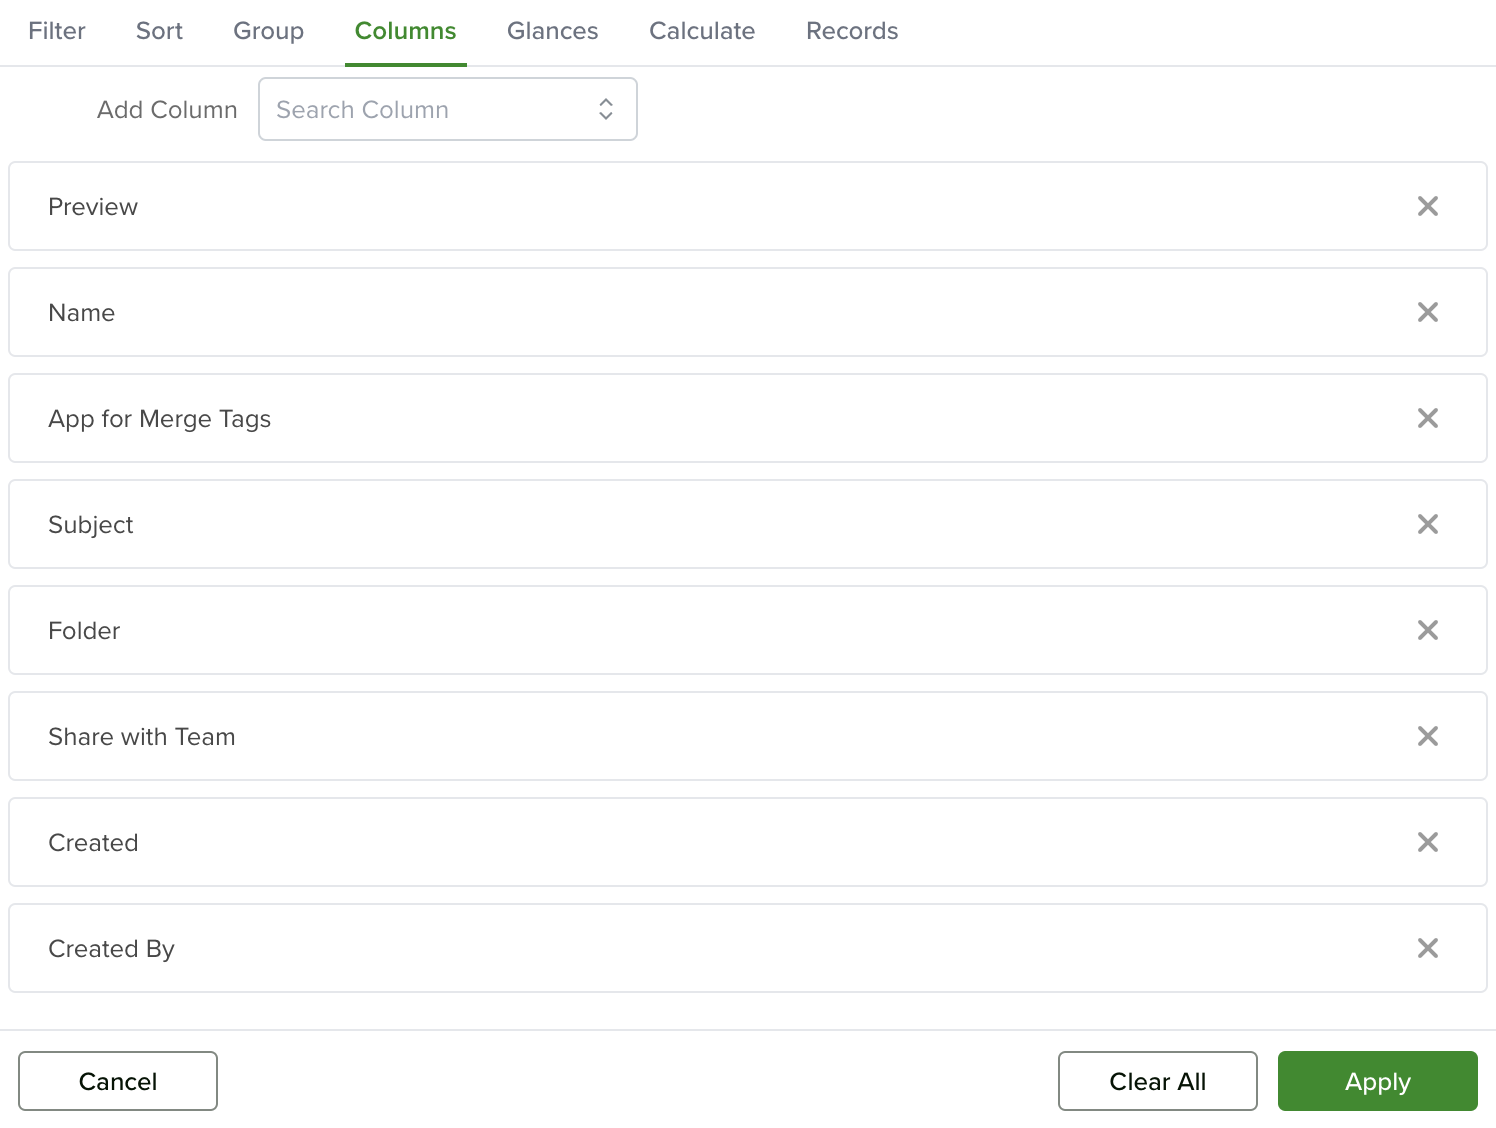
Using Columns
When you first arrive at the Email Templates page, you’ll see a list view containing all of your created templates across your tenant. You can organize these templates by:
- Name
- App for Merge Tags
- Date Created
- Created By
Options Menu
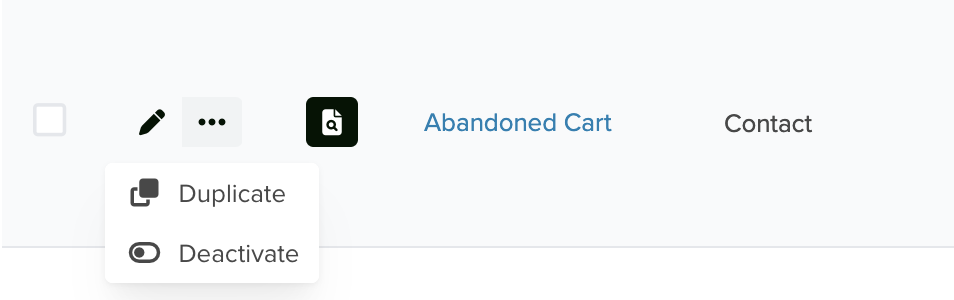
|
Action
|
What It Does
|
|---|---|
|
Duplicate
|
Creates a new copy of an existing template — perfect for creating variations without changing the original.
|
|
Deactivate
|
Hides the template from selectors and automations. You can still access deactivated templates by clicking the “Show Deactivated” checkbox in the top right corner.
|
Using Folders
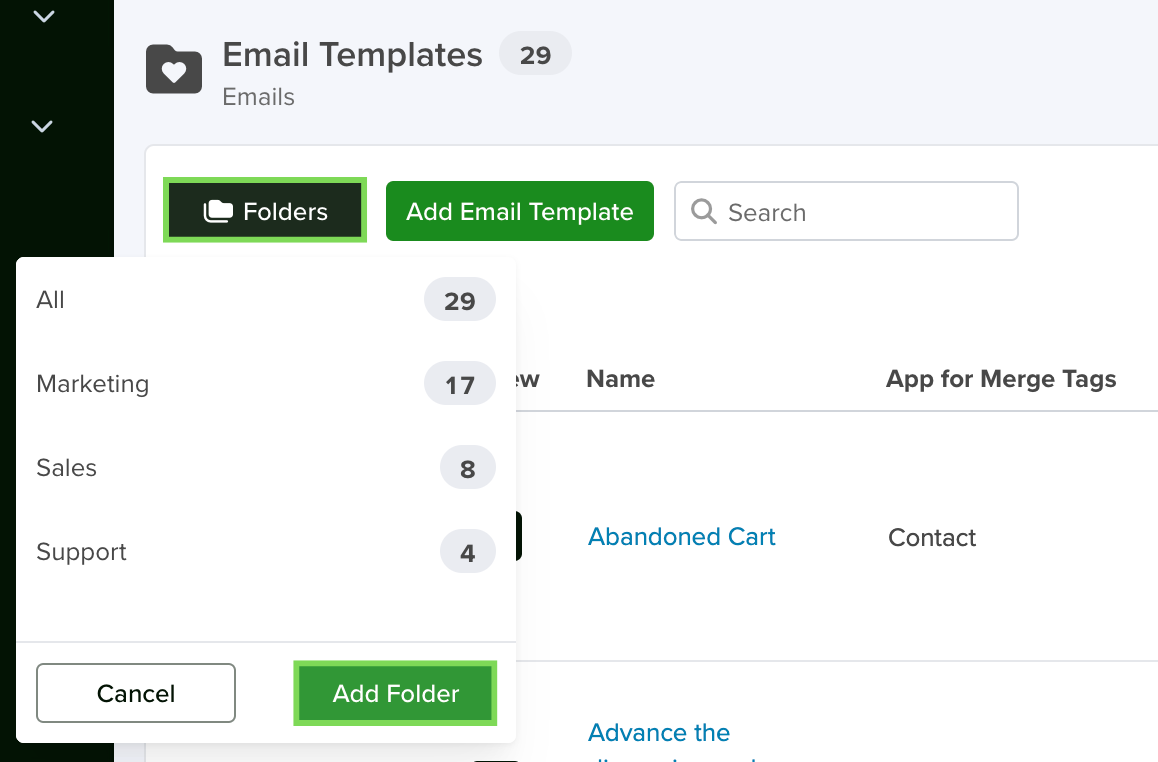
- Click the Folders button, then click Add Folder to create one. You can create as many as you’d like.
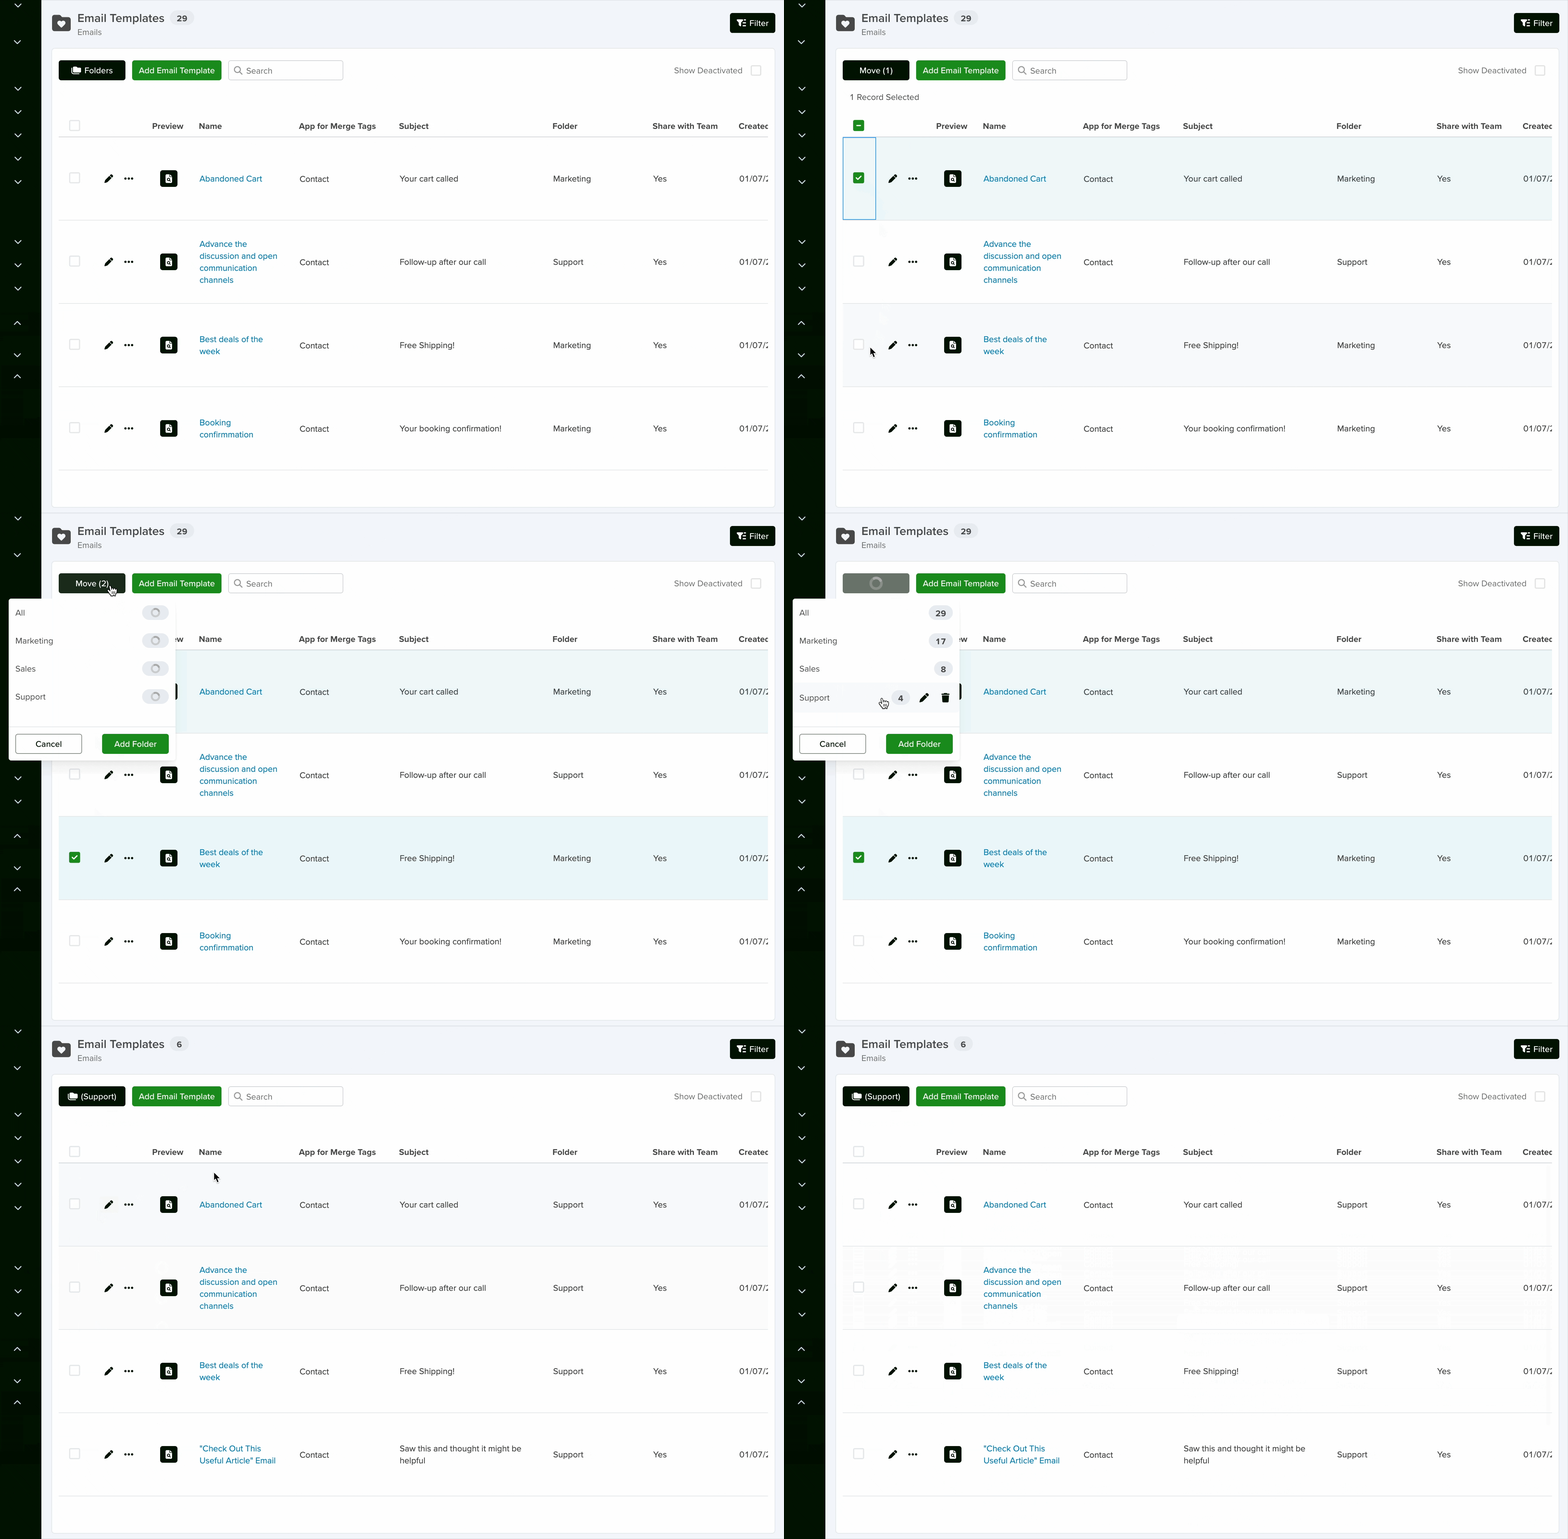
- To add existing templates to a folder, click the checkbox next to the template name, then select the folder you want to move them to. The Folders button changes to Move once you’ve selected a template.
Edit
Make changes to existing templates. A dedicated window will open that will allow you to make quick edits to your templates.
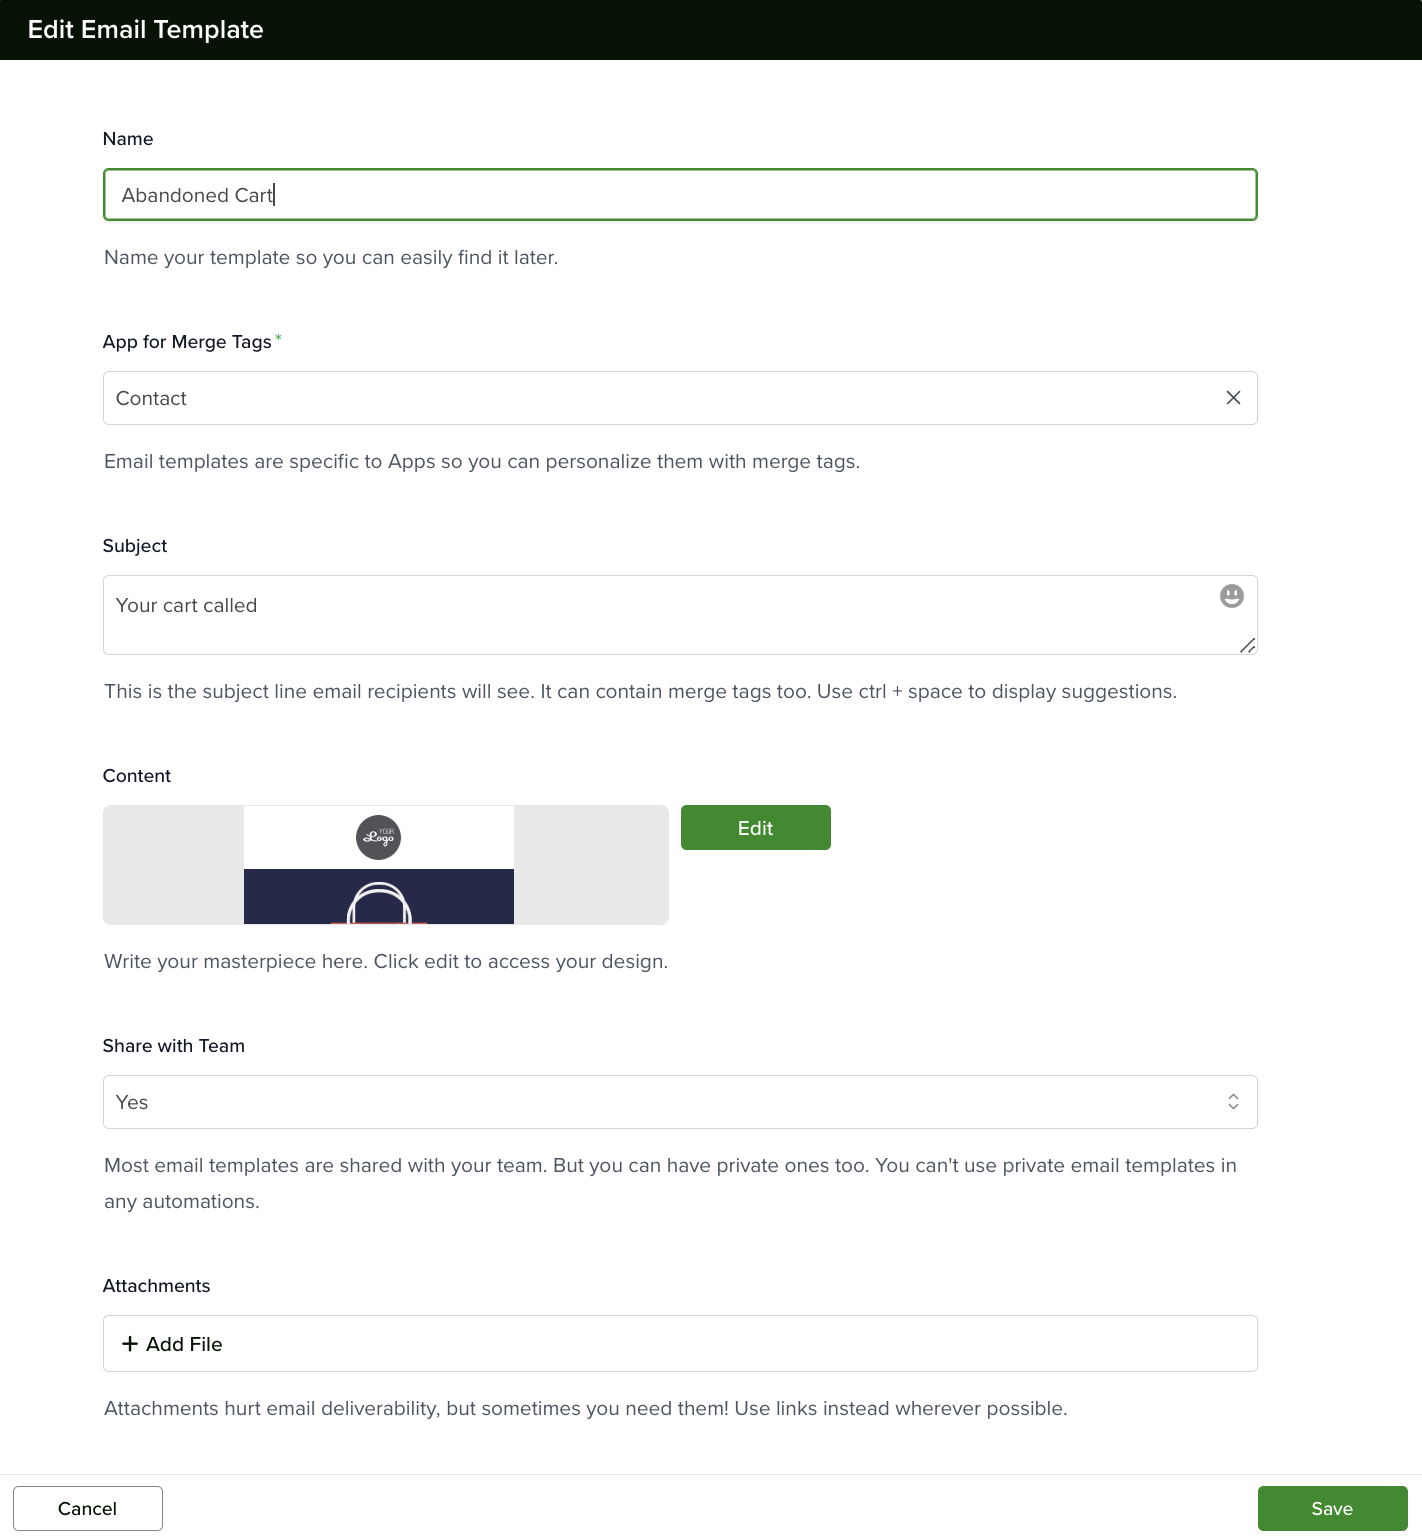

Creating a New Email Template
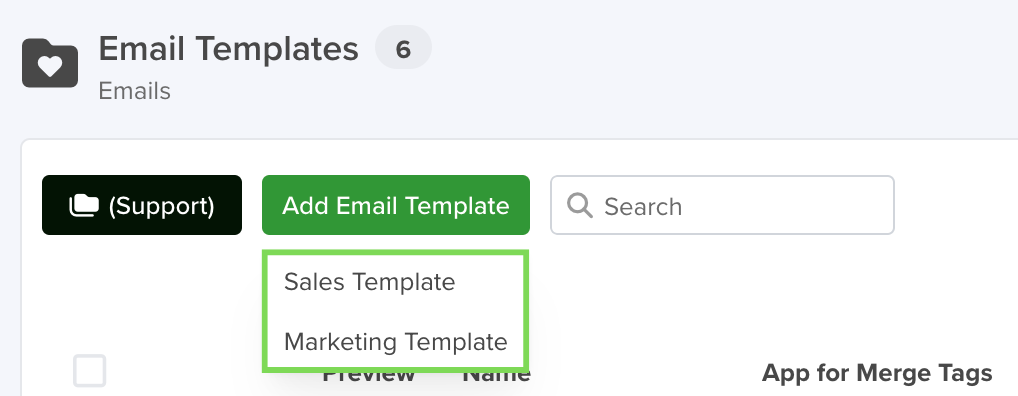
Step 1 – Open the Template Form
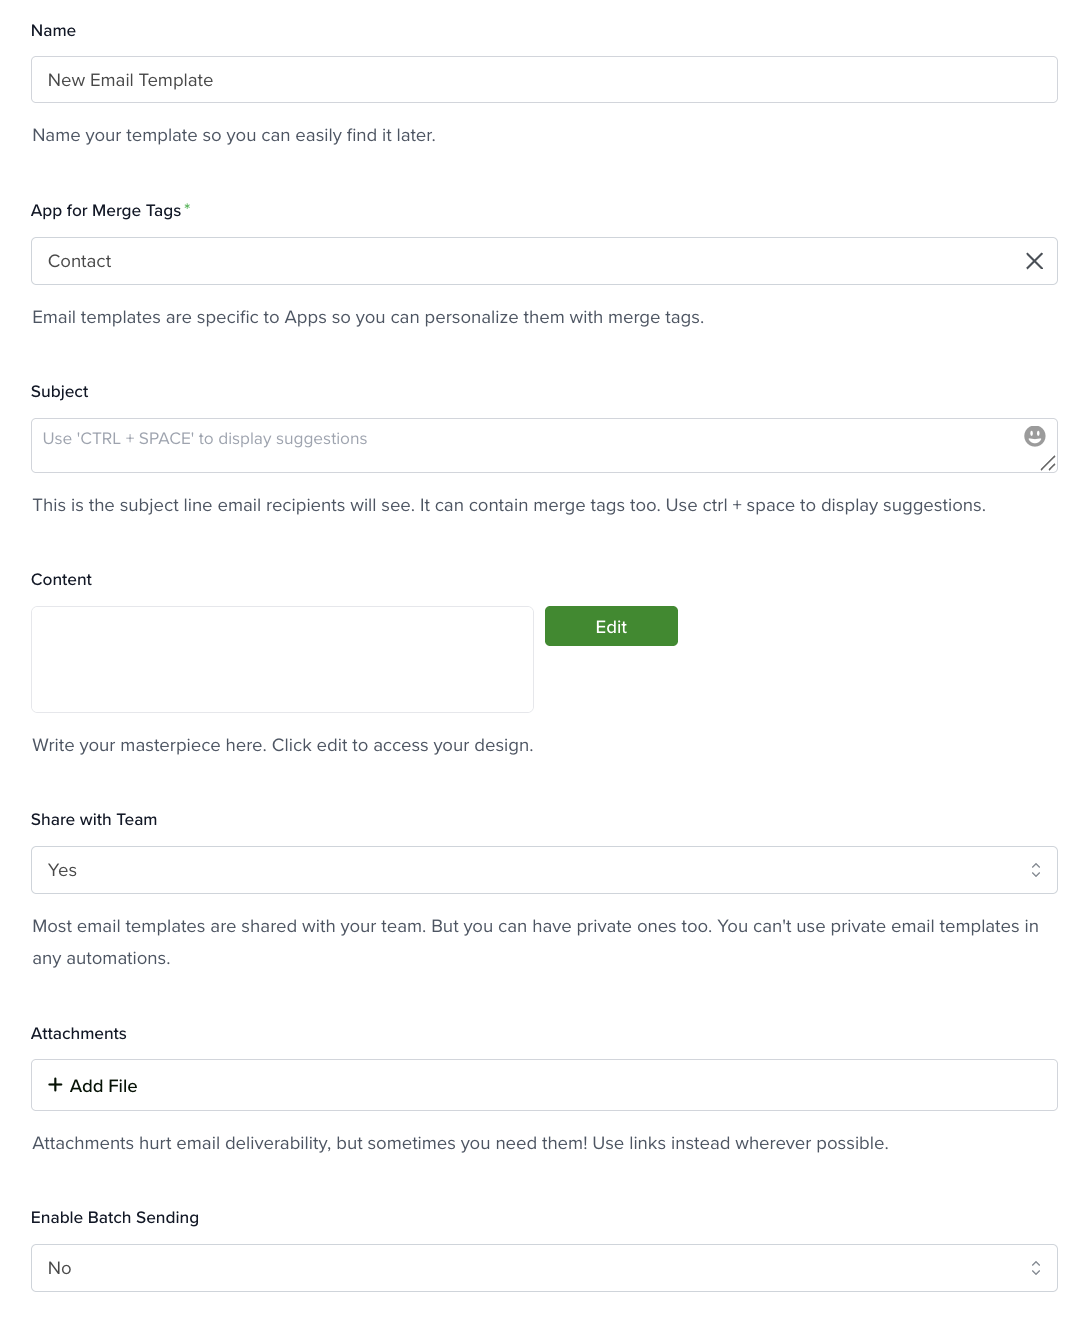
Step 2 – Fill In the Basic Information
|
Field
|
What to Enter
|
|---|---|
|
Name
|
A name for the template so you can easily find it later. Example: “Welcome Email – New Contacts.”
|
|
App for Merge Tags (required)
|
Select the App whose fields you want to personalize. For example, choose “Contacts” if the template will be sent to contact records. Only standard and custom Apps are available.
|
|
Share with Team
|
Toggle on to make the template available to your team. Toggle off for a private template. Note: Private templates cannot be used in automations.
|
You can jump here to see How to Use Merge Tags in Your Template.
Step 3 – Set Up Recipients and Sending Options (Email Campaign Templates)
|
Field
|
What to Enter
|
|---|---|
|
To (required)
|
Select the email field from the App that will be used as the recipient address.
|
|
From
|
Select which email account or group email address the template sends from.
|
|
Reply-To
|
Optionally enter an email address where replies should be directed, if different from the “From” address.
|
Step 4 – Write the Subject Line
- Press Ctrl + Space to display Merge Tags suggestions.
- Select the tag you want. It will appear as {{entity_name.field_name}} in the subject.
Step 5 – Design the Email Body
A. Sales Template (Rich Text Editor)
B. Marketing Template (Visual Email Builder – Drag and Drop)
- Drag content blocks from the right panel onto the main stage on the left.
- Click any block to edit its content and styling.
- Insert Merge Tags in any text block by pressing Ctrl + Space.
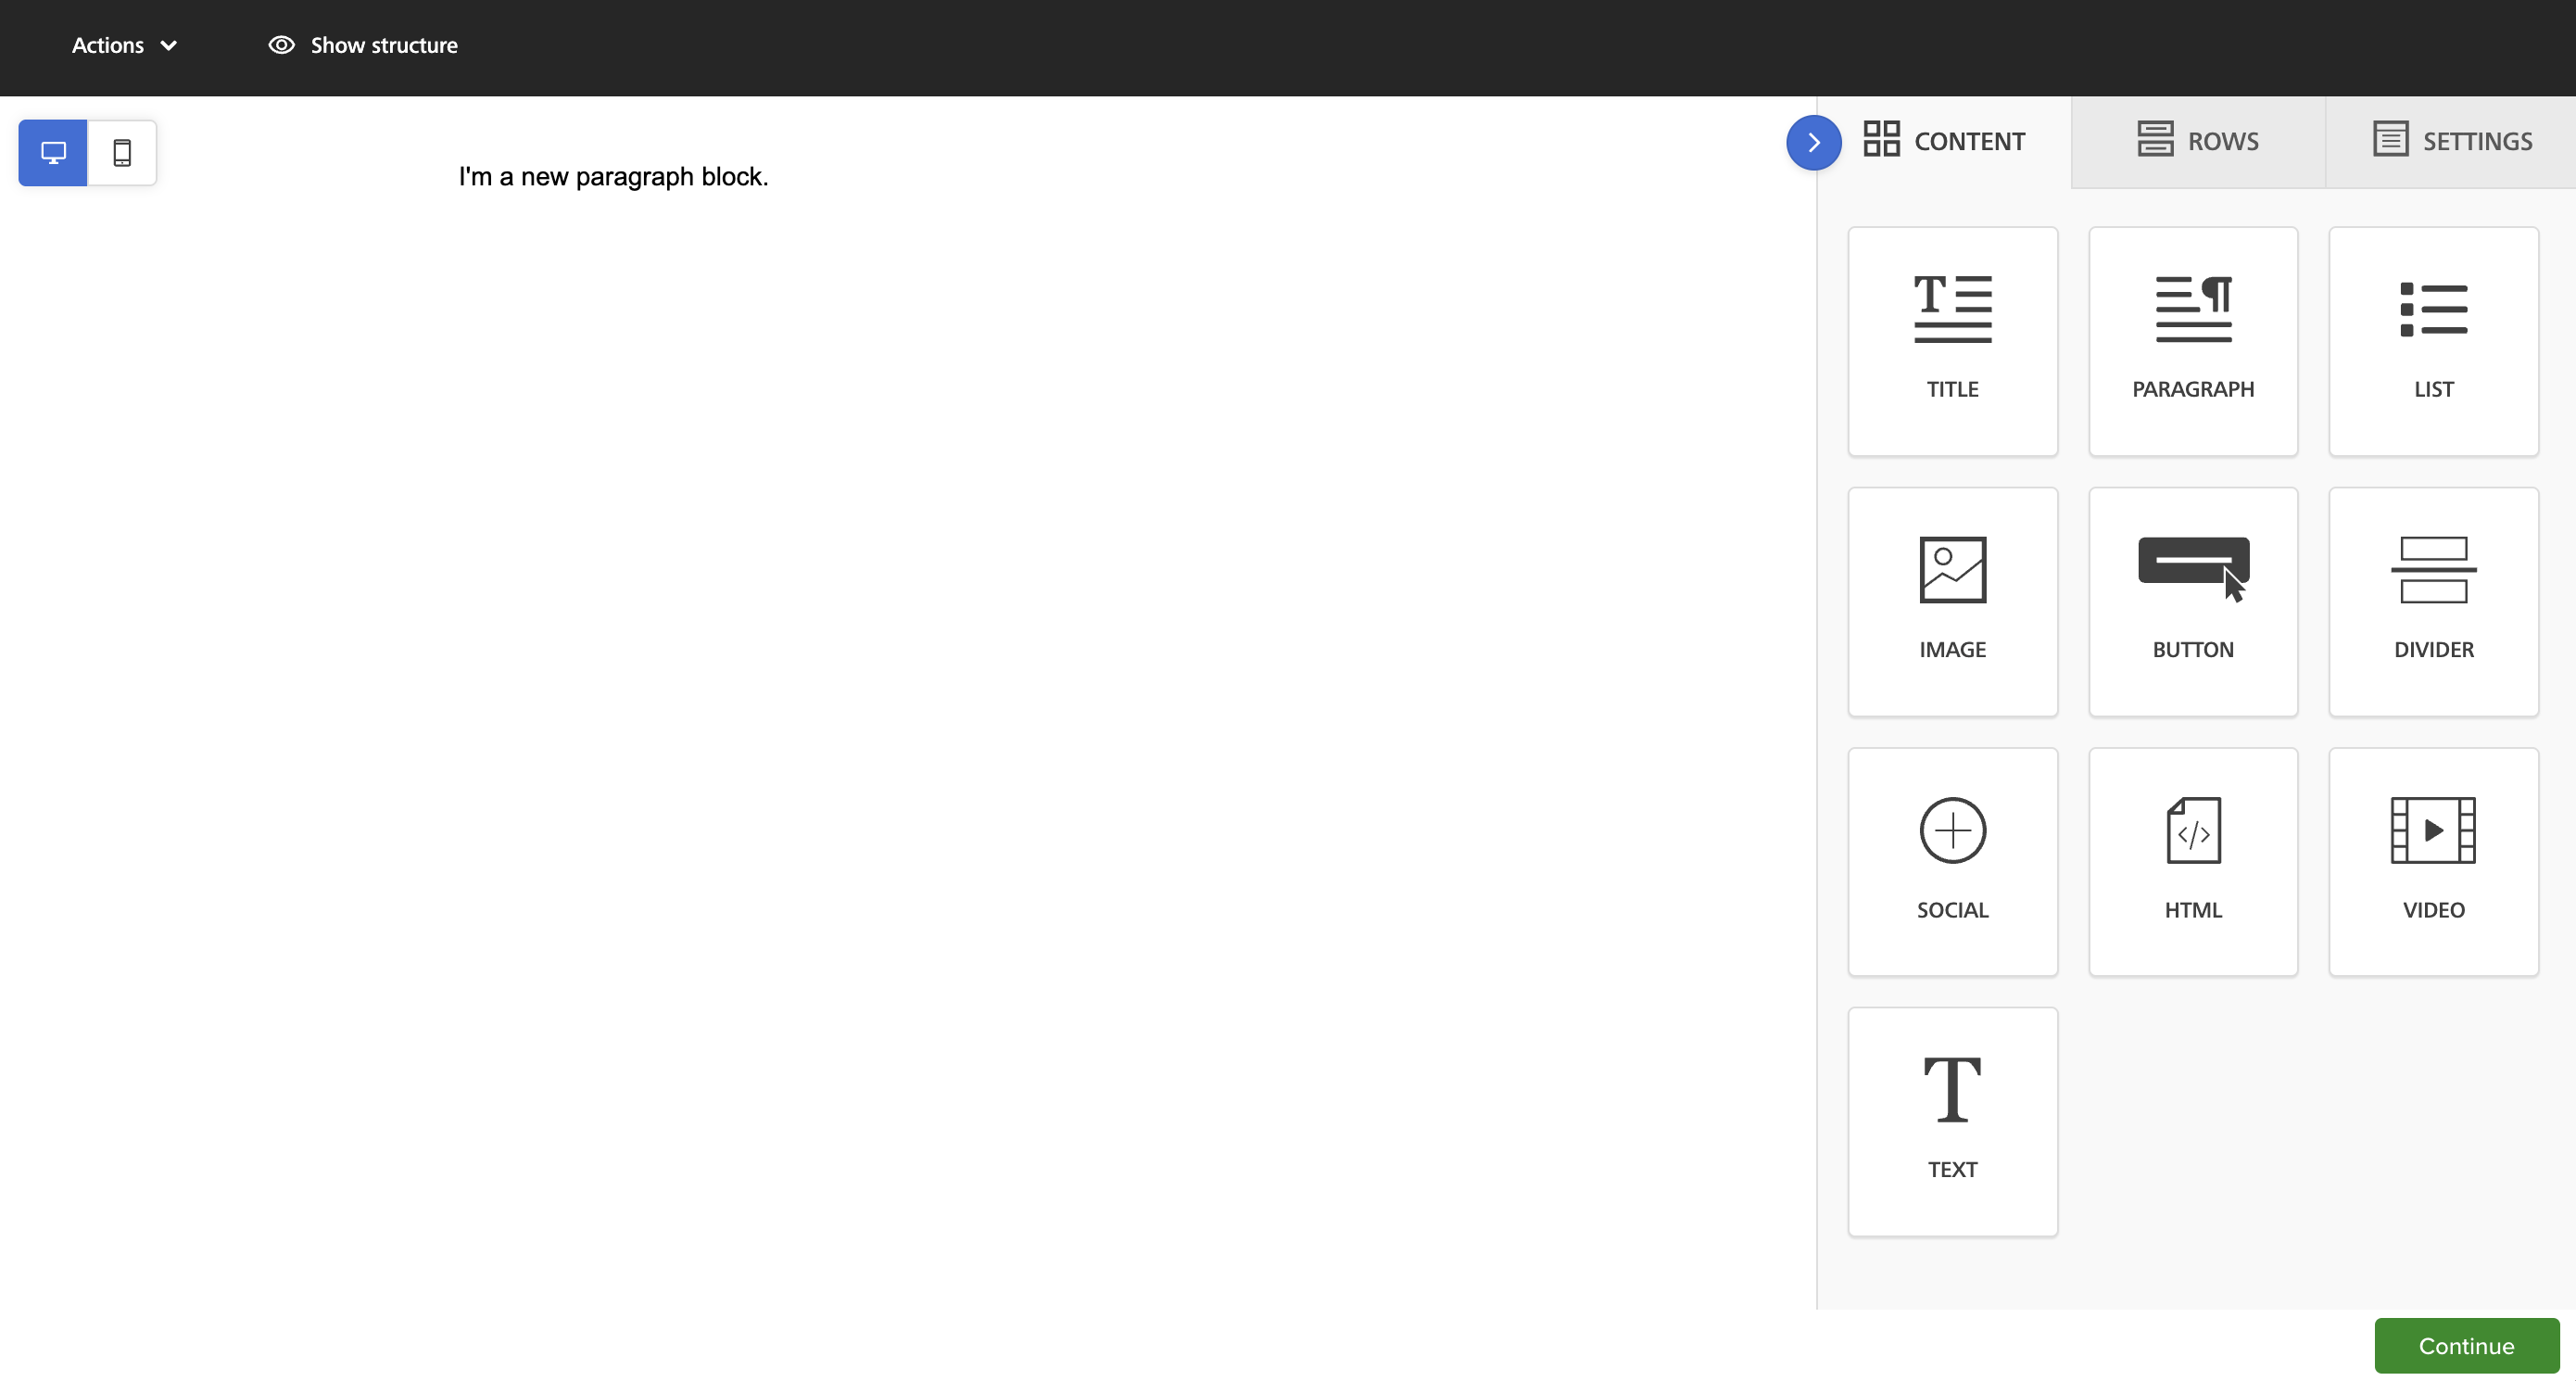
Content Blocks
Title
Paragraph
List
Image
Button
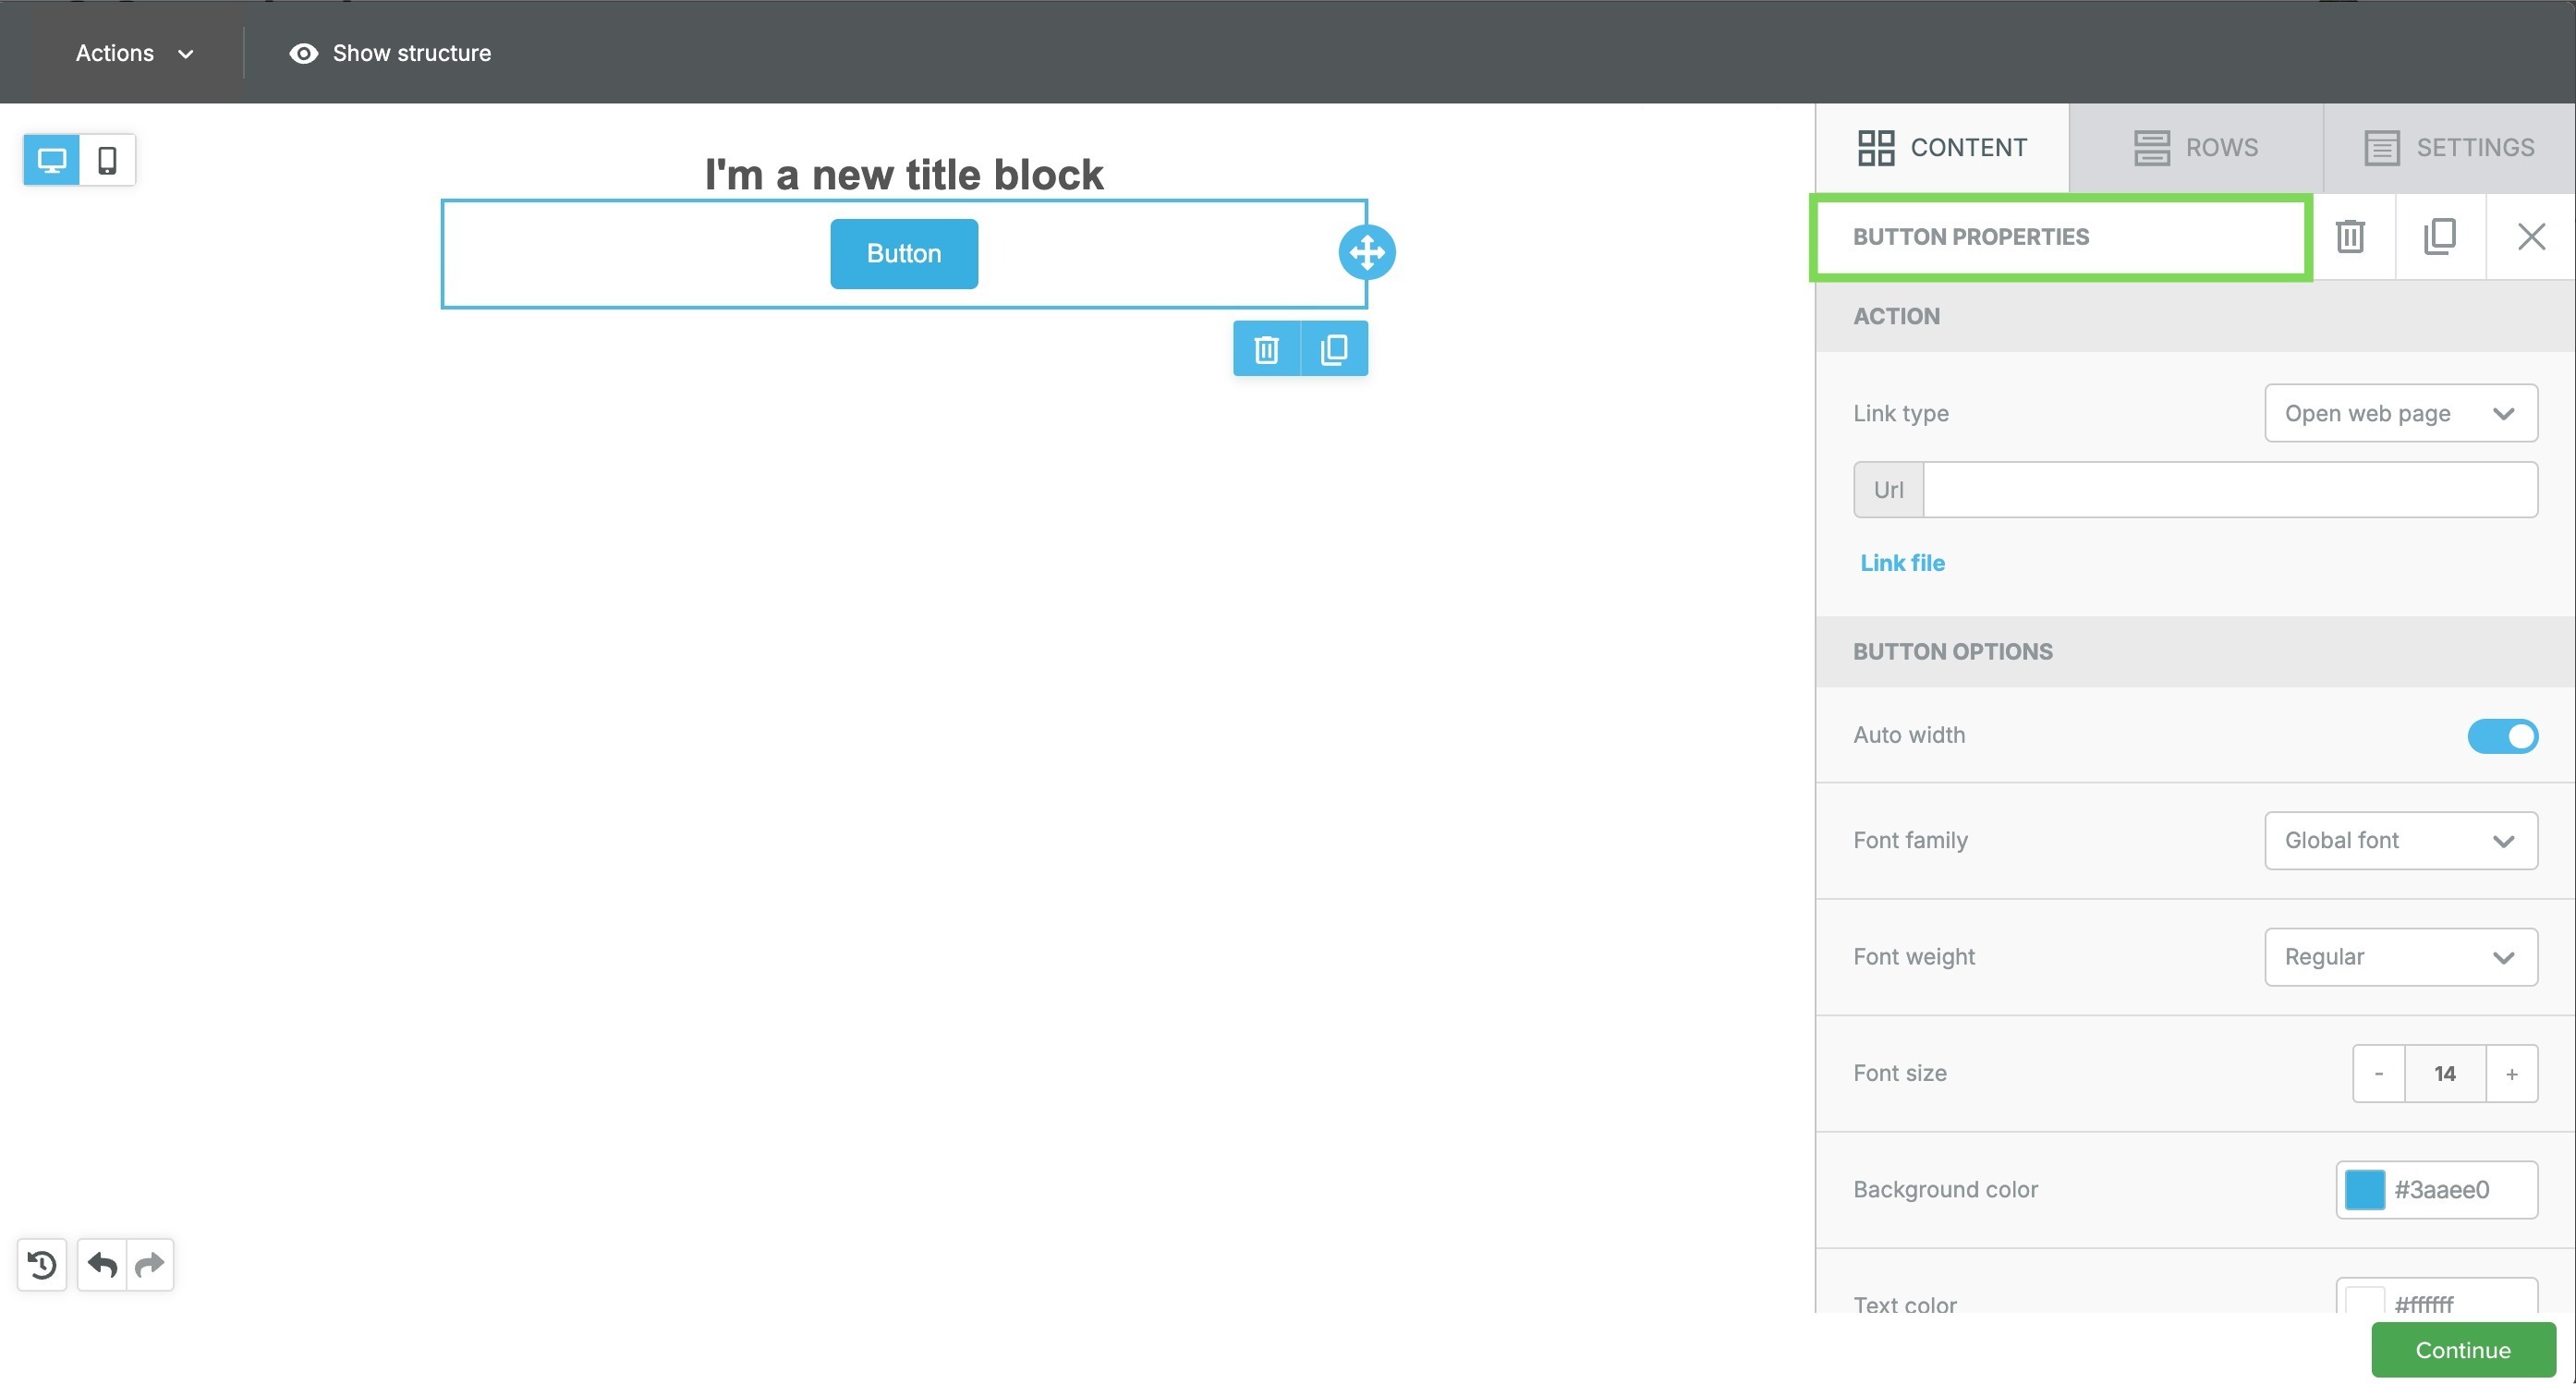 When selected, you can choose the Link Type — link to a webpage, send an email, make a call, or even send an SMS. The rest of the options control the look and feel of the button.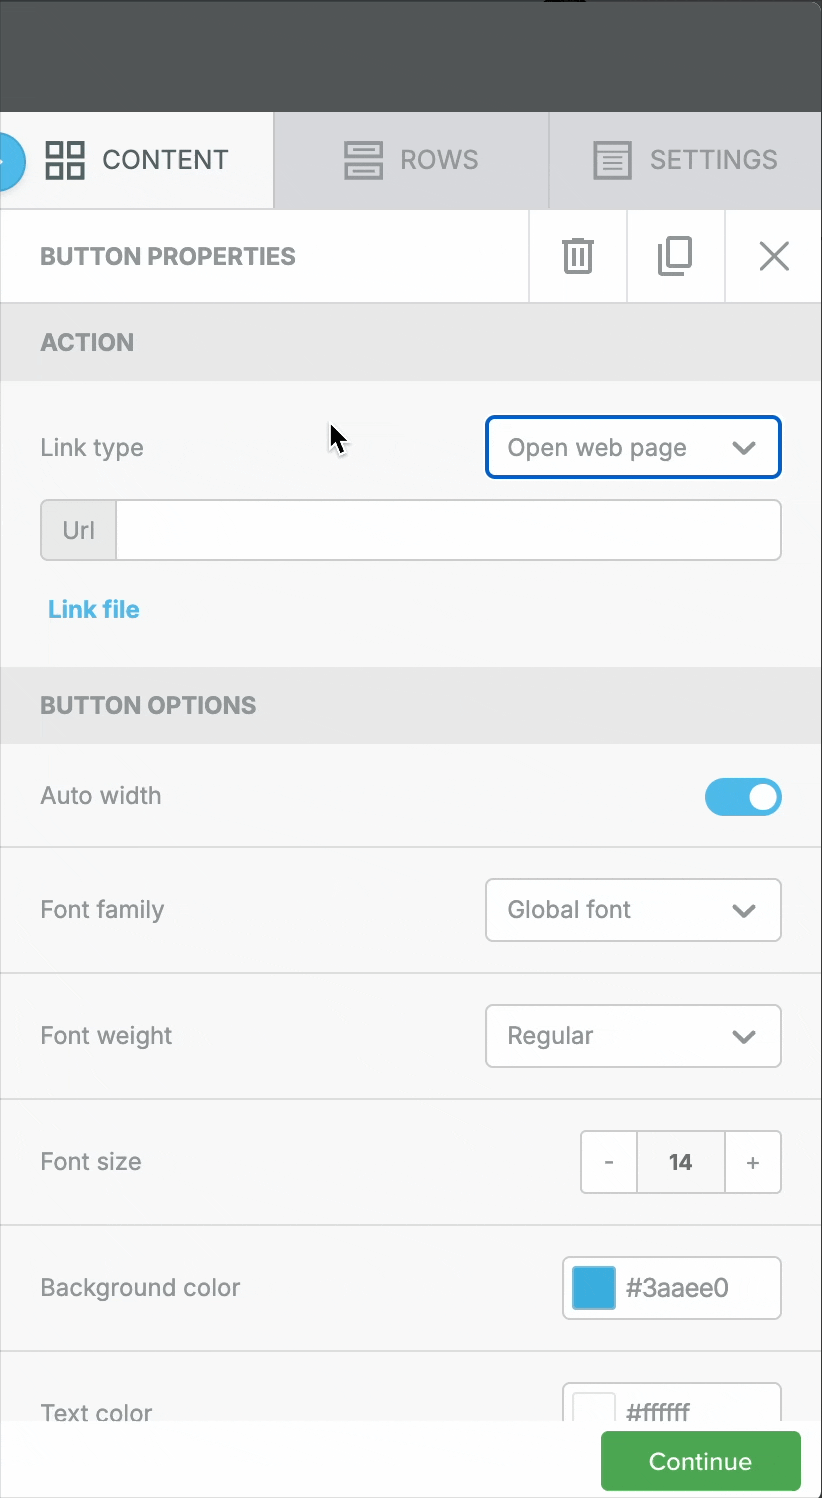
Divider
Spacer
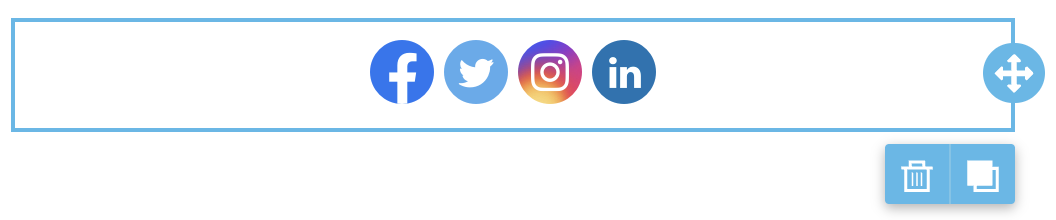
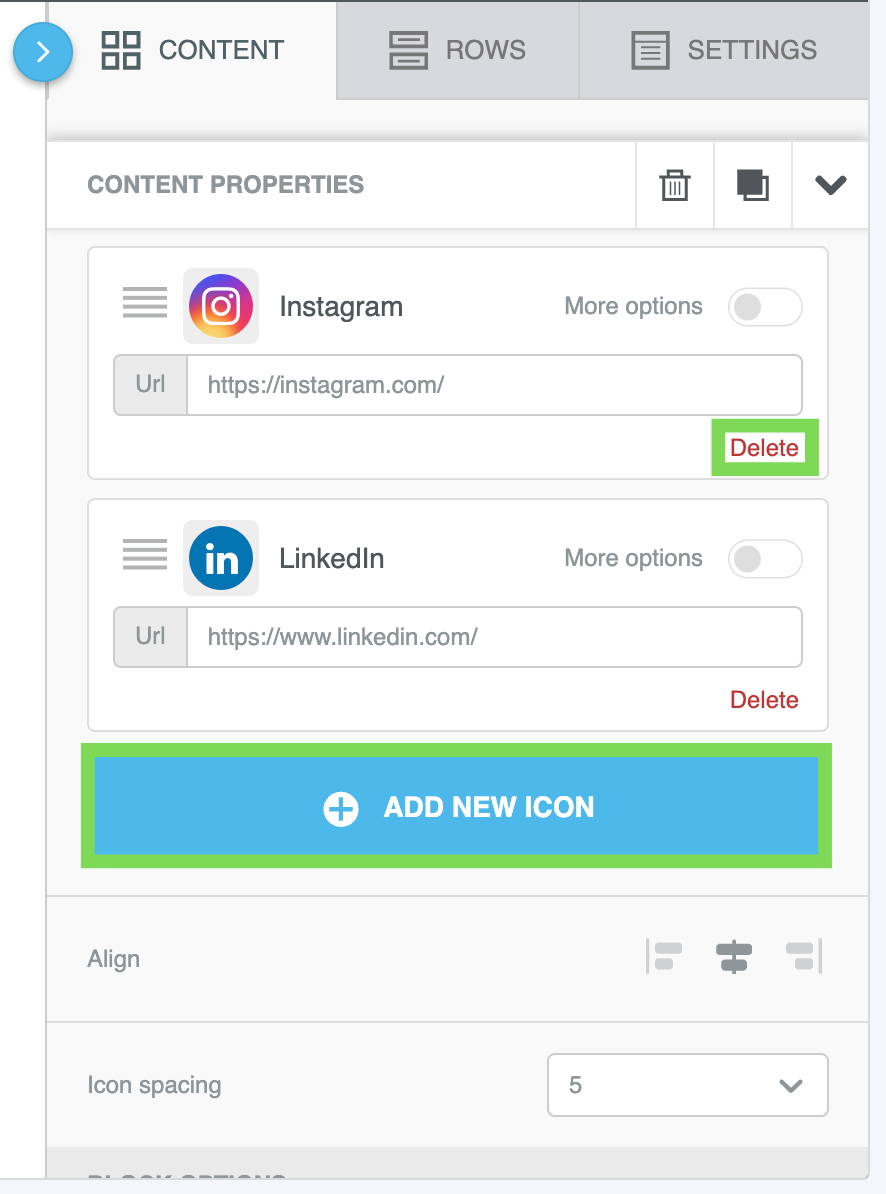
Social
HTML

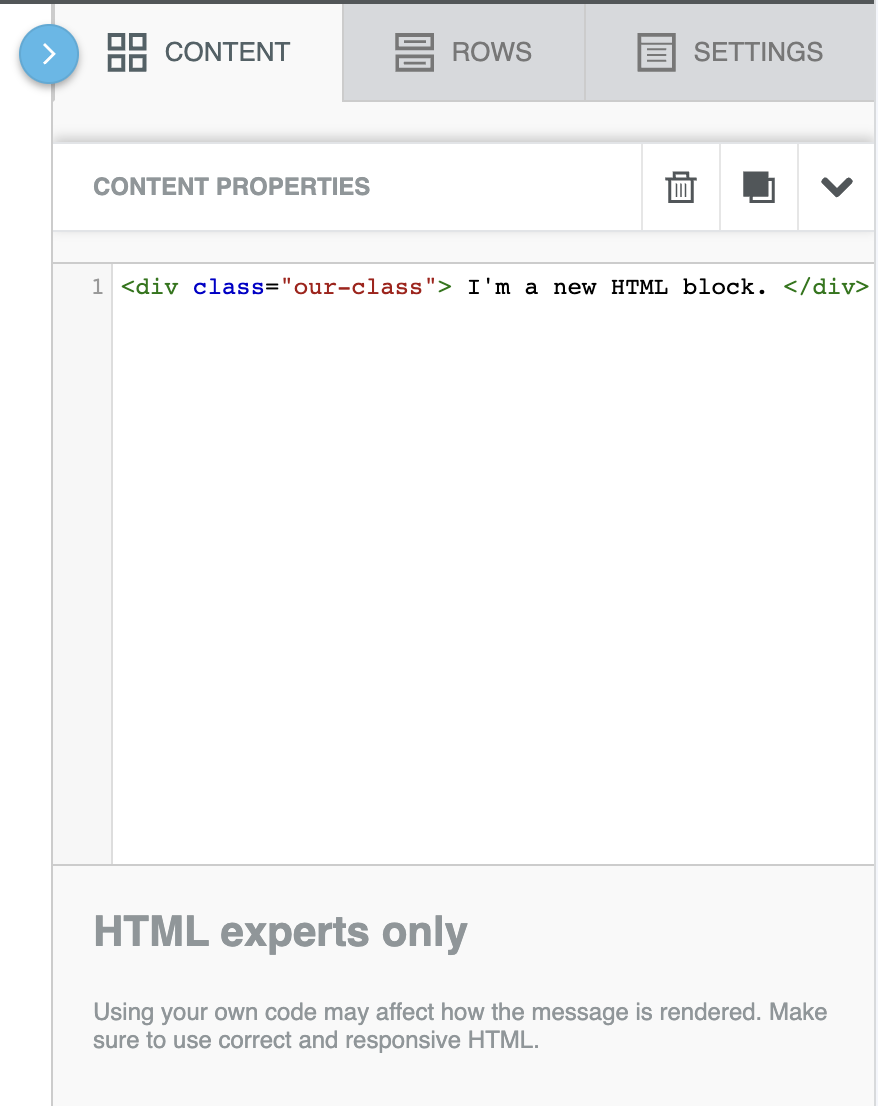
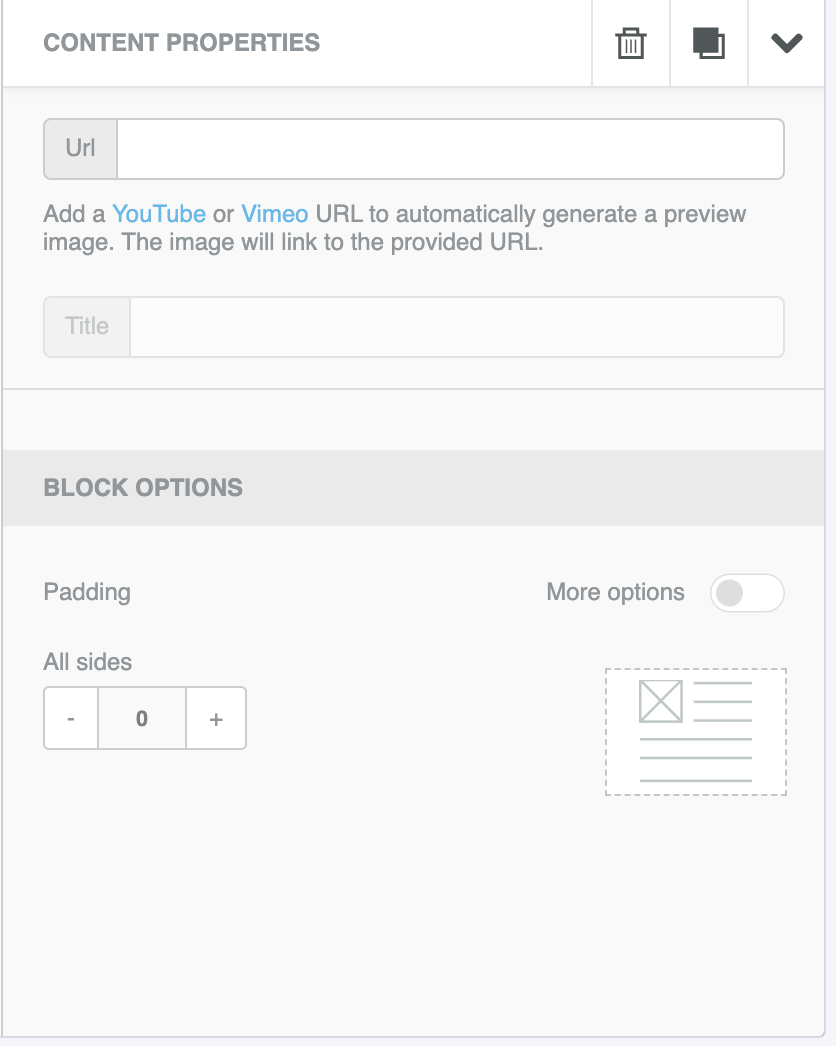
Video
Text
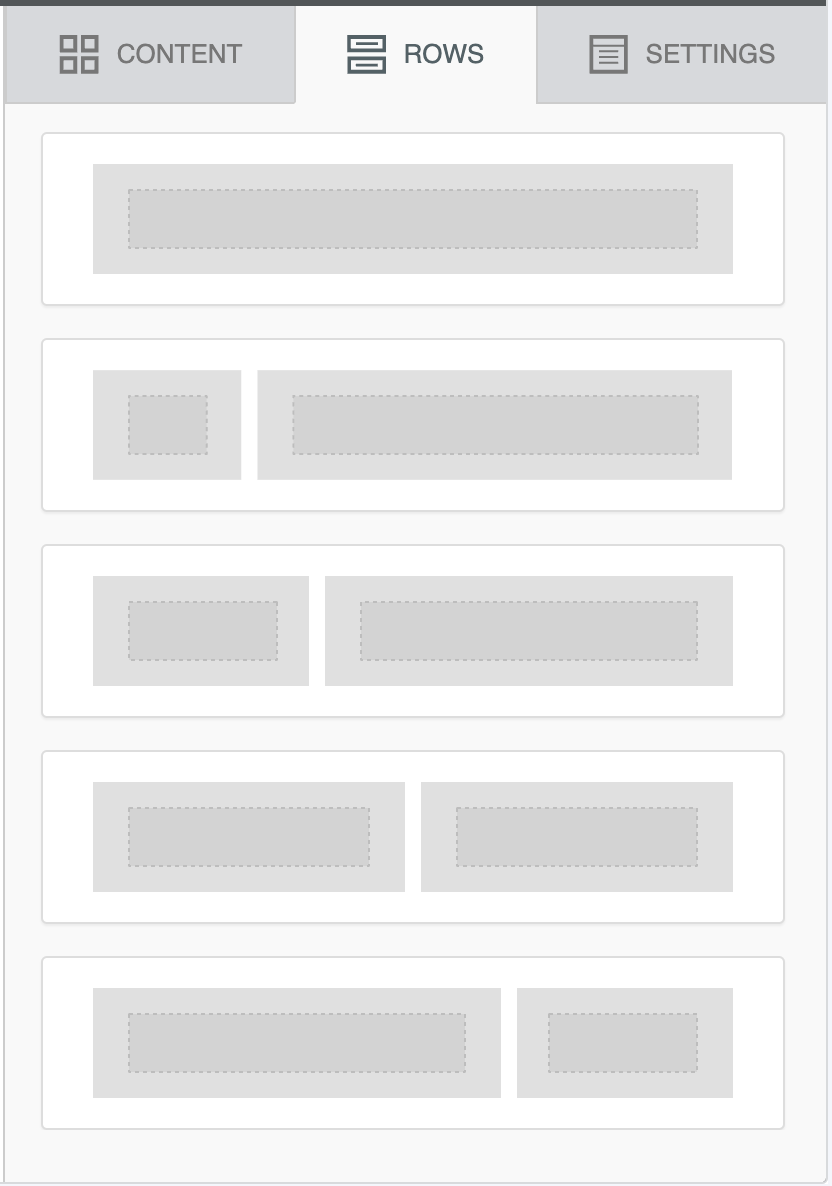
Rows
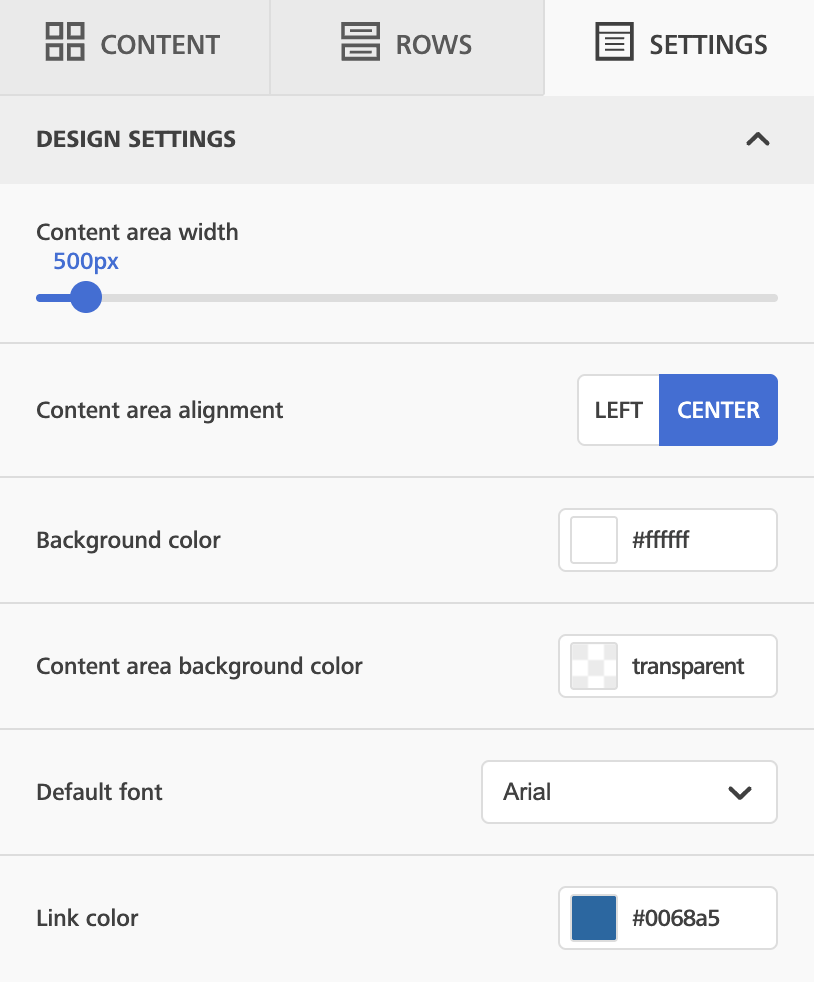
Settings
Stage Controls
| Control | What it Does |
|---|---|
|
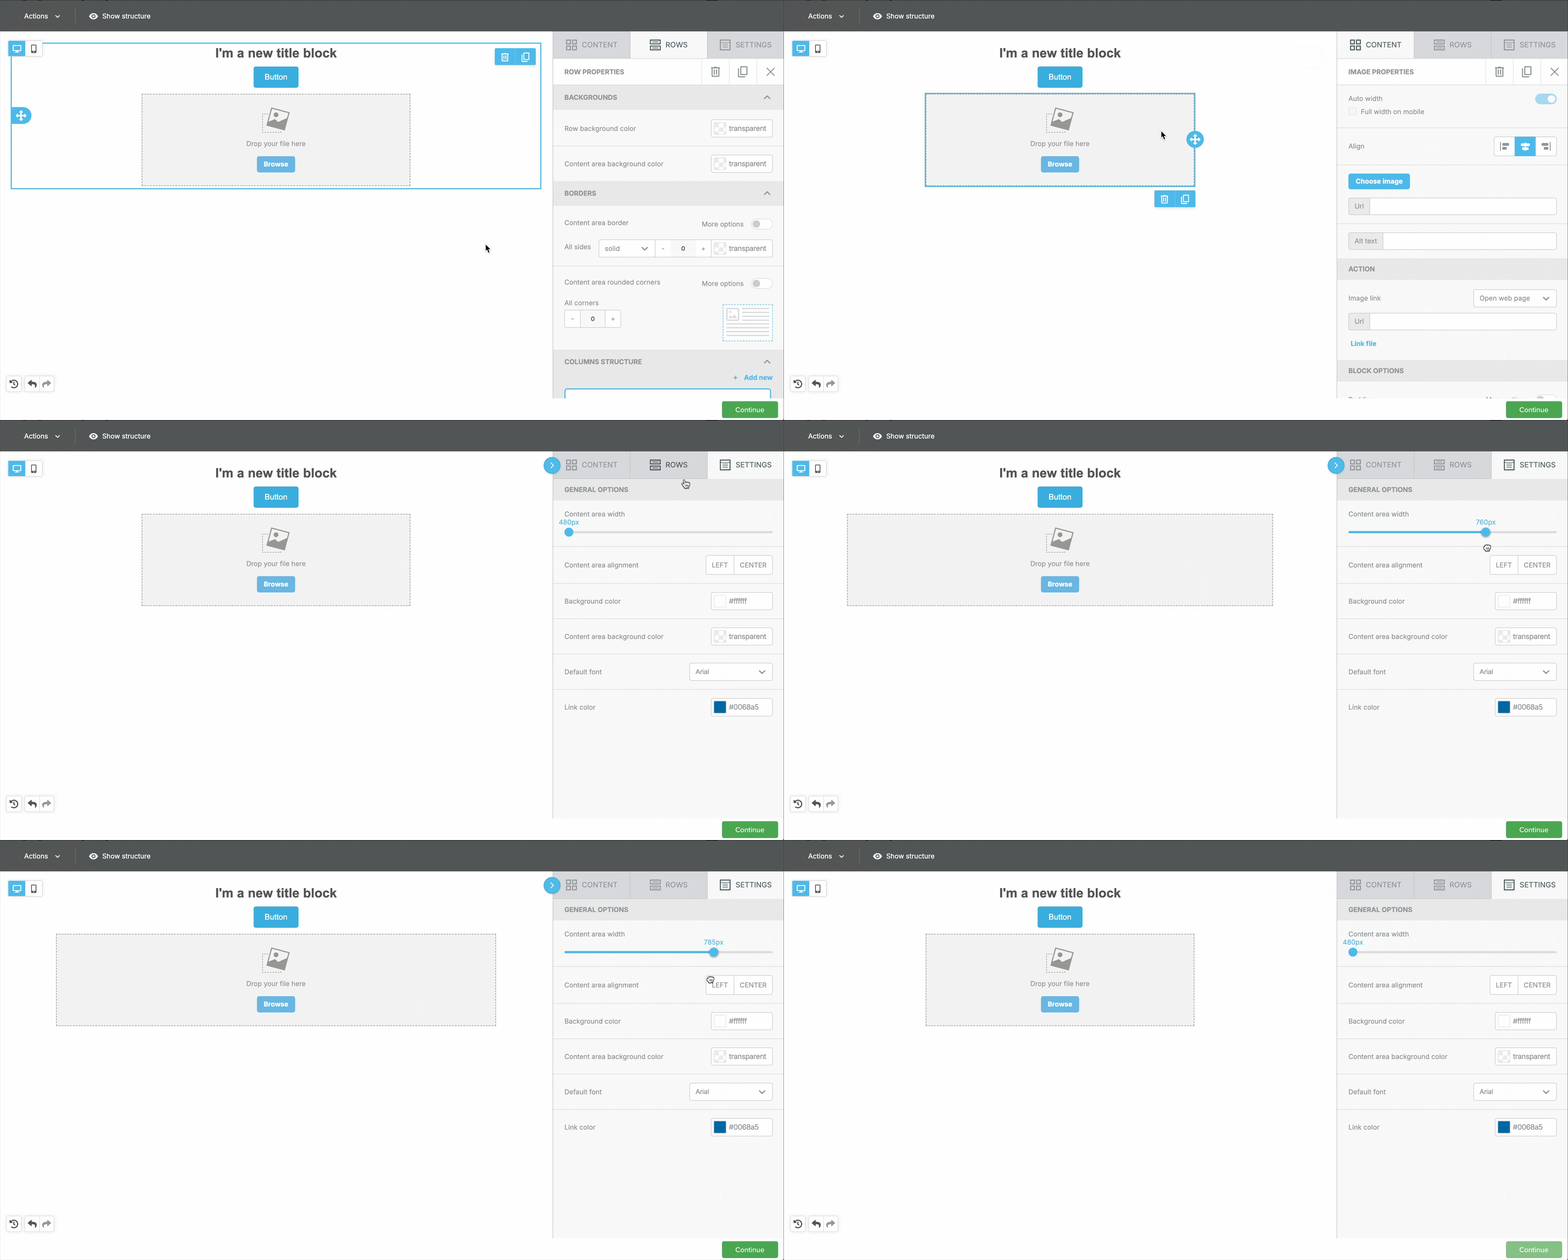
Hide Structure
|
Shows all of the boundaries around your content blocks as well as the width of the entire email. This allows you to adjust your content width while getting a visual representation.
 |
|
Preview
(Actions)
|
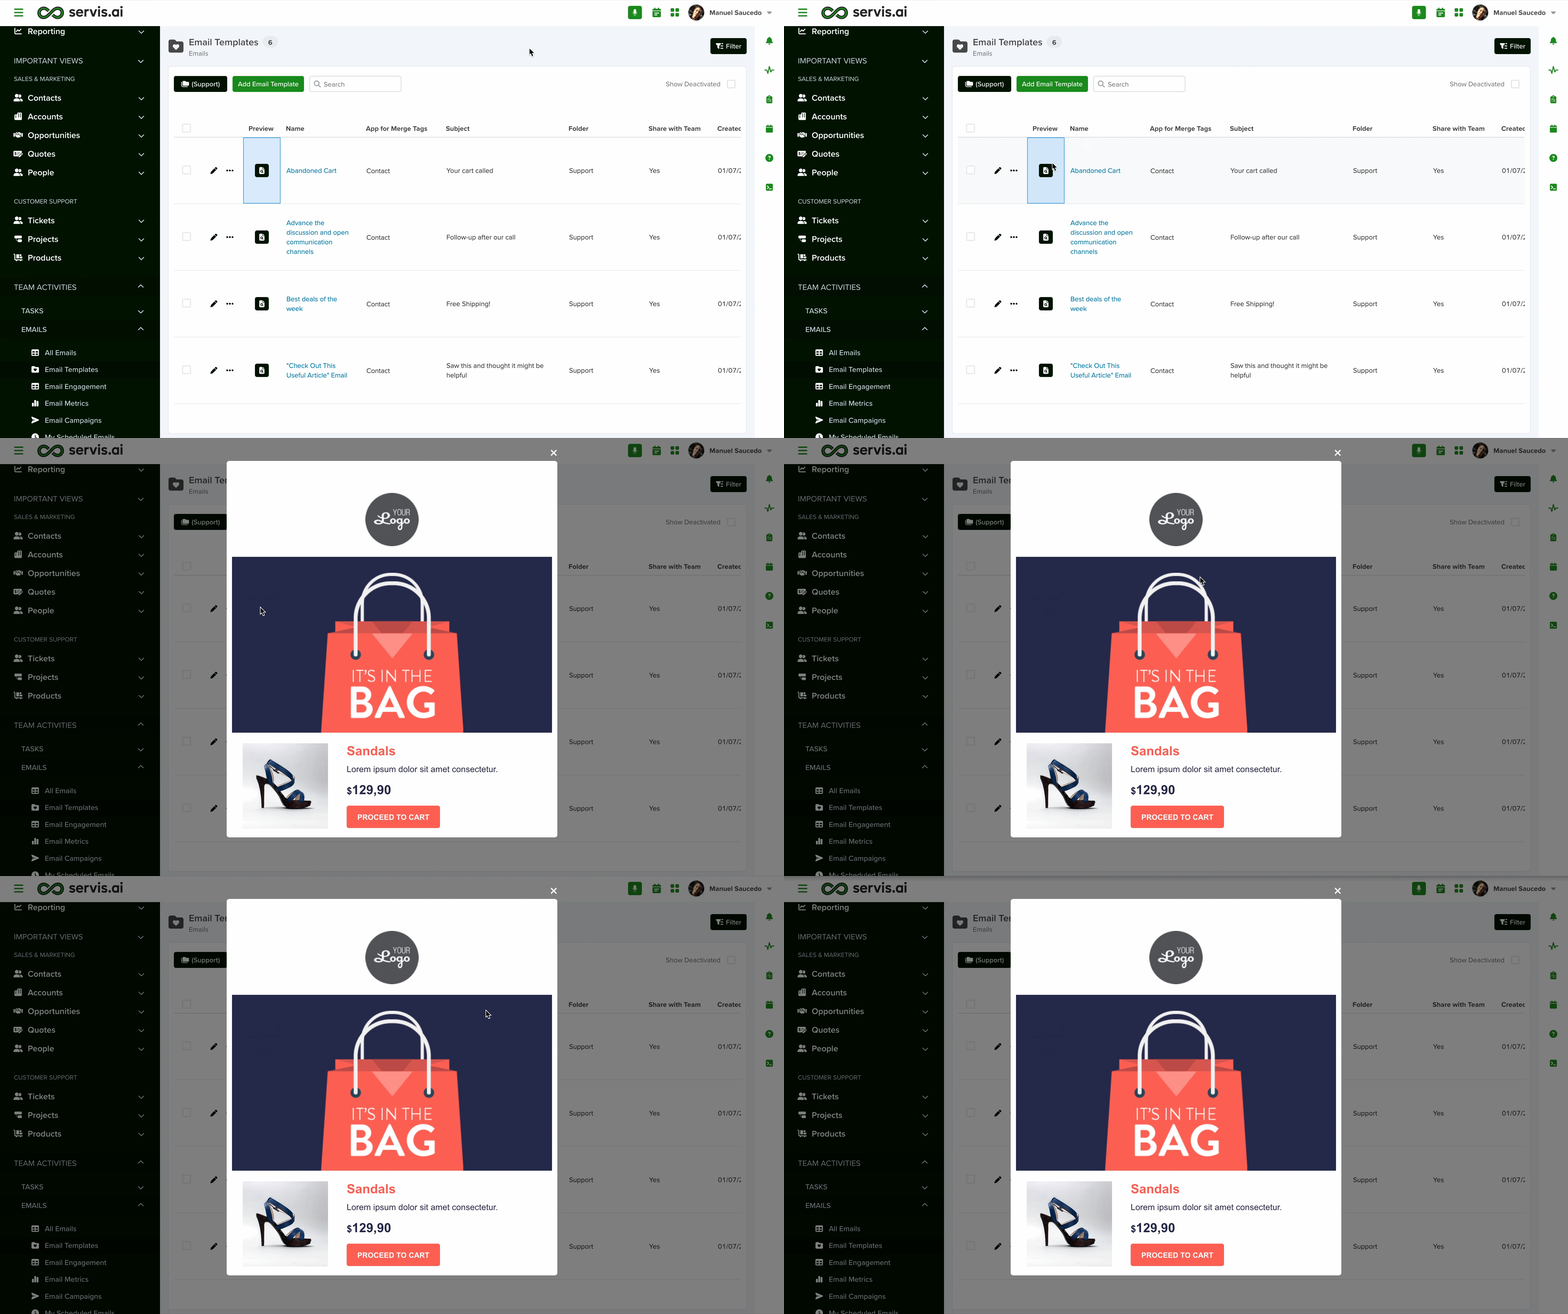
Look at your template as it will appear to your customers once it’s been sent.
|
|
Send Test
(Actions)
|
Send a test email to verify the final template looks exactly the way you want. Enter one or more email addresses separated by commas.
|
|
Undo / Redo
|
Available in the bottom left corner of the screen.
 You also have a third option that lets you view your change history and go as far backward or forward as you’d like. You also have a third option that lets you view your change history and go as far backward or forward as you’d like.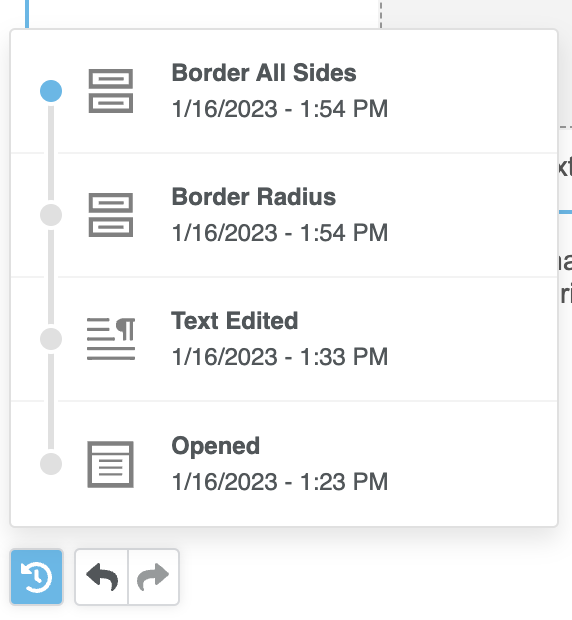 |
Step 6 – Add Attachments (Optional)
Step 7 – Configure Additional Options
|
Option
|
Description
|
|---|---|
|
Preview Text
|
A short line of text that appears below the subject line in some email clients. Use it to boost open rates. Example: “Here’s what’s inside your account…”
|
|
Seed List
|
Enter internal email addresses to receive a copy of the campaign for monitoring and verification purposes.
|
|
Enable Effectiveness Metrics
|
Turn this on to track sends, opens, clicks, open rate, and click rate for this template. Requires a validated email domain.
|
|
Enable Multi-language
|
Turn this on if you need to provide translated versions of the subject and body for recipients in different locales.
|
|
Folder
|
Assign the template to a folder for organizational purposes.
|
Step 8 – Save
How to use Merge Tags in your Template
Merge Tags are a powerful way to pull information from your applications for use in your email templates. Here’s how they work.
Select the app you want to pull information from
You’ll be able to pull information from the fields in the application you chose when you first created your template.
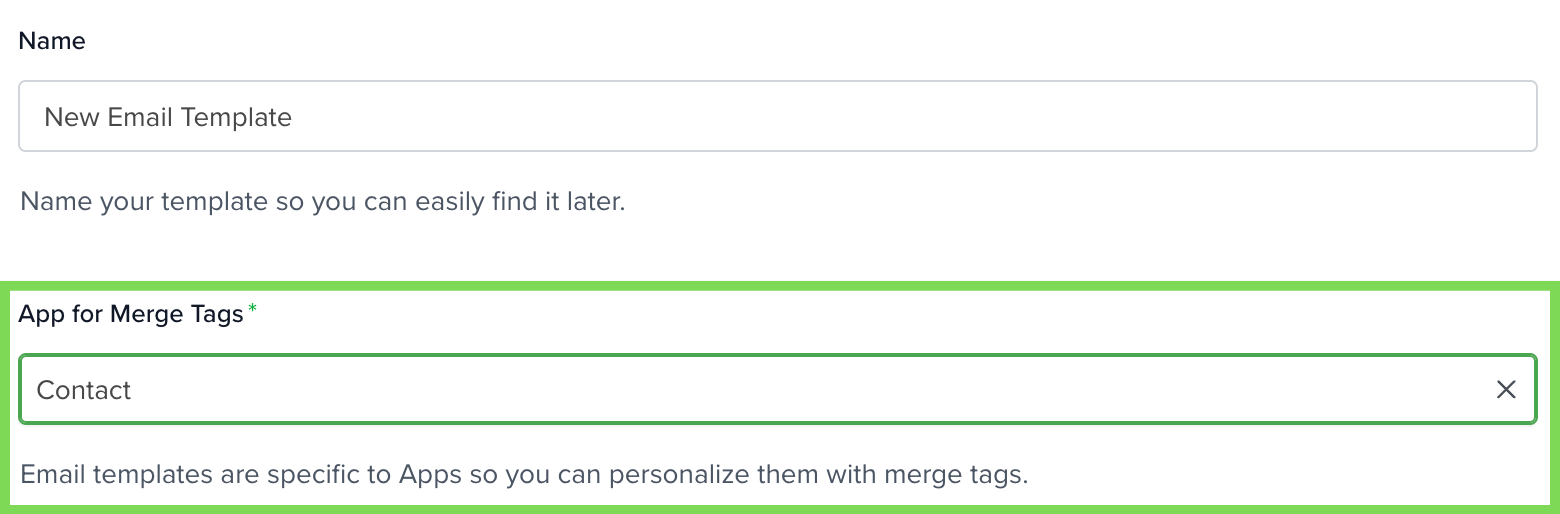
Once you select the app – Contacts, Accounts, Opportunities etc. the merge tags that will be available to you are specific to that application. You can add tags in any of the text-based content blocks. The title, paragraph, and text blocks will work.
When you click inside a text block, a toolbar will automatically appear with the ‘Merge Tags’ option.
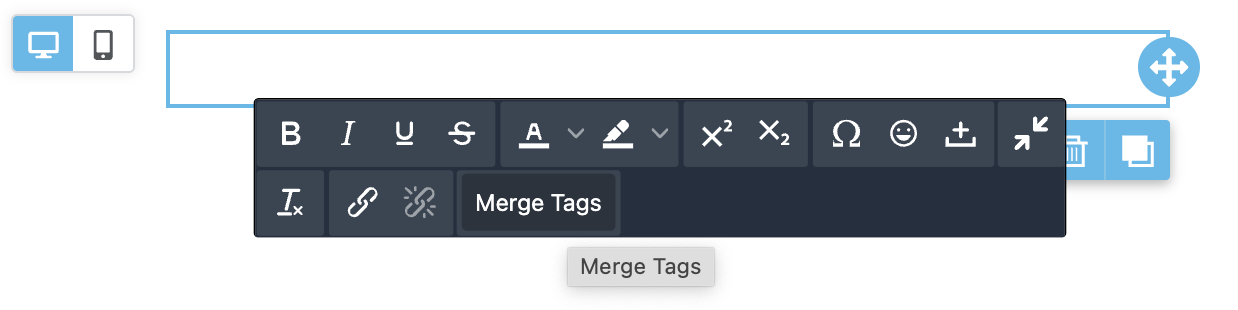
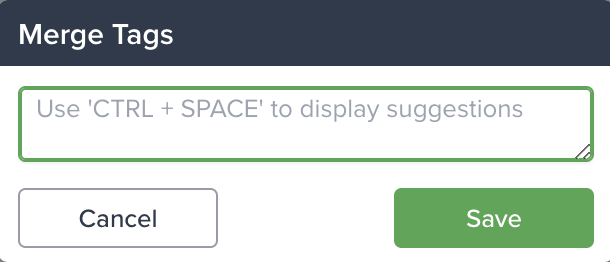
When clicked, the following box will appear. Use CTRL + SPACE to bring up your options.
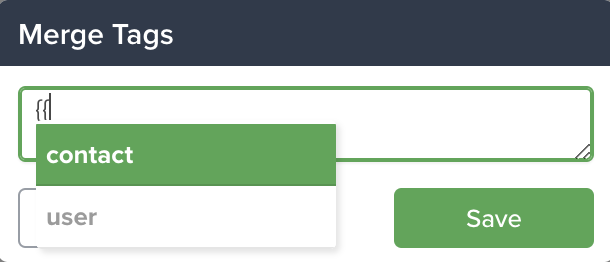
We’re using the Contacts app in this example, so we can choose from ‘user’ and ‘contact’.
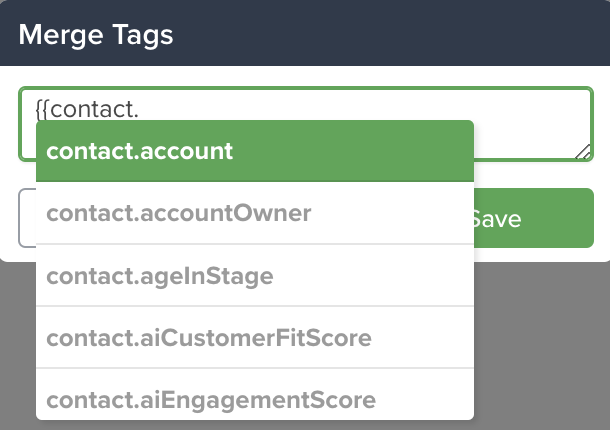
After you make your selection, make sure you put in a PERIOD afterwards to see more options from within the Contacts app.
Using Static Values within Merge Tags
You can also use the | (pipe) character at the end of a merge tag to set a static value. If the merge tag doesn’t find a value in the referenced record, it will display the static value instead.
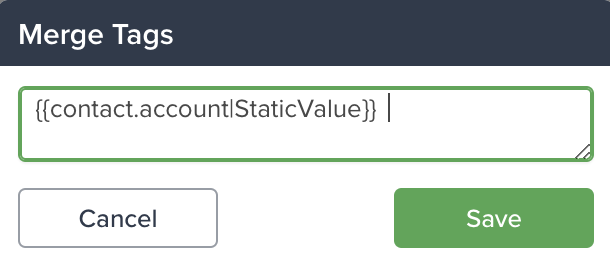
Here’s an example of how to use Static Values in merge tags when creating a sales template.
Let’s say you’re setting up a sales template that includes the Contact’s Name in the subject line. The merge tag would look something like this:

Example:
If the contact has a name field, the merge tag will automatically pull that information and display it in the template. In this case, this contact:
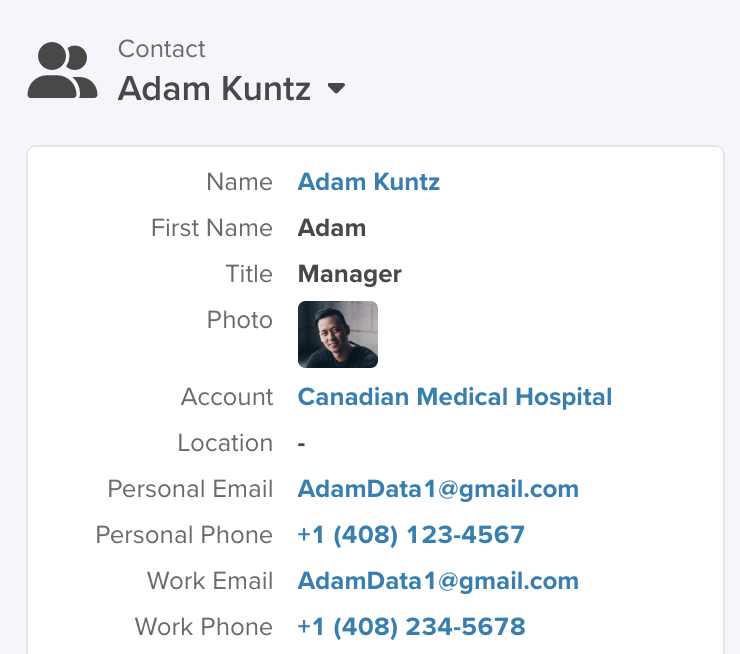
However, if the Location field is empty in the contact record, it could leave a blank space in the template. To avoid this, you can use a Static Value as a fallback.

By adding a pipe (|) character inside the merge tag, you can define a default value to be used when the field is empty.
How It Works
The merge tag first looks for the Location value in the record.
•If a value exists, it will display the Location as expected.
• If there is no value, it will show the Static Value instead.
This ensures that your template remains standardized and complete, even when certain fields are missing from a record.
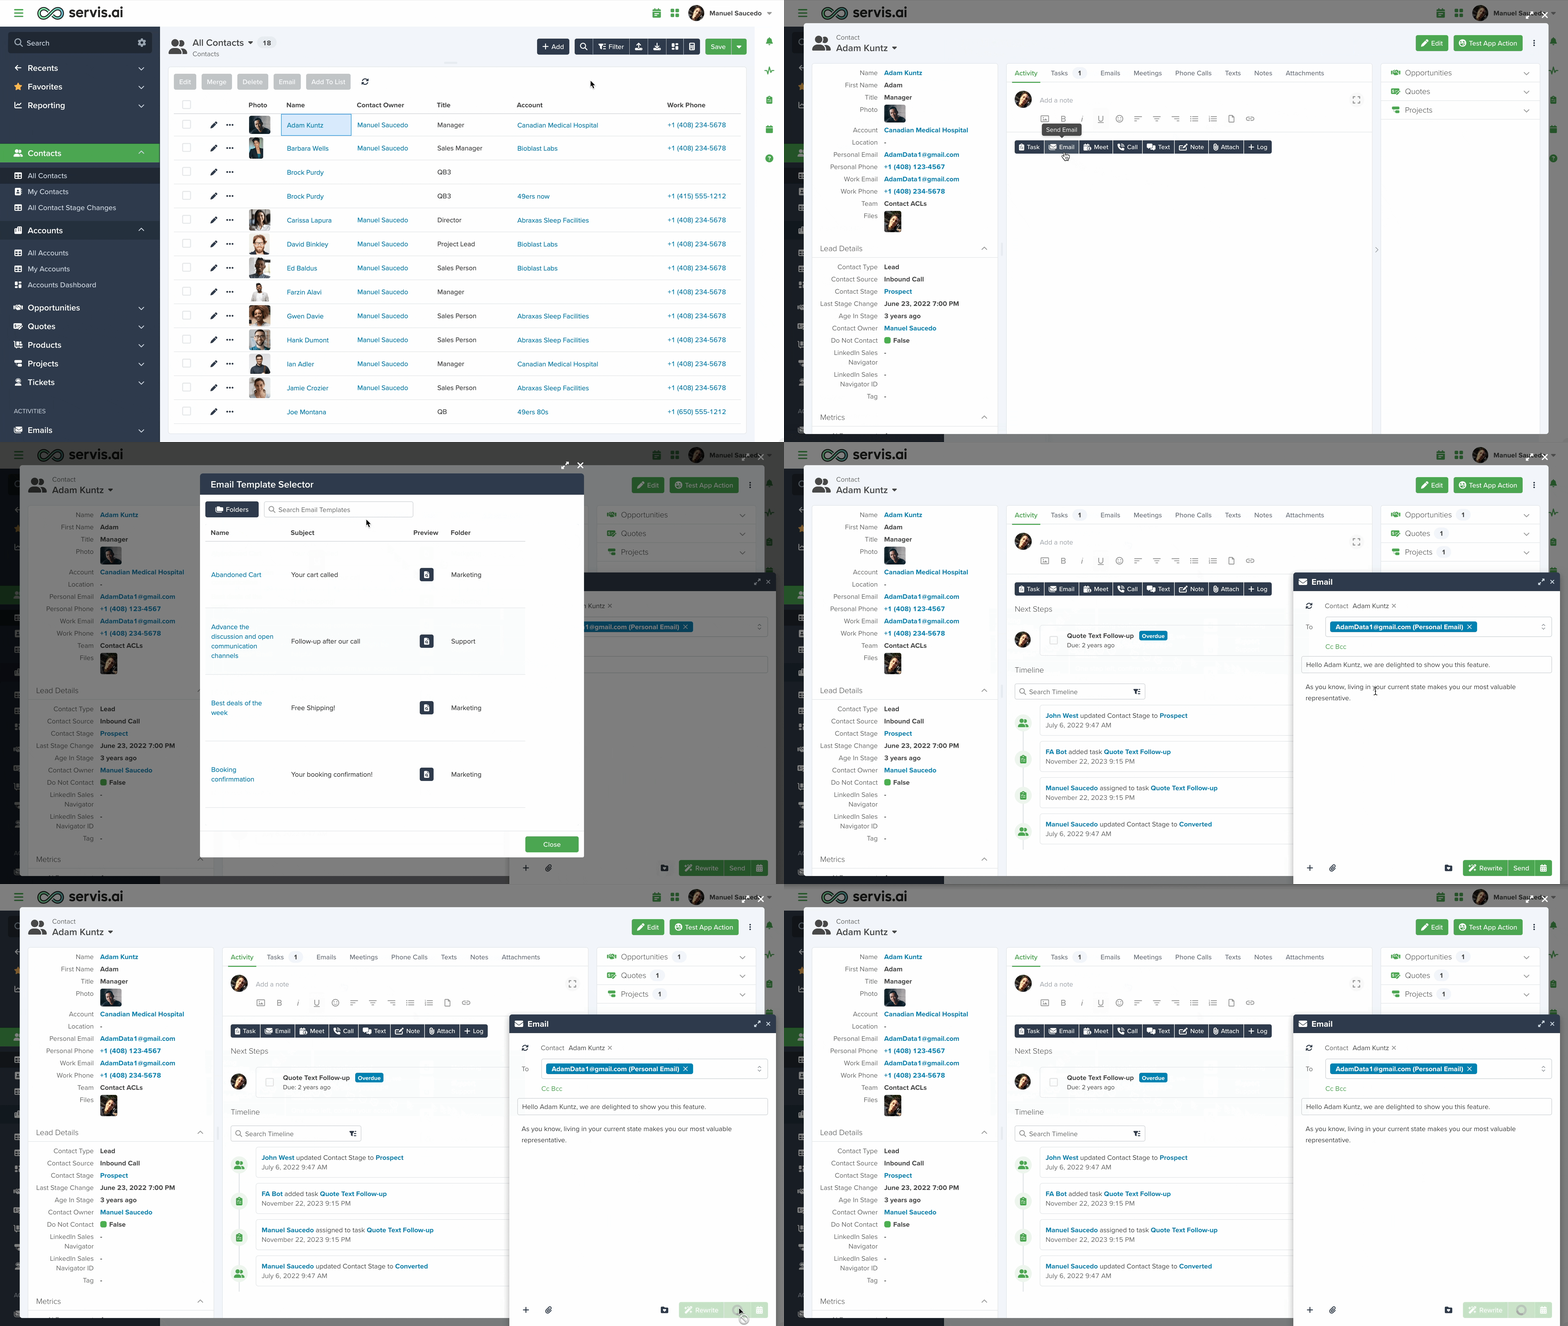
When Using the Template for an Email.
This is how it would look using the template for this specific contact:
Dot Walking
{{contact.account.accountOwner}}