Admins can see and edit all scheduled reports in one place. To learn more about scheduling reports from within app views, check out our article, How to Export Your Data in servis.ai.
User Permissions: Role-based restrictions. If you are unable to export files, please reach out to your team’s Admin.
Navigate to Scheduled Reports
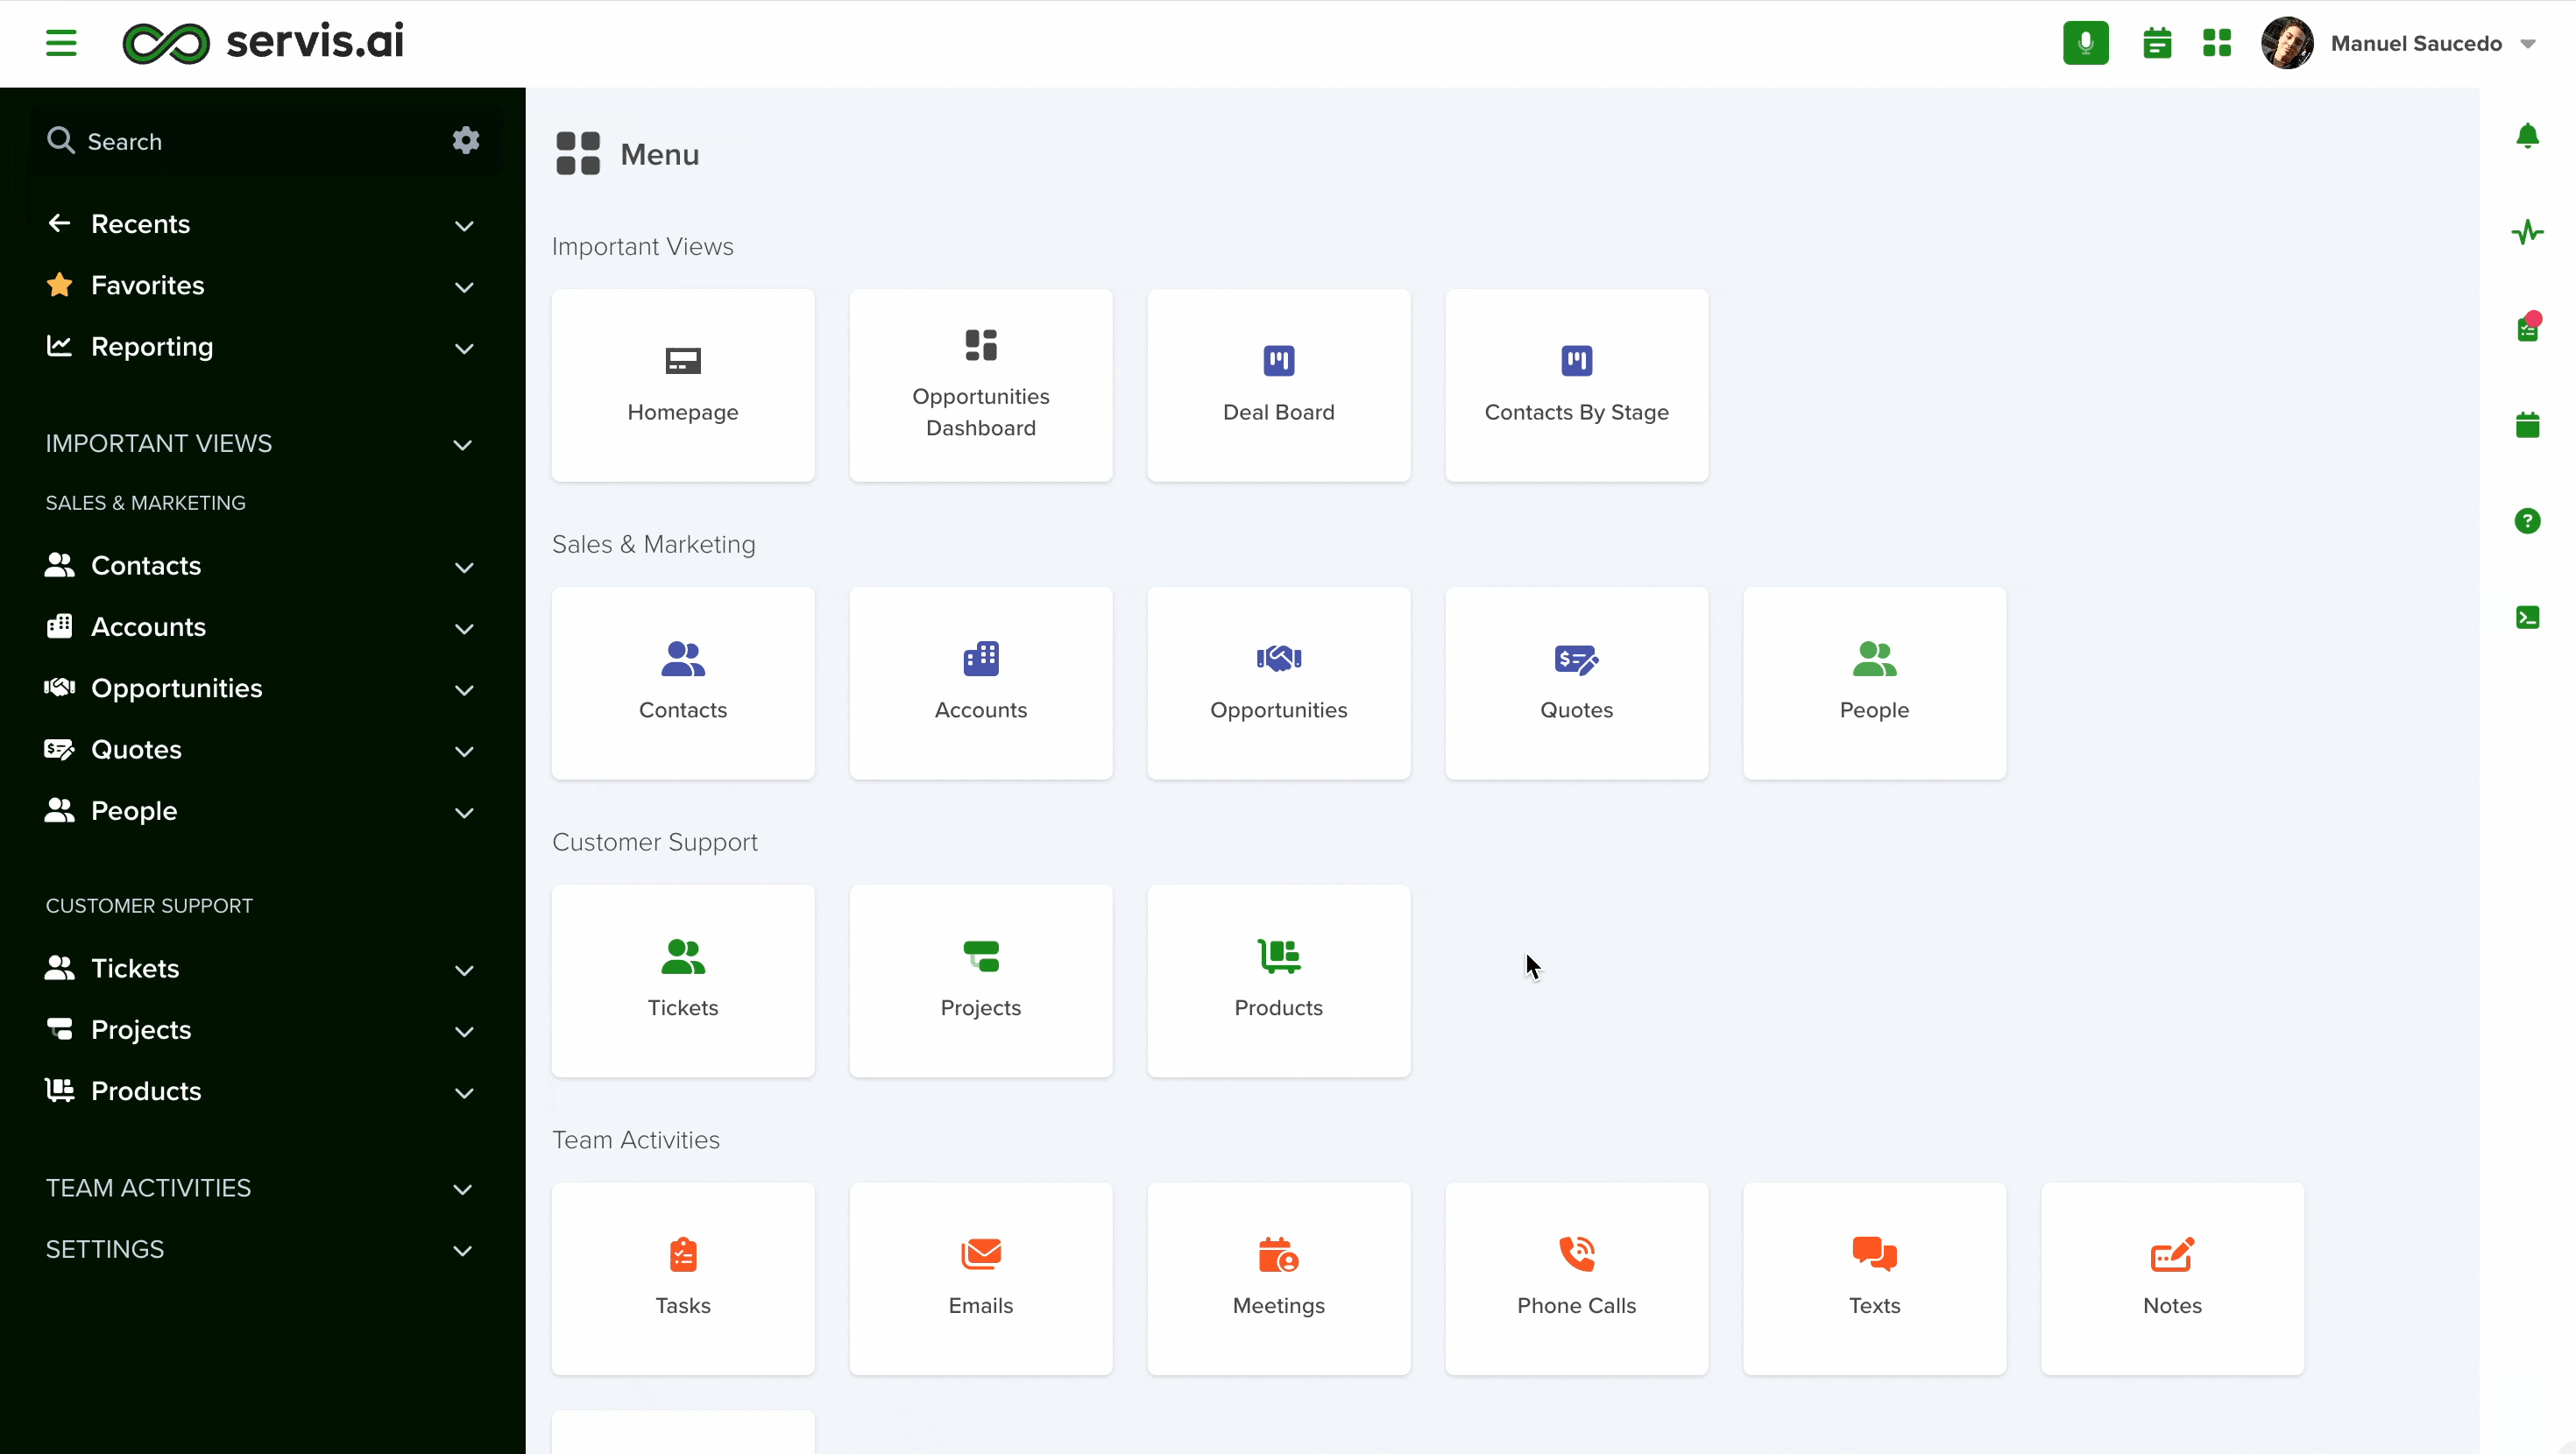
From the Navigation Menu, go to Reporting > Scheduled Reports.
Scheduled Reports Page
From the Scheduled Reports page you can view all of your existing scheduled reports or create a new scheduled report.

Create a Scheduled Report
To create a new scheduled report, click the Add Scheduled Report button in the top left hand side of the Scheduled Reports page.

The Add Scheduled Report form will appear.

Data source
In the Data Source field you can designate where the report will draw its data from. Options appear as a dropdown menu that includes Dashboard and View. Depending on your choice, a new field will appear that allows you to select the specific Dashboard (Live Dashboard) or specific View (Live View).
This is a required field (*).
Name
The Name field allows you to name the scheduled report.
The name of the scheduled report should be simple and informative, telling you what report details.
New Contacts View is a good example of a name of a scheduled report.
This is a required field (*).
Report Type
The Report Type field allows you to select a type of report to run. Options appear as a dropdown menu that includes Web, Email, File, and Alert.
This is a required field (*).
Web
The Web reports type will generate the report in a web compatible format. Choose this option if you would like to download a local copy of the report to your hard drive.
The Email reports type will send an email with the scheduled report to recipients of your choosing. When you select the Email report type, a new field called Email Recipients will appear. This field allows you to select who you want to email the report to.

The Email Body will appear as well, here you can populate the contents of the email.
To know more about building emails, refer to this section of our Knowledge Base.

File
The File reports type will generate a report you can download.
Alert
Alert reports automatically trigger automations that perform actions such as sending emails, creating tasks, and issuing notifications whenever records meet predefined conditions.
All alerts have a limit of 10,000 records per execution across any view allowing you to process large-scale data sets.
When the 10,000 cap is reached, the automation completes for the eligible records while skipping excess ones.
Eligible Records
The feature uses the sort already on the selected view so the first 10,000 will be eligible according to said sort.
Meaning if we want to process 15,000 records, only 5,000 will be excluded, you can create a new automation to manually select remaining records.
The automation has its own conditions, and these combine with the view’s sort to select the eligible records.
Note: The first record that is sorted on the view that meets the specified conditions on the automation.
To see the exact number and details of the processed records, all executions are logged in the Automation History.
When you choose Alert, a new field will appear that allows you to select the specific Automation you want the report to trigger. Schedule an Alert report from any View and when it runs, it will trigger the specified automation for each matching record.

You can also set Exception Alerts, to now more about this powerful feature, dive into this article.
Frequency
The Frequency field allows you to designate how often the scheduled report will run.
Options appear as a dropdown menu that includes Now, One Time, Every Weekday, Daily, Weekly, and Monthly.
Note: If you choose a Frequency option that repeats, (Every Weekday, Daily, Weekly, Monthly) a new field will appear that allows you to select a time of day for the report to run.
This is a required field (*).

Existing Reports
You can Run, Edit, and Delete scheduled reports from the Scheduled Reports page.
Click the Options button (…) next to a report to reveal the Options Menu.

1. Run Report
This will run the report job immediately instead of waiting for the scheduled time.
2. Edit
You make any changes you would like to your scheduled report. Keep in mind any changes will overwrite any current settings once you hit save.
3. Delete
Use this to delete a scheduled report.
View Report History
From here you can see a history of all reports that have been produced and sent.

Troubleshooting
What if I can’t find the email of my report in my inbox?
In rare cases, a scheduled report from servis.ai may get flagged as spam by some email providers. In these cases make sure to check your ‘spam’ or ‘junk’ folder for the report.
You can flag the report to ensure that this doesn’t happen again. How you do this will vary depending on your provider.
If you’re using Gmail simply right-click on the report email in your ‘spam’ folder and select ‘Not spam’. Your report should end up in your inbox from now on.

