You can learn how to create a new Form Field from this article.
The Multi-Image field is a versatile feature available across all Apps, enabling users to upload multiple images within a project. This functionality is particularly useful for teams that need to share visual content efficiently.
Key Features:
- Supports multiple image uploads within an App.
- Ideal for collaborative projects requiring visual documentation.
File Requirements:
- Accepted formats:
.png,.jpg - Maximum file size per image: 2MB
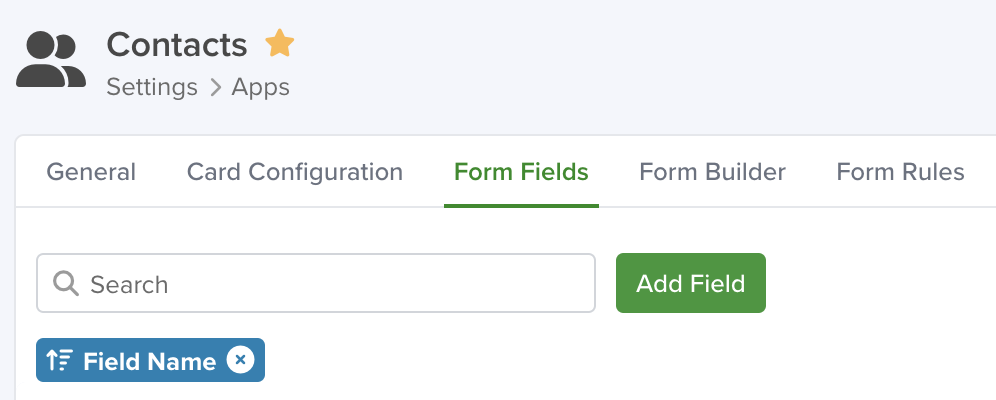
Navigating to Form Fields
Go to Settings > Apps, select the app you’d like to add the field to, and select the ‘Form Fields’ tab.
Configuring a Multi-Image Field
To set up the Multi-Image field in your app, follow these steps:
- Add a New Field: Click the Add Field button to open the Field Type selection window.
- Select Image Field Type: From the list of available field types, choose the Image option.
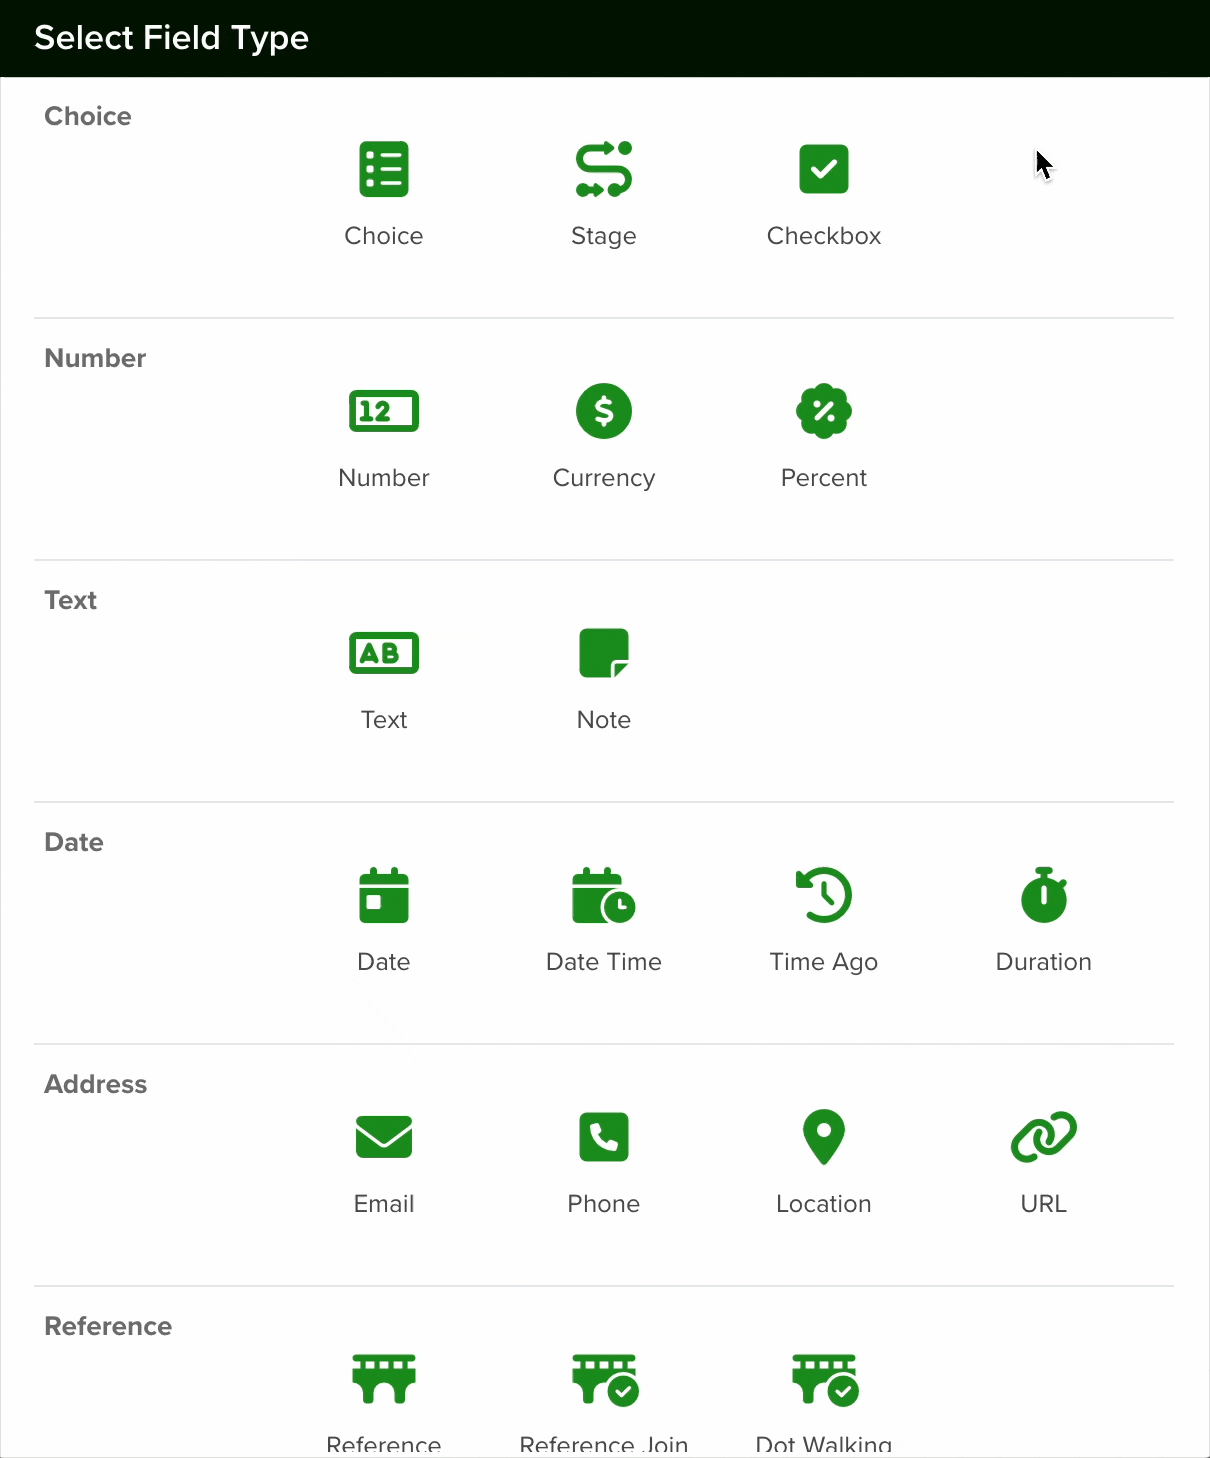

- Configure the Field: After selecting the Image field, proceed with the configuration settings as needed.
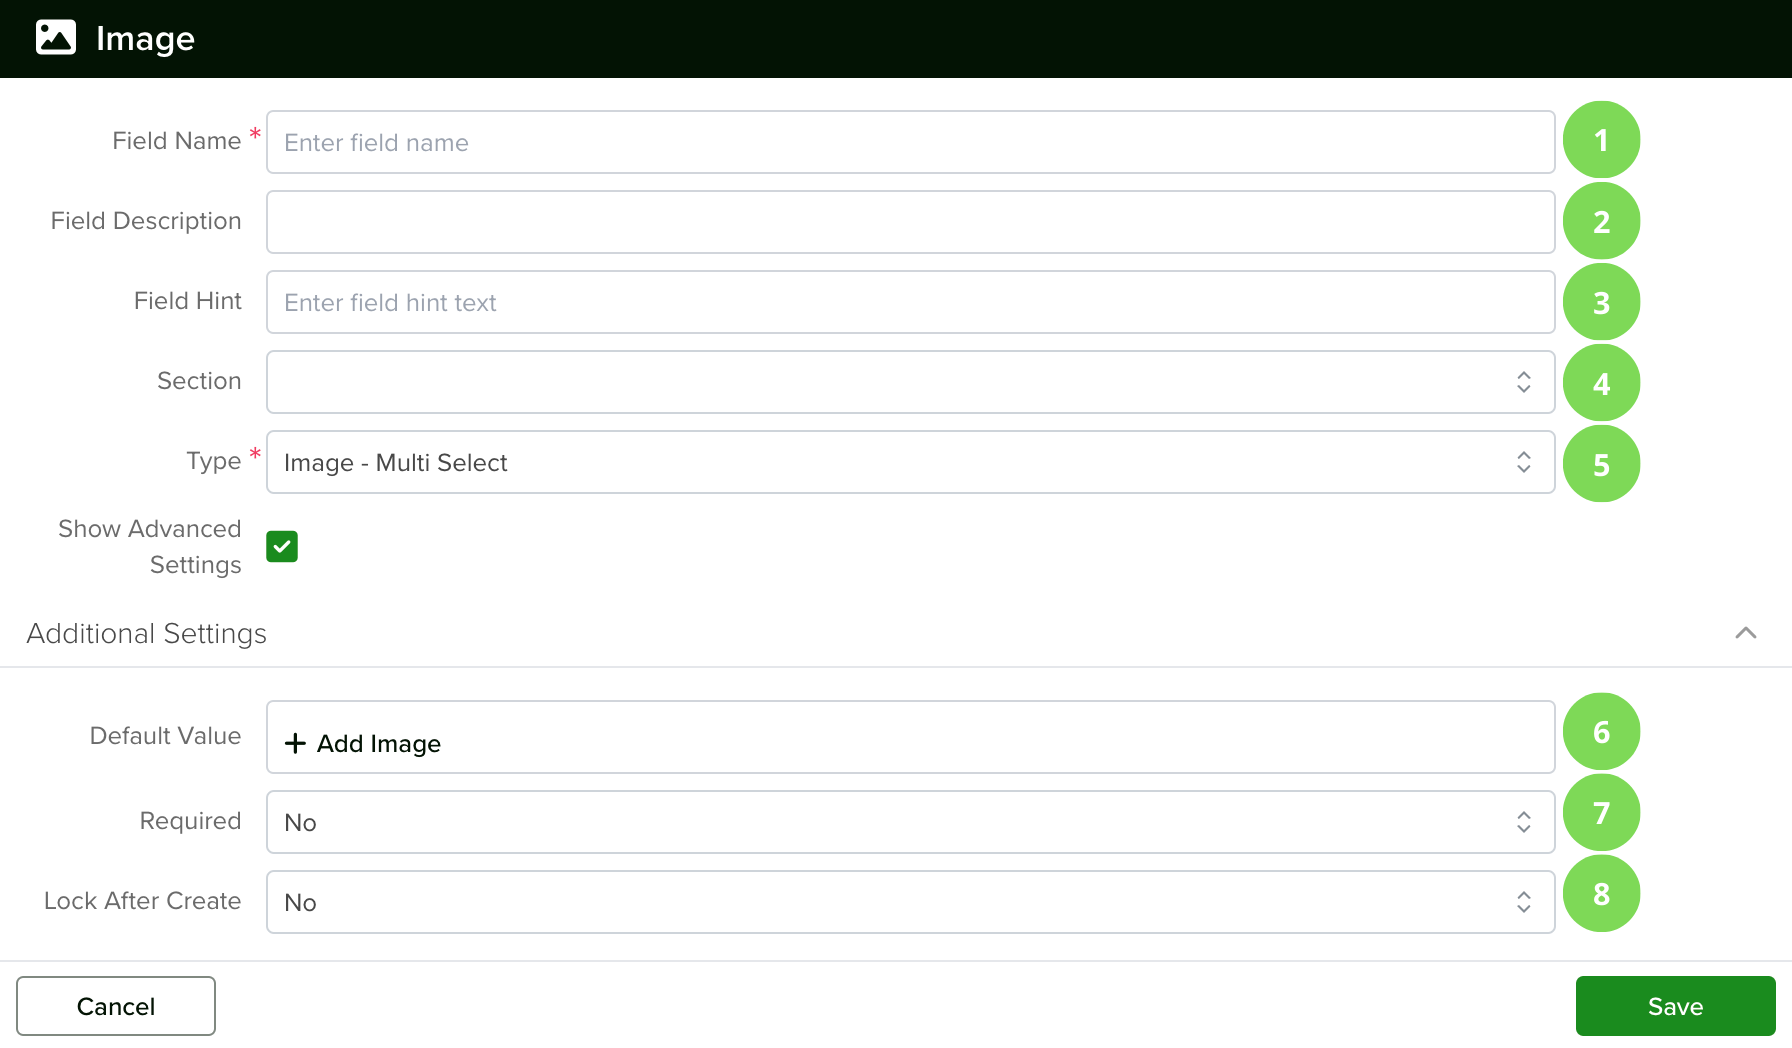
1. Field Name
When creating a new field, it is important to assign it a clear and descriptive name. A well-chosen name helps ensure easy identification and usability within your application.}
2.- Field Description
Provide a concise summary of your image field’s purpose to inform users of its function.
3.- Field Hint
Supplementary text that offers guidance on what to input in a field. It typically appears when a user hovers over or focuses on the field, providing additional context or examples.
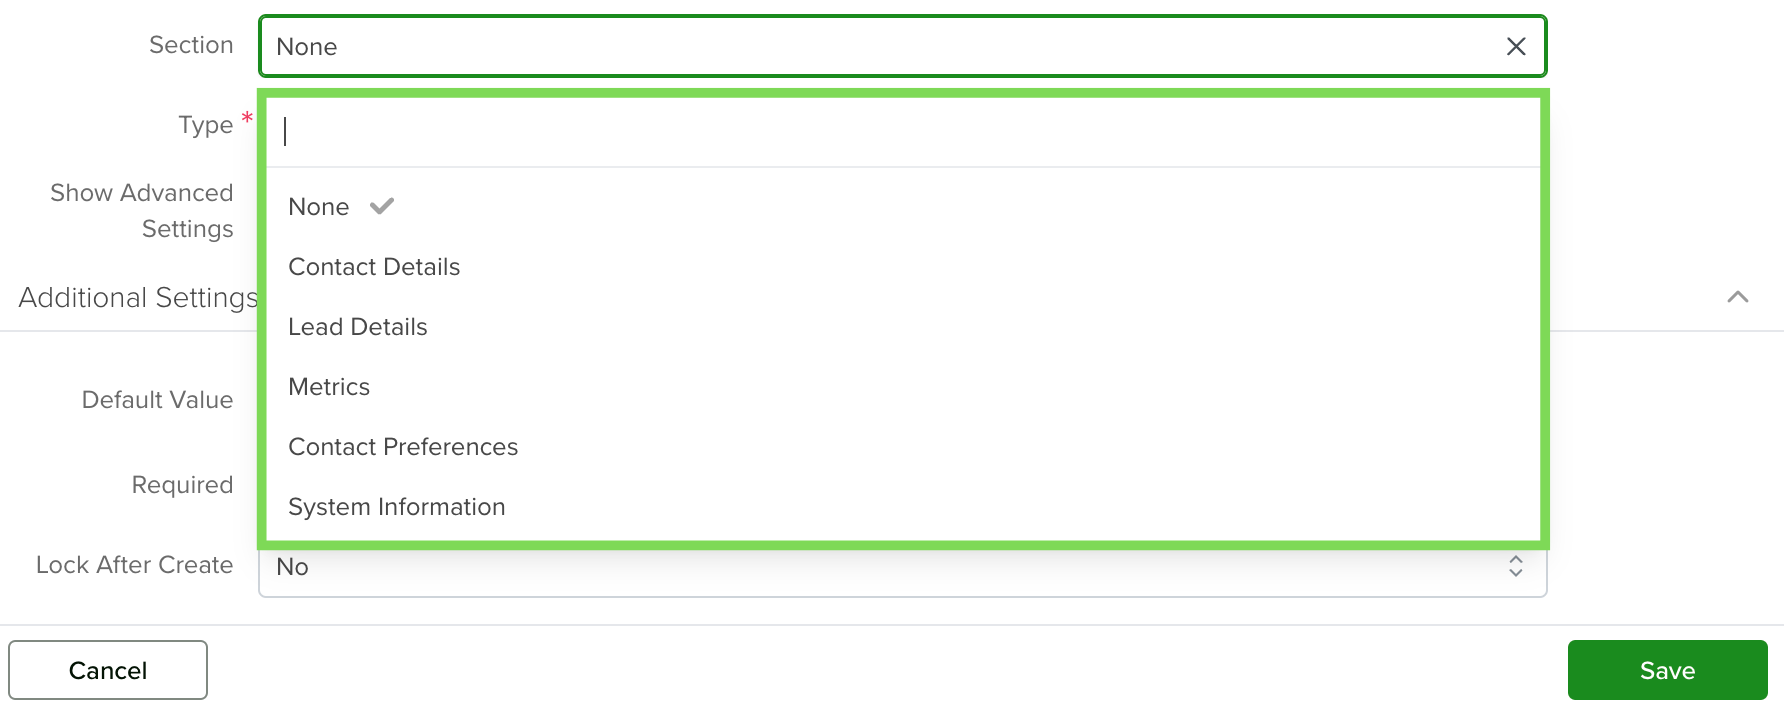
4.- Section
Select the appropriate form section from the dropdown menu to place your new field. Each option corresponds to a section under the Form Builder tab on your app’s Settings. Click here to learn more about it.
5.- Type
Select the appropriate type for your image field. To enable multiple image selections, choose “Image – Multi Select.” This allows users to select multiple images within the field.
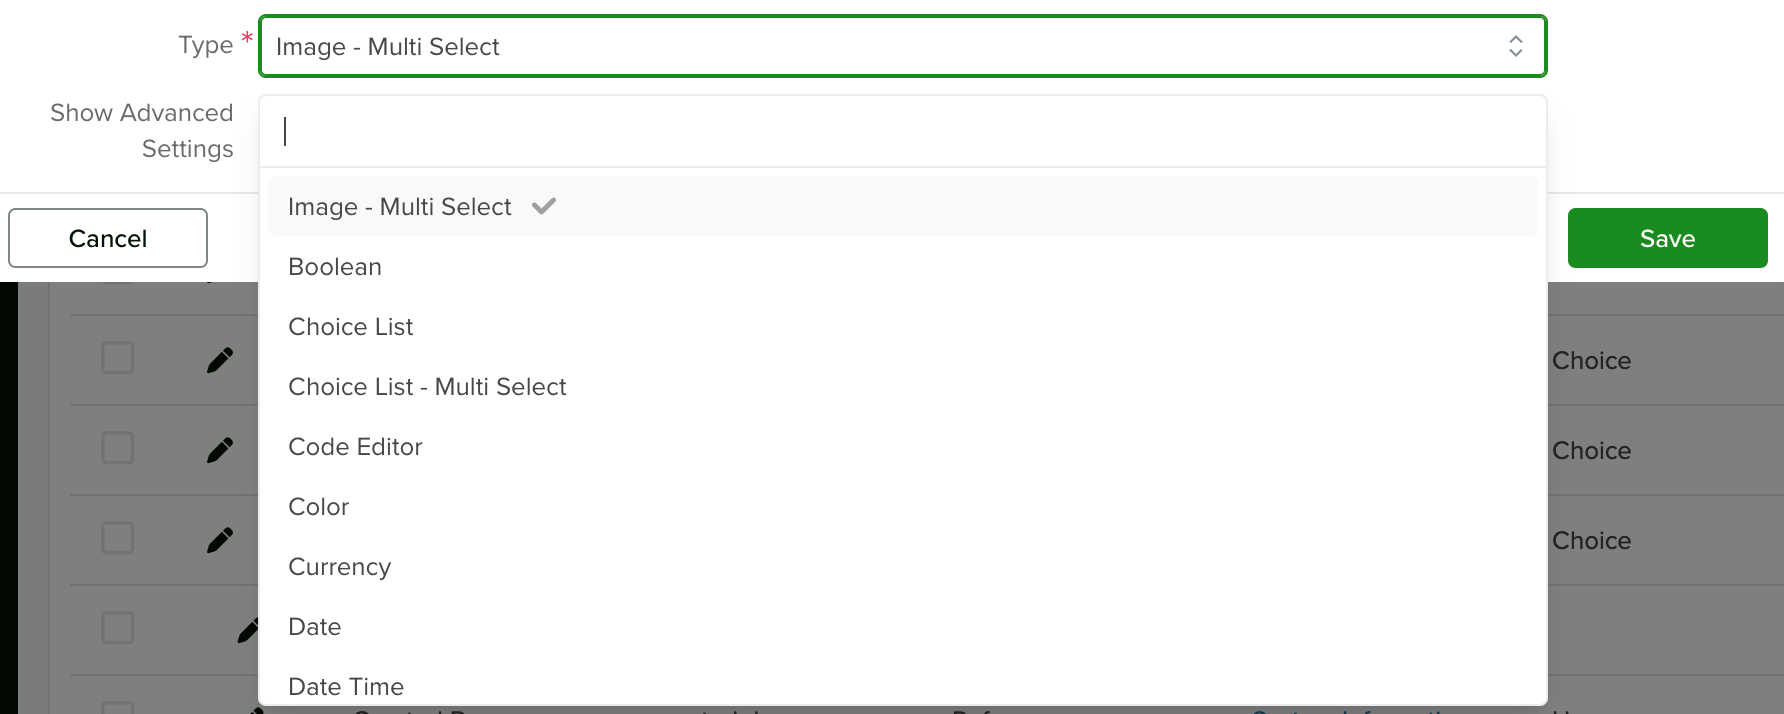
To access additional configuration options, enable the “Show Advanced Settings” checkbox. This will reveal more settings for further customization.
6.- Default Value
You can add an image that you like to be in this field by default.
7.- Required
To ensure users provide the necessary information, enable the “Required” checkbox for the desired field. This setting mandates that team members must complete the field before saving a new record.
8.- Lock After Create
To prevent edits to a field after a record is saved, enable the “Lock After Create” option. This setting ensures that once a new record is saved, the field becomes non-editable, preserving its initial value.
Once you are done setting your field, click the save button.
Note: All new fields are added at the bottom of the form.
Using the Multi-Image Field
Navigate to the app you created the field in and edit an entry. In this case, I created the field in the Accounts app, placed on the Account Info section.
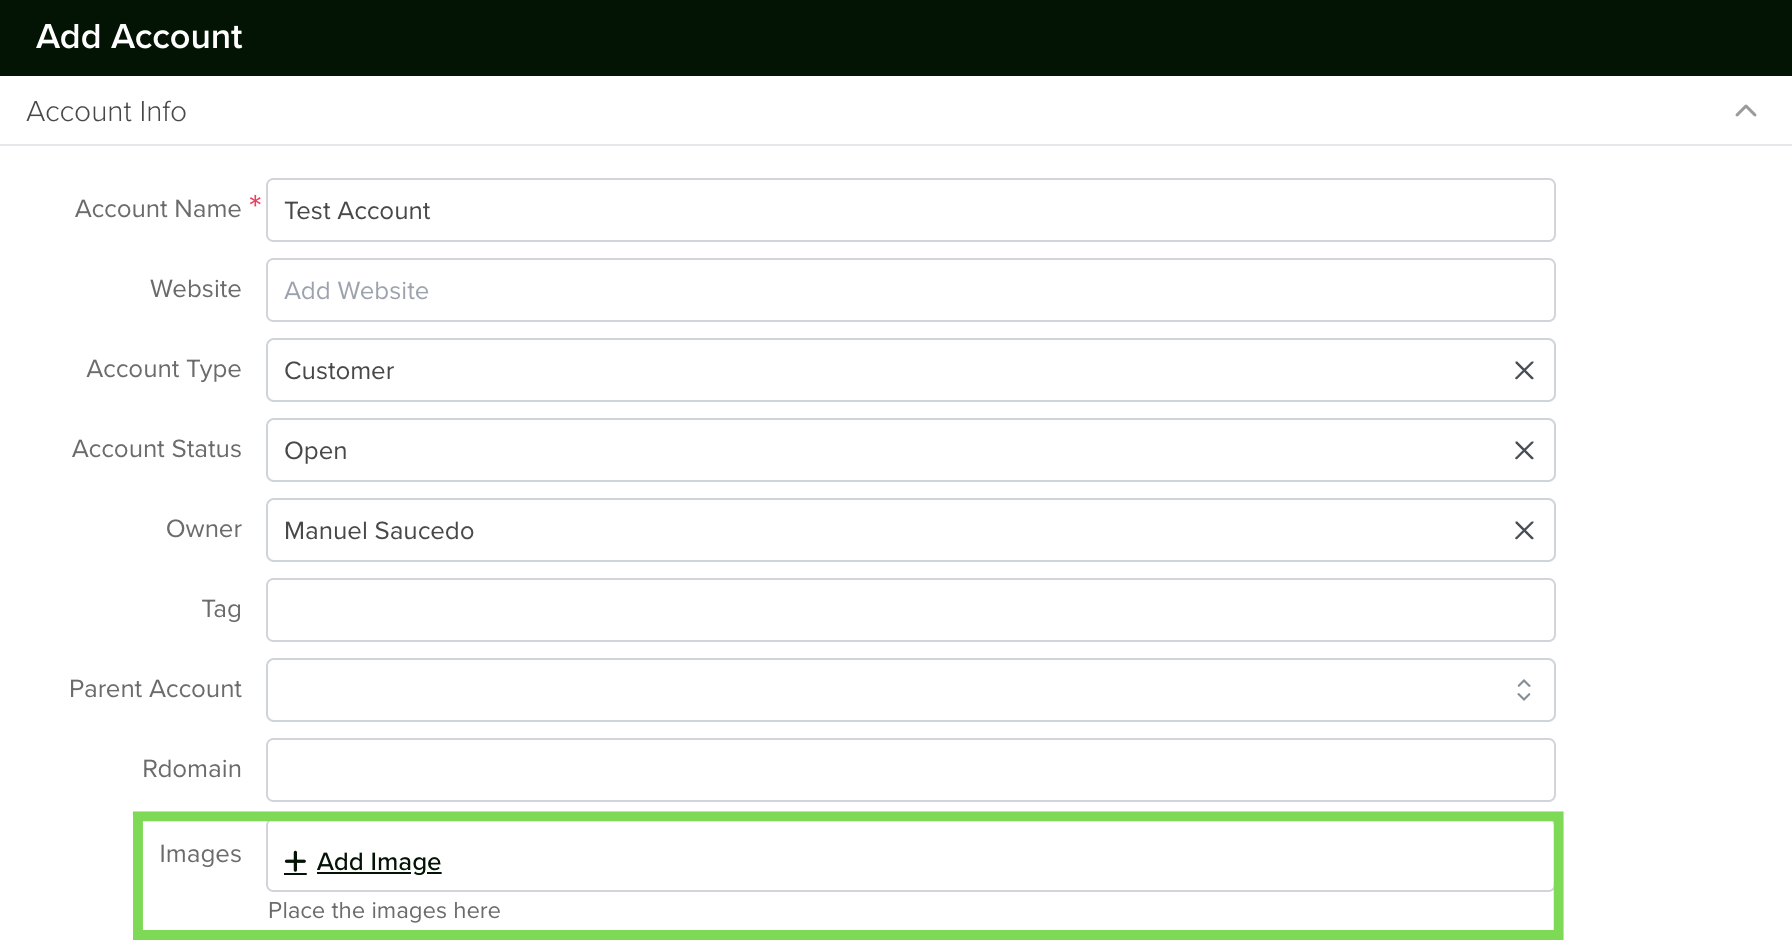
Click on ‘Add Image’.

You can select images individually or select multiple at once. Select ‘Save’ Once you’re finished adding your images.
Changing a Field’s Type
In servis.ai, once a field is created, its type (e.g., text, number, date, or boolean) cannot be modified directly. This limitation helps ensure data consistency and prevents errors that could arise from incompatible data formats.
If you need to change the type of an existing field, you’ll need to follow these steps:
- Create a New Field: Go to the Form Fields tab on your App’s Settings and create a new field with the desired type (for example, switching from a text field to a number field).
- Deactivate the Old Field: Once the transition is complete, you can choose to delete the original field or simply hide it from views to avoid confusion.
