Build and manage all your integrations directly in Servis.ai. You can then use these integrations with our Workflow engine to create very powerful flows.
User Permissions: Only Admins can create new Integrations.
Note: Integrations exist in a low-code environment. Some JavaScript is required to create and manage these. Integration tutorials will cover this.
In this tutorial, we will cover the basics of creating new Integrations directly within your Servis.ai platform. We will then set up a DocuSign Integration to implement this powerful feature.
Navigate to Integrations
Go to Settings > Integrations > Integrations, or simply start typing ‘Integrations’ in the menu search to find the option faster.
Generating the Servis.ai API Key
On the Integrations page, click on the “Generate API Key” Button. You’ll then be asked to enter the email address you use to log in to FreeAgent.

Create New Integration
All new integrations require a series of steps in order to be completed. To get started, you need to give your Integration a name and, optionally, add a description for it.
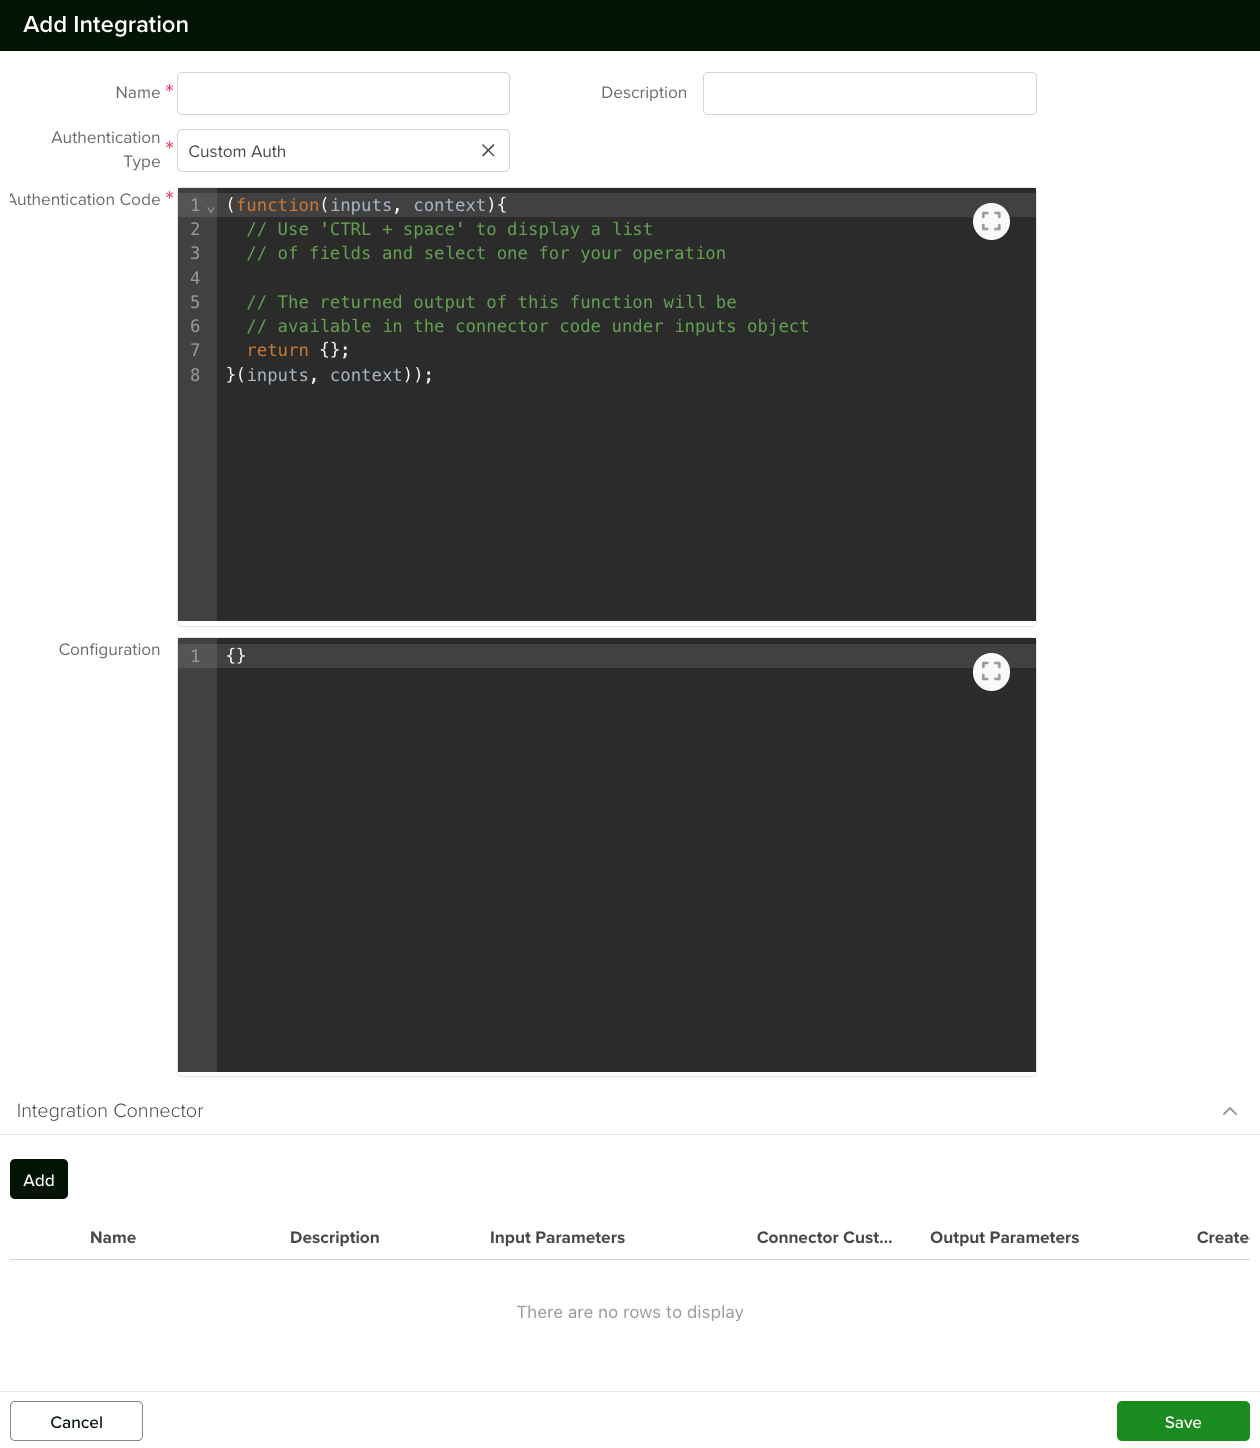
Now let’s review the steps, one at a time:
| STEP | DESCRIPTION |
| 1. Authentication | There are two authentication types supported: OAuth or Custom Auth. |
| 2. Connectors | Calls to the 3rd party service API endpoints. |
| 3. Testing | Review the logs and the returned output of your Integration. |
| 4. Authorize | Runs the Authentication flow. |
1. Authentication
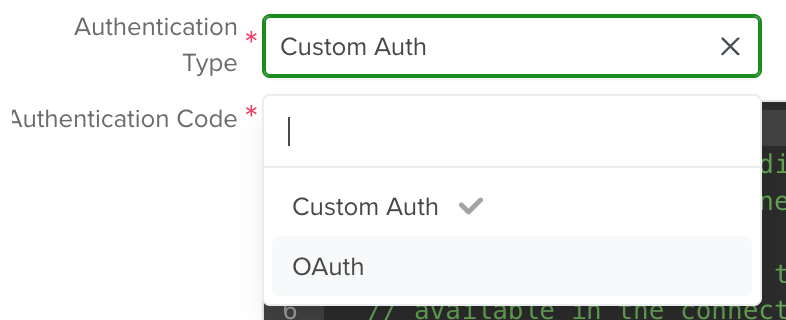
There are two authentication types supported: OAuth or Custom Auth.
OAuth
This authentication option requires the following configuration:
| CONFIGURATION | DESCRIPTION |
| OAuth URL | The URL of the 3rd party service for the user to authorize the integration. |
| Queryparams for OAuth URL |
Parameters appended to the OAuth URL. They depend on the service you are integrating with. Requires a ‘Callback’ to FreeAgent. |
| OAuth Callback Code | Bring back the Authorization code and generate the Access Token. This is stored so that the user doesn’t need to authenticate every time. |
| Configuration |
Here you can store unique values such as: integrationKey To then use them in the OAuth Callback Code. |
| Authentication Code | Gets the Access Token and Refresh Token. It is constantly reviewing whether the Access Token continues to be valid. |
Custom Auth
This authentication option supports other authorization types when OAuth is not available.
2. Connectors
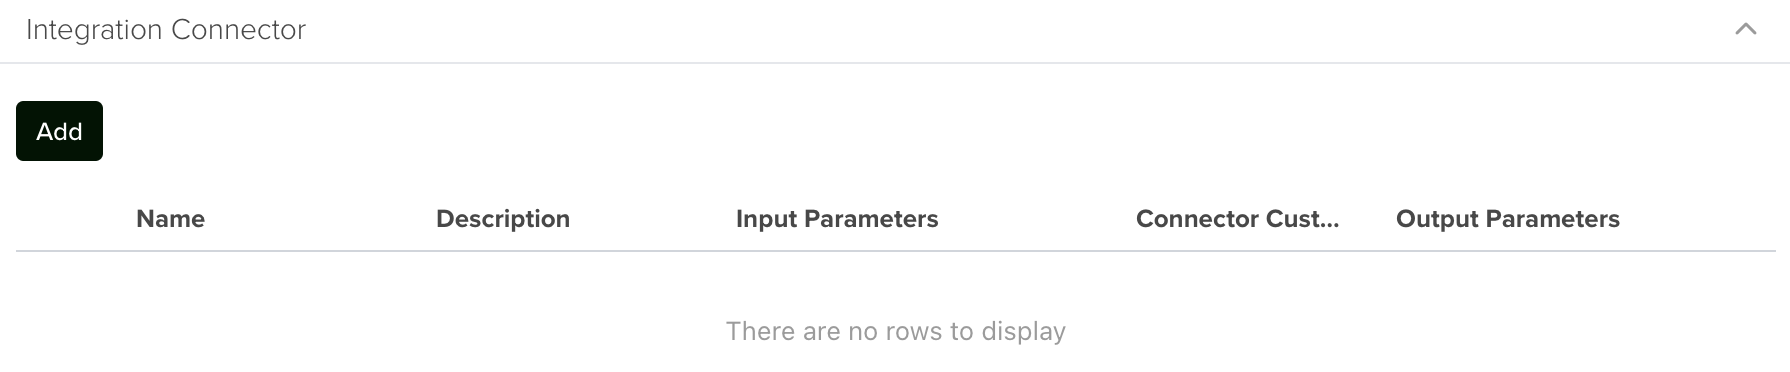
These are created to call API endpoints. You can create as many connectors as needed for your Integration, one for each API call to the 3rd party service API. Each connector requires the following configuration:
| CONFIGURATION | DESCRIPTION |
| Name | Identifies the connector. Ie. Send for eSign |
| Description |
Optional. Additional information about the connector. |
| Input Parameters |
These are the expected values. For each parameter, you should define its: Property |
| Connector Custom Code |
Custom code. Depends on what is expected from the connector. |
| Output Parameters |
Expected result. |
3. Testing
Testing is a crucial part of integration development. You don’t need to complete the entire integration and workflow before running tests—each step can be tested during the creation phase.
To test your integration:
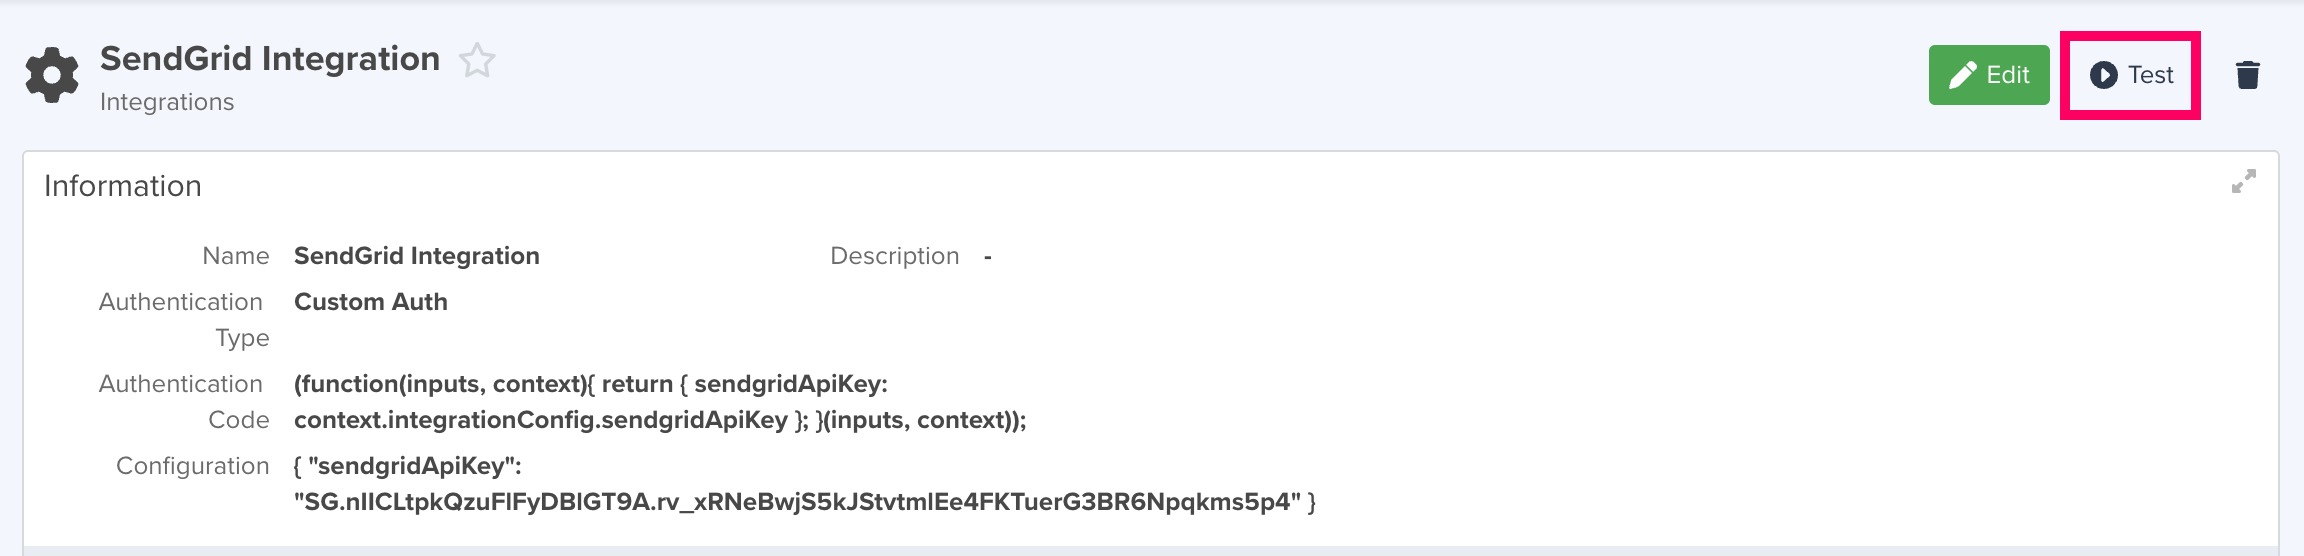
- Click the “Test” button in the top right corner of the Integration Detail page.
- Choose whether to test the Authentication flow or individual connectors.
By testing incrementally, you can identify and resolve issues early, ensuring a smoother integration process.
For the Authentication, there are two main sections:
- Debug logs show in the console.logs you have within your code.
- The returned output shows the complete output.
To test the connectors, select one and then click the ‘Test’ button. This will open a new window where you will be requested to enter the input parameters you want to use to test. Type in the values for the inputs and click the ‘Test’ button.
There are two main sections in the Test results of the connectors:
- Connector Results, which show the returned output.
- Integration Results, which show the debug logs for the authentication process.
4. Authorize
After completing the authentication step, it’s essential to authorize your integration to obtain the necessary access tokens. This authorization is a one-time process during the initial setup of your integration.
Note: If you change the password of the third-party service, you’ll need to repeat the authorization process to maintain access.
To authorize your integration:
- Navigate to the Integration Detail page.
- Click the “Authorize” button located at the top right corner, next to the “Test” button.
- A new window will open, directing you to the OAuth URL specified during the authentication step.
- Enter the credentials for your third-party service account as prompted.
After authorization, clicking the “Test” button will display the “Last authorized at” date, confirming the successful authorization of your integration.
