The Email Webform action in servis.ai helps streamline your workflow by automatically sending pre-filled webforms to the right people at the right time. Whether you’re onboarding clients, collecting feedback, managing approvals, or initiating requests, this feature simplifies the process by removing manual follow-ups. It ensures clear, consistent communication while saving time.
To learn more about webforms, see this article.

Name: Give the action a clear name so it’s easy to identify later.
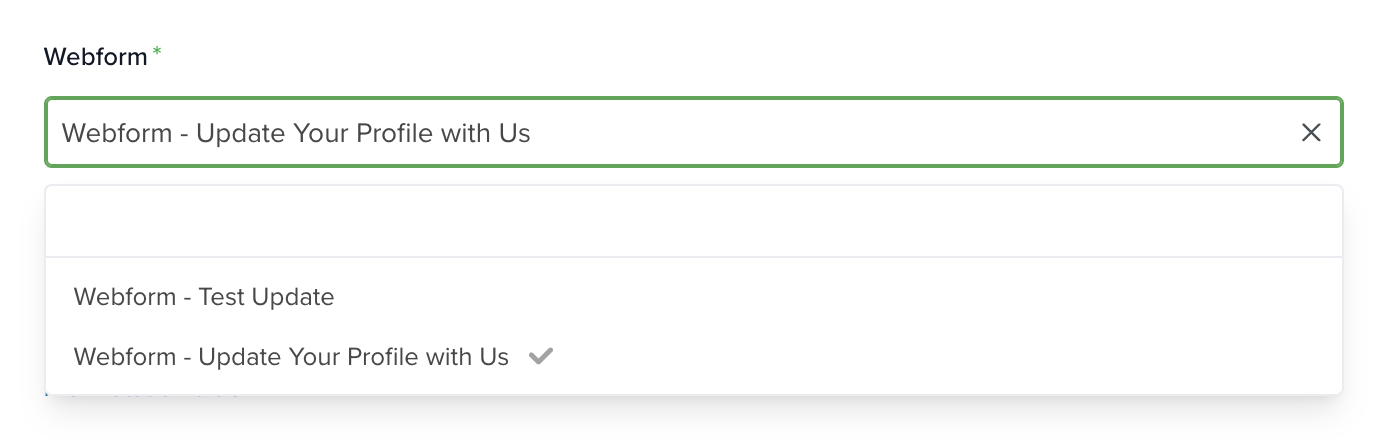
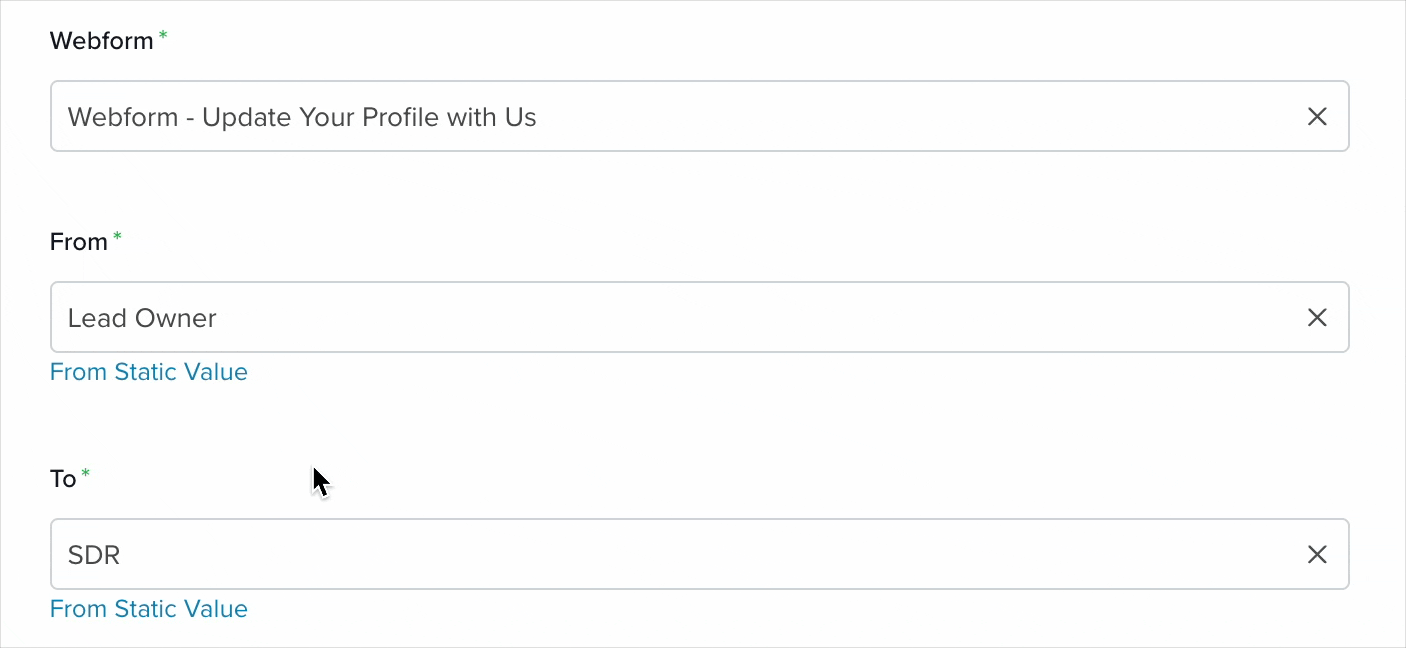
Webform: Select an existing webform from the dropdown. This form will be included in the email sent by the automation.
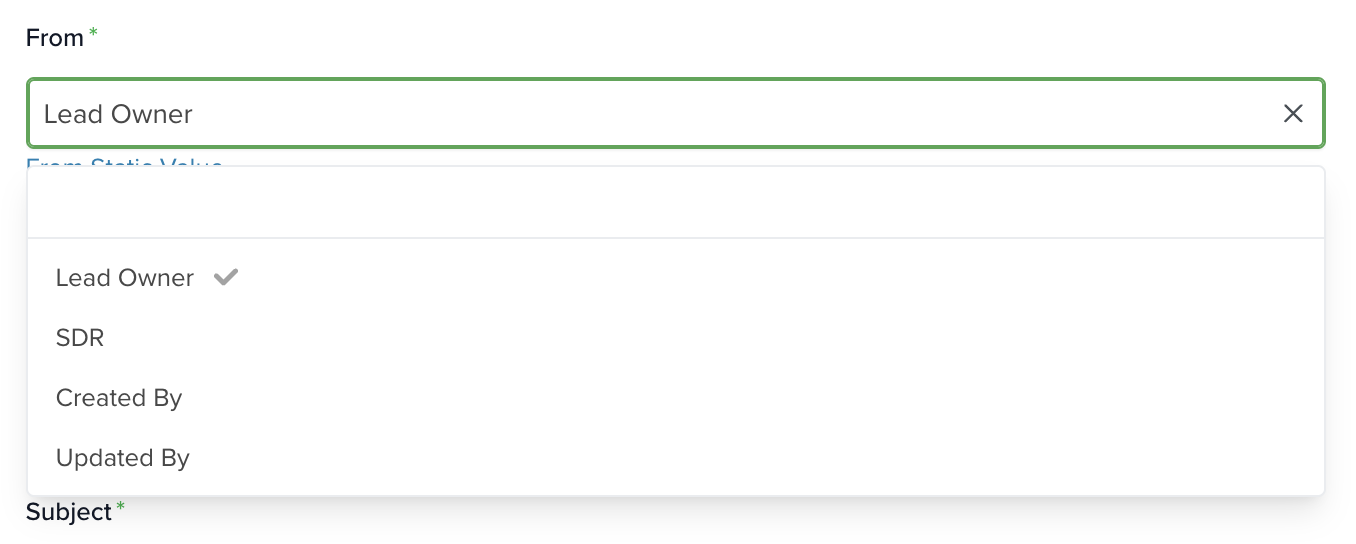
From: Choose a field from a record in the selected app (defined at the start of the automation). Each option corresponds to a user in your servis.ai instance, and their email will be used.
To: Select where the email will be sent. This works like the From field, but also includes email fields from the selected record (e.g., “Work Email” or “Personal Email”), as well as user-linked fields.
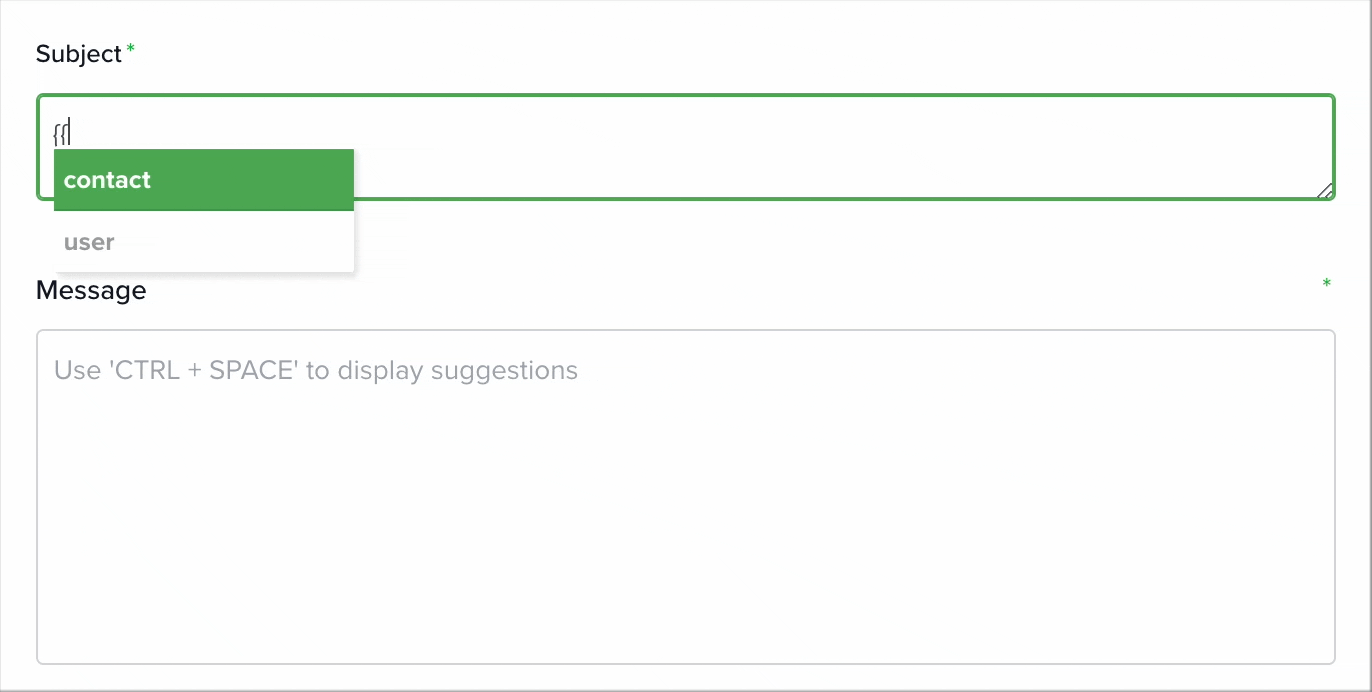
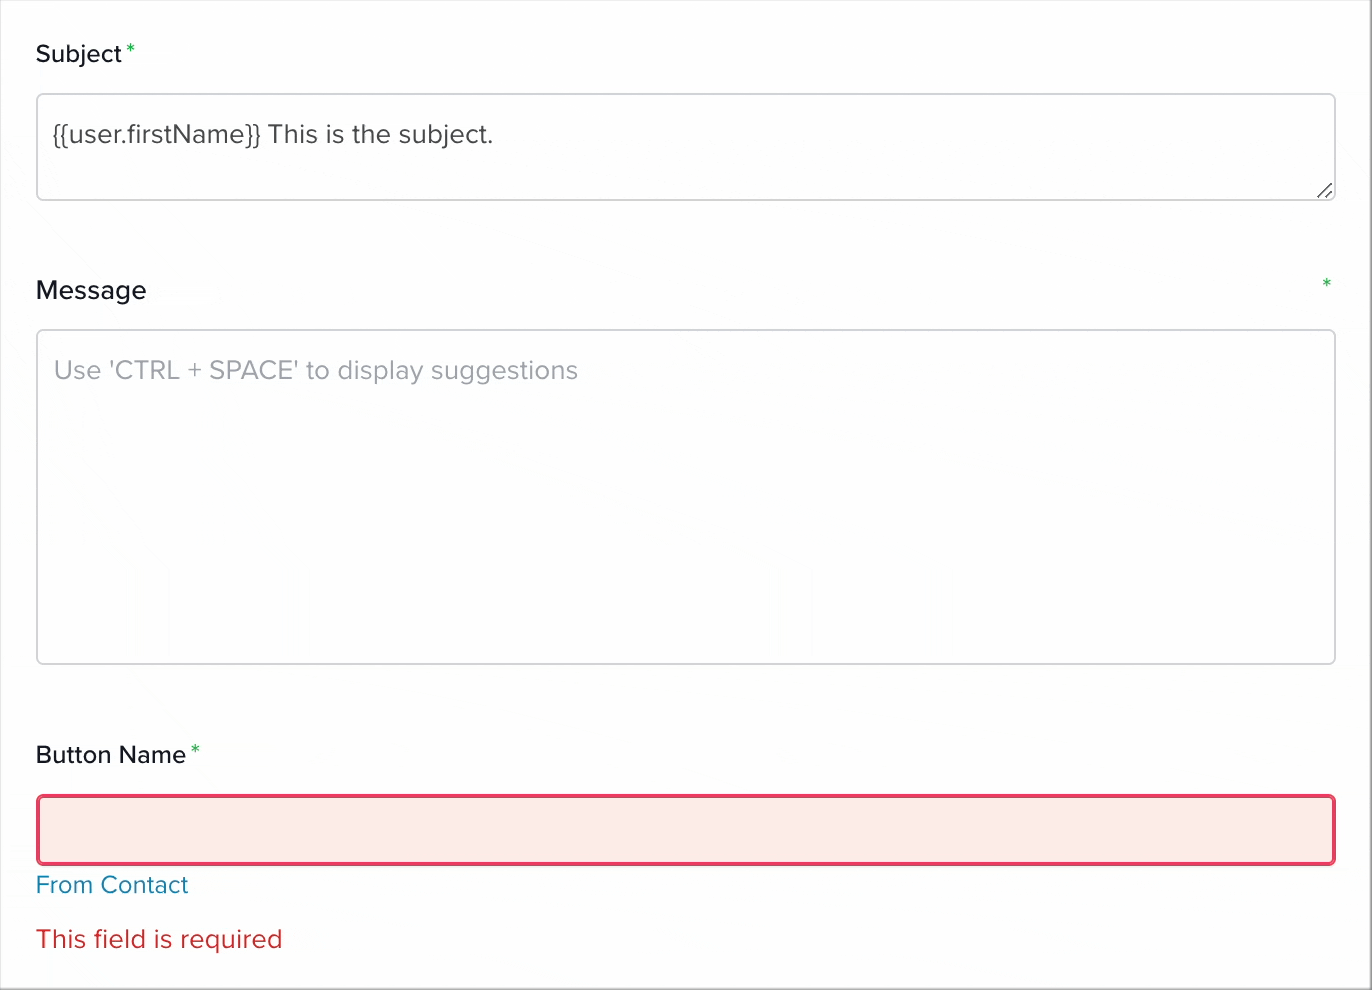
Subject (required): Enter the email subject. You can use merge tags to personalize it. Learn more about merge tags here.
Message: Write the email body here. You can also use merge tags to personalize the content.
Button Name: This field defines the text shown on the button inside the email that opens the webform. It has two modes:
- From Static Value: Enter a custom button label manually.
- From [Selected App]: Use a field value from the selected app as the button label.
Learn more about automation actions: Read this article.
