The Wait action lets you control the timing of your automation by pausing the flow before moving to the next step. It’s particularly useful when managing actions that need to occur after a delay or in response to specific conditions.
You can configure it to add time-based delays, wait for task completion, track email engagement, monitor record changes, or use custom code for advanced scenarios. It also includes options like excluding weekends, setting timeout branches, and naming each step for clarity.
How to Set Up the Wait Action
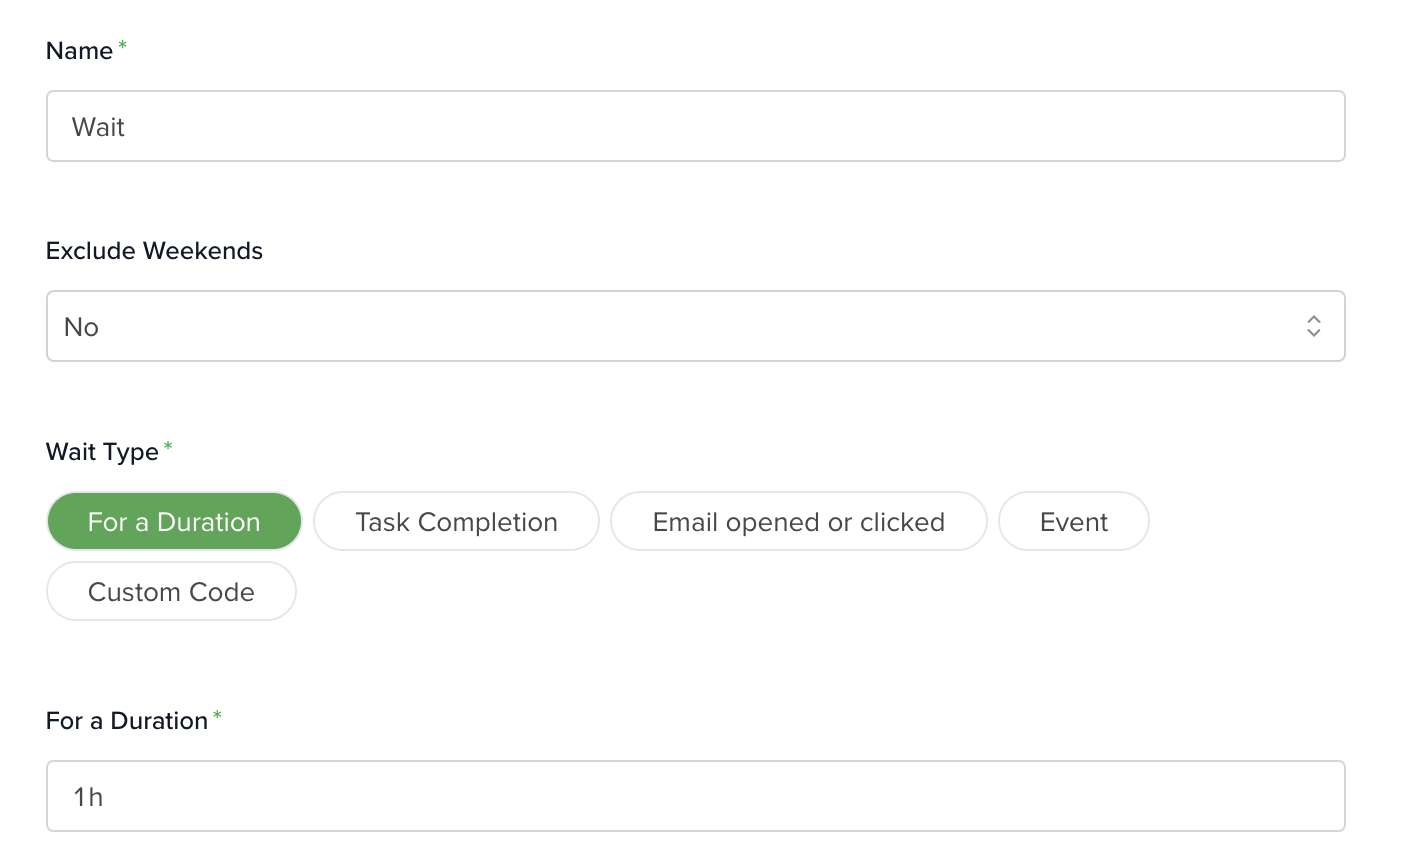
Name: Give your Wait action a clear name so you can easily identify it later.
Exclude Weekends: Choose whether weekends should be included in the wait period.
When enabled, the system determines whether “today” is a weekend based on the following priority:
Timezone priority
- User timezone (triggering user’s preferences)
- Company timezone (Company Settings)
- UTC (fallback)
Wait Type: Select the type of wait using the available options.
Select Your Wait Type
For a Duration
Specify how long the Wait action should pause using duration shorthand:

1h = one hour
2w = two weeks
3d = three days
…and so on.
Task Completion
This mode lets you reference a Create Task action from a previous step. The Wait action pauses until that task is completed. The selected action must appear before the Wait step in the automation.

Email Opened or Clicked
This option tracks whether an email has been opened or clicked. You must select a Send Email action from a prior step.
You can define how long the system should wait for engagement using the same duration format as above.
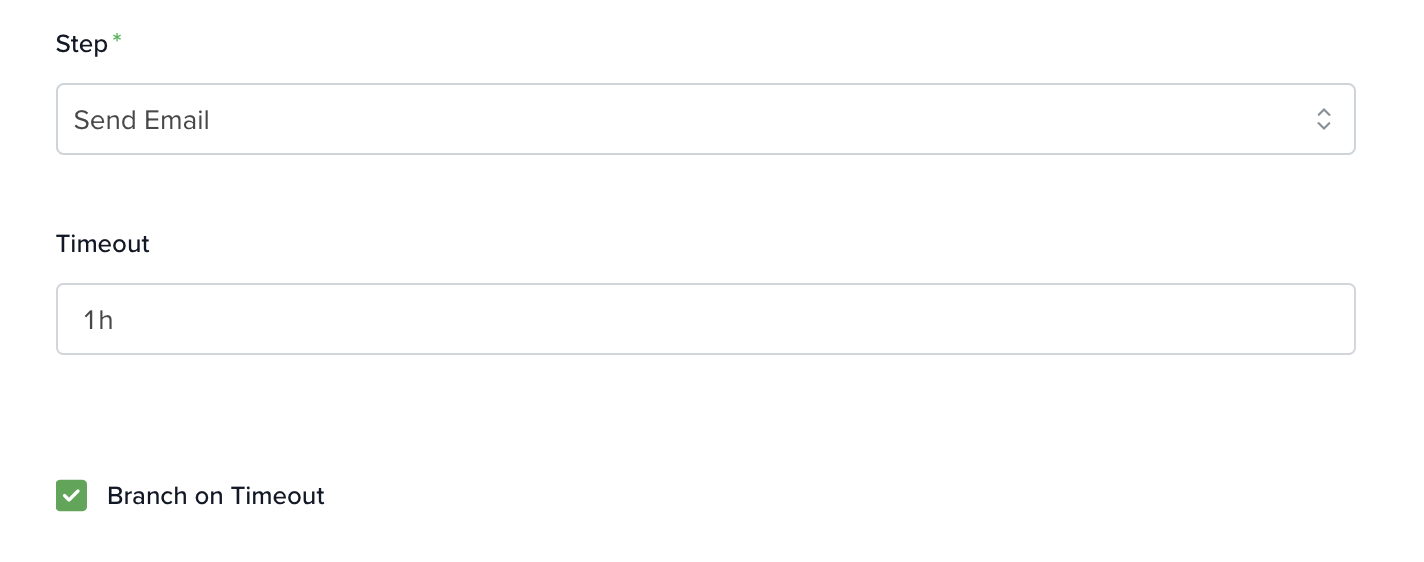
If you enable Branch on Timeout, the automation can take an alternate path if the email is not opened within the specified timeframe.
Event
This option monitors conditions based on fields within the triggering record.
You can also define a timeout and enable Branch on Timeout to trigger follow-up actions if conditions are not met.
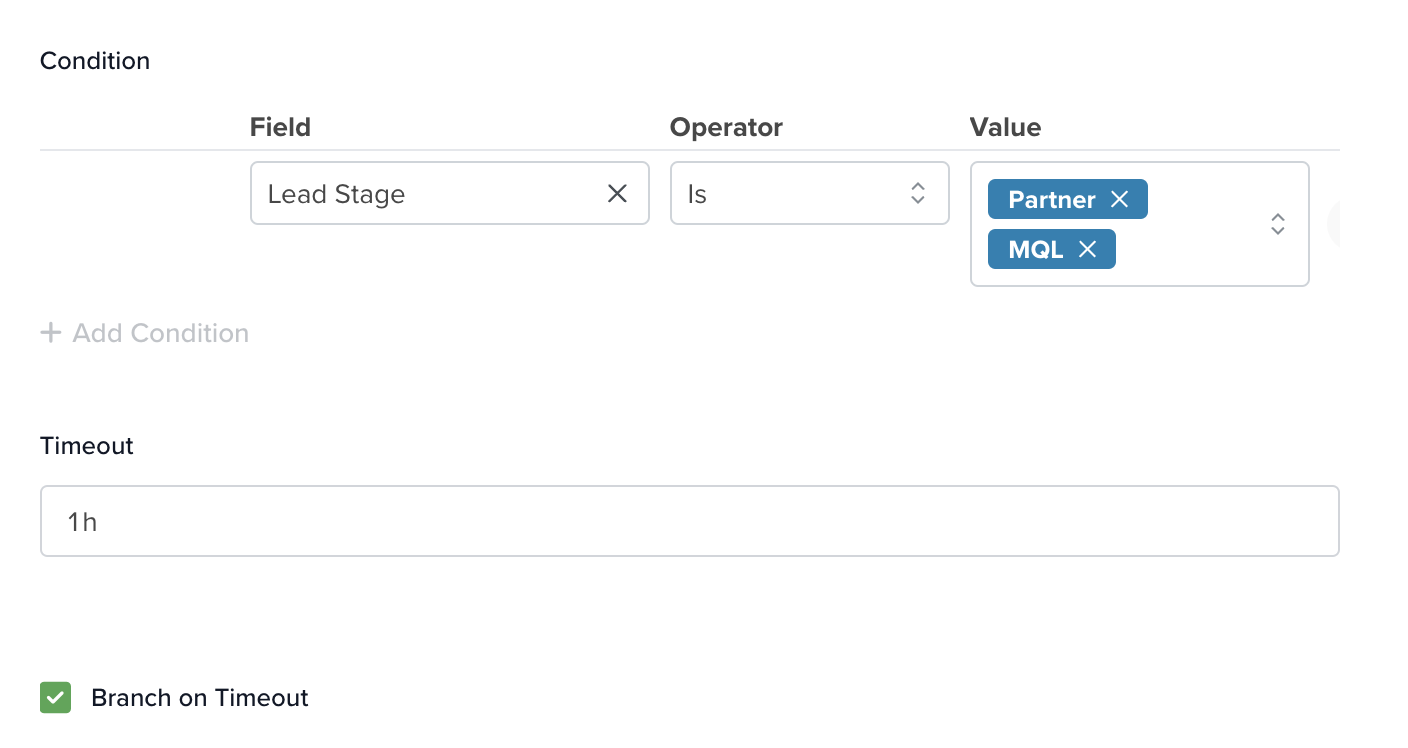
For example, if the Lead Stage becomes Partner or MQL, the event is triggered and the automation continues.
Custom Code
This mode allows you to define custom logic using code. The Wait action pauses until your defined conditions are met, based on data from a previous step.
You can reference actions such as Find Record, Update Record, Create Task, or the Triggering Record.
Custom Wait Durations for Specific Conditions
In Custom Code mode, you can define different wait durations for different conditions. This allows each scenario to follow its own timing, giving you more flexibility and precision.
Learn more about automation actions: Read this article.
