The Schedule field is a unique field type that does not store any values but instead enables users to perform specific actions. It is particularly useful for scheduling meetings or setting appointments directly from a calendar view.
- Users can select a date and time for an event by simply dragging their cursor over the desired time slot in the calendar.
- The view can be switched to Resource Day/Week to check team members’ availability before scheduling a meeting.
Before creating a Schedule field, you must first set up the following fields:
- Start Time – Date Time field
- End Time – Date Time field
- Date – Date field
- All Day – Boolean field
- Resource – Users Reference field
- Guests – Multi Reference to Team Members field
User Interface
- The Schedule field appears as an action button with a customizable label, such as “Select a Date” or “Pick a Time”.
- When clicked, it opens a calendar view, allowing users to add a new event seamlessly.
Navigating to Form Fields
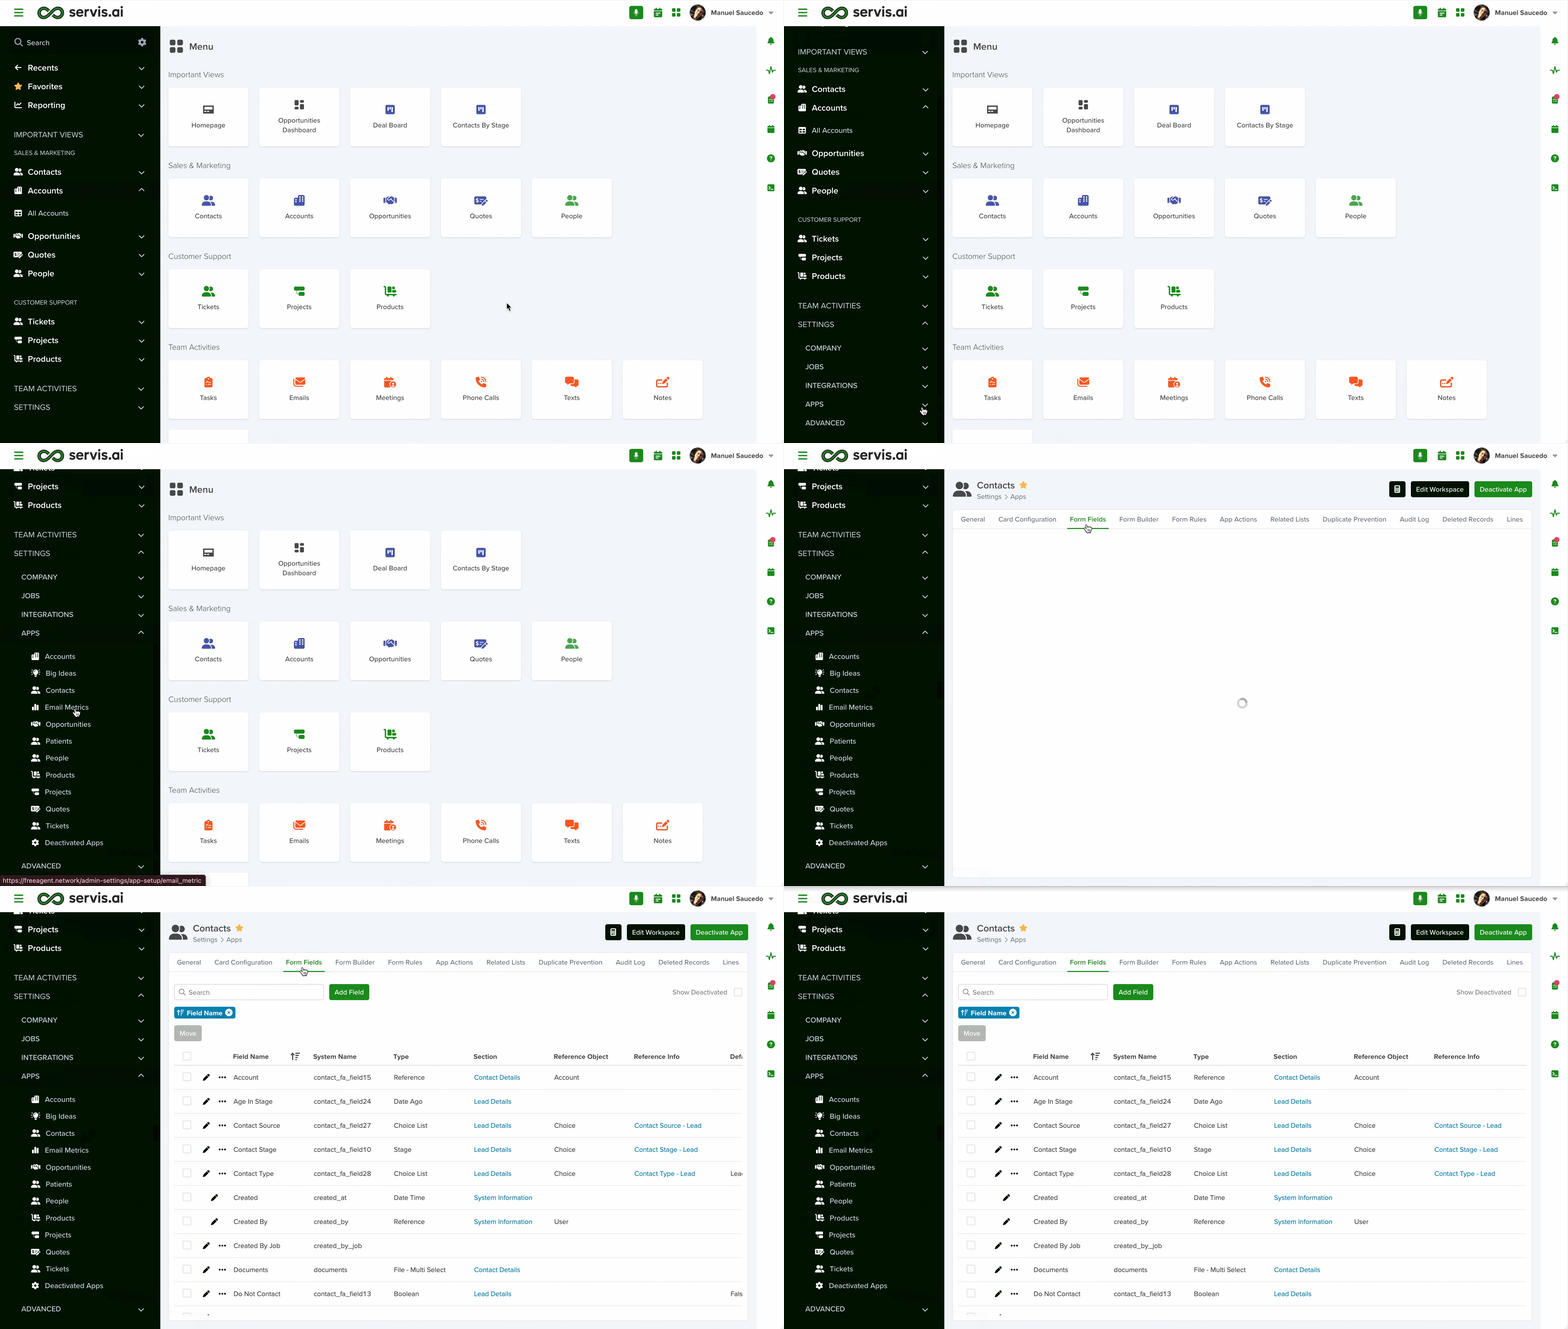
Go to Settings > Apps, select the app you’d like to add the field to and select the ‘Form Fields’ tab.
Configuring a Schedule Field
To set up a Schedule field in your app, follow these steps:
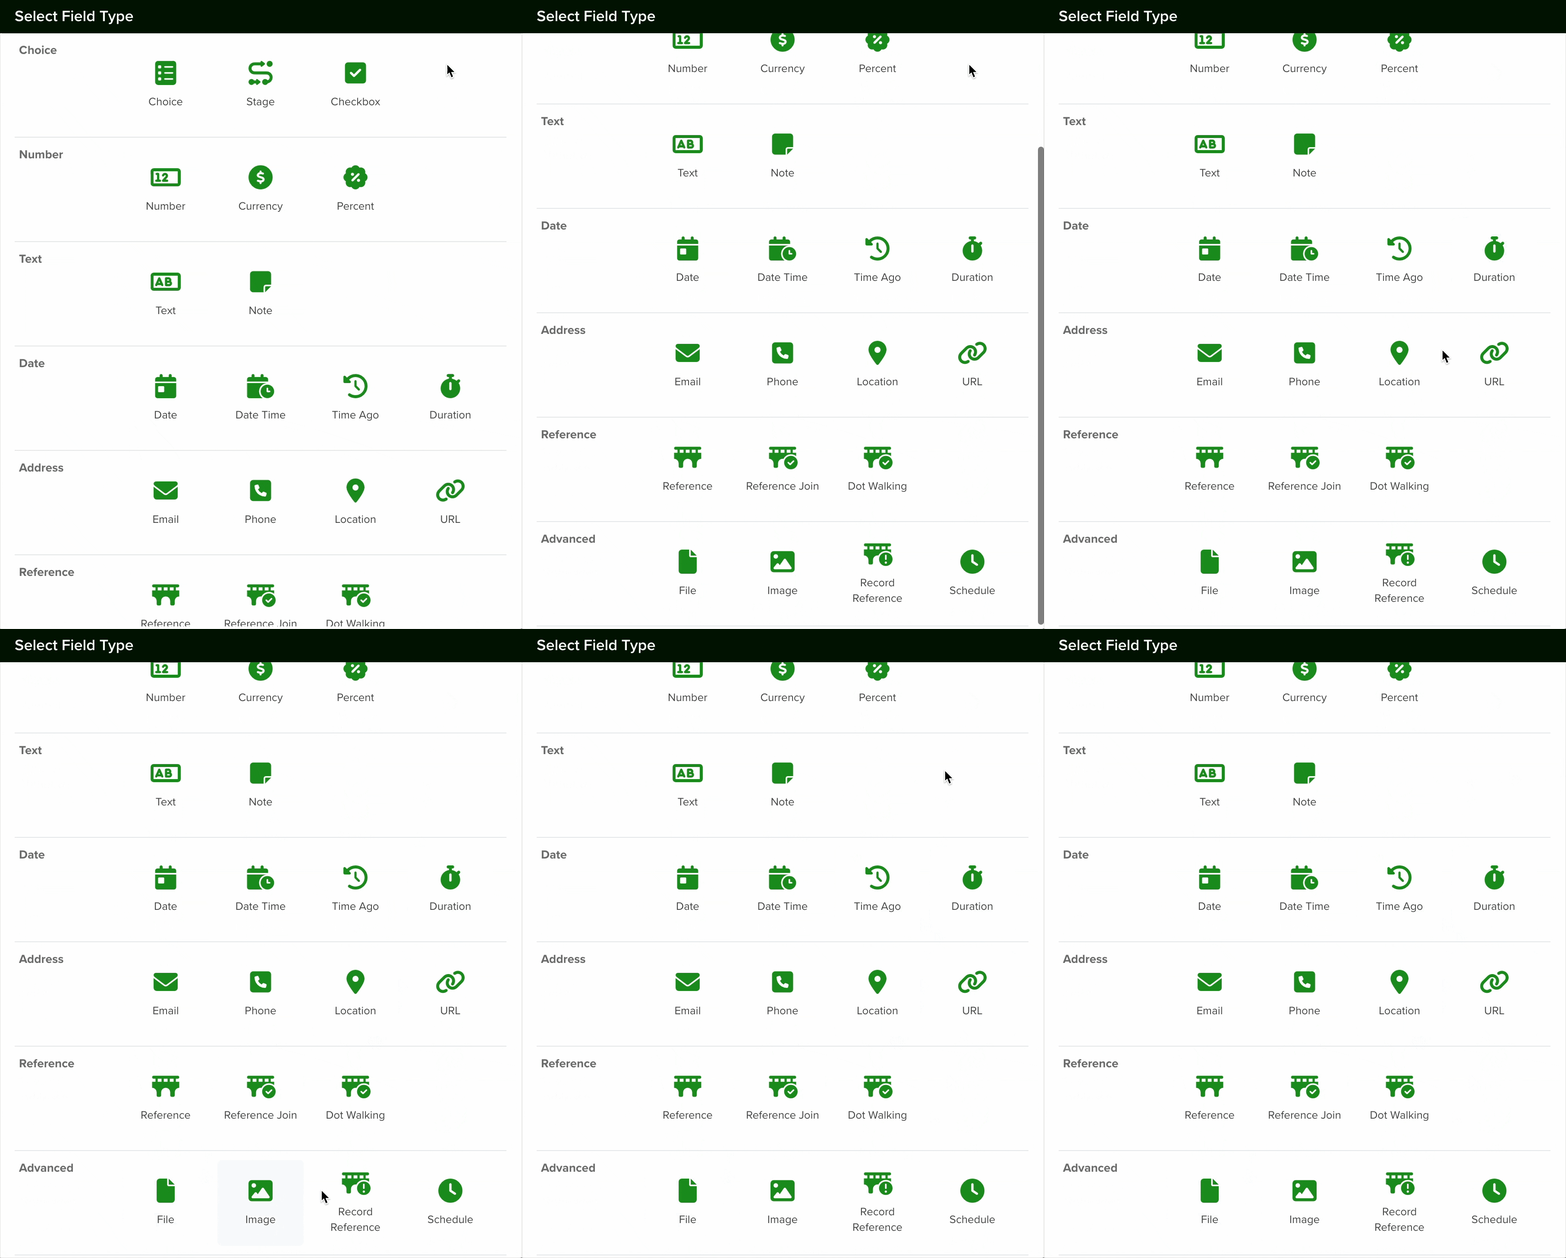
- Add a New Field: Click the Add Field button to open the Field Type selection window.
- Select Choice Type: From the list of available field types, choose the Schedule option.

- Configure the Field: After selecting the Schedule field, proceed with the configuration settings as needed.
- Name Your Field
- Assign a clear and descriptive name.
- Optionally, add a field hint for guidance.
- Select a Section
- Choose the section where the field will be created, or keep the default option.
- Add Help Text
- Provide additional details about the expected values for this field.
- A small “i” icon will appear on the form, displaying the help text when hovered over.
- Set the Field Type
- Ensure the field type is set to “Schedule”.
- Assign Required Fields
- Link the previously created fields to their corresponding sections.
- All assigned fields are mandatory.
| Field type | Description |
| Start Time – Date Time field | This field stores the date and start time for the event. |
| End Time – Date Time field | This field stores the date and end time for the event. |
| Date – Date field | This field is meant to store the date if no time is selected and ‘All Day’ is set to yes. |
| All Day – Boolean field | Sets the event for ‘All Day’ and places it at the top of the Calendar view. |
| Resource – Users Reference field | Select team members and review their calendars. |
| Guests – Multi Reference to Team Members field | Select other team members to invite to the event. |
If you enable the ‘Lock After Create’ as its name implies, the field will be locked once the new record is saved and the value of the field will not be editable afterward.
Once you are done setting your field, click the save button.
Limitation: Automations Not Triggered by Imports
Automations that rely on a Schedule Field trigger will not be scheduled or activated when the data is populated via the Import Wizard or a Scheduled Import.
Even if the schedule field is filled in during the import, the automation will not be scheduled and will not run when the scheduled date time is reached.
Changing a Field’s Type
In servis.ai, once a field is created, its type (e.g., text, number, date, boolean) cannot be modified directly. This limitation helps ensure data consistency and prevents errors that could arise from incompatible data formats.
If you need to change the type of an existing field, you’ll need to follow these steps:
- Create a New Field: Go to the Form Fields tab on your App’s Settings and create a new field with the desired type (for example, switching from a text field to a number field).
- Deactivate the Old Field: Once the transition is complete, you can choose to delete the original field or simply hide it from views to avoid confusion.


