Managing the Menu page allows you to have all the information you want accessible from a single location in servis.ai.
User Permissions: Only Administrators can manage the Menu page.
Menu Items
Menu Items in servis.ai are the specific Apps (including Activity Apps), Views, and Dashboards that make up your servis.ai Instance.
Menu Groups
Servis.ai organizes Menu Items into Menu Groups for easy navigation. Every servis.ai instance has the All Apps Menu Group and the Activities Menu Group. New Menu Groups can be added by servis.ai admins.
The Navigation Menu/Menu Page
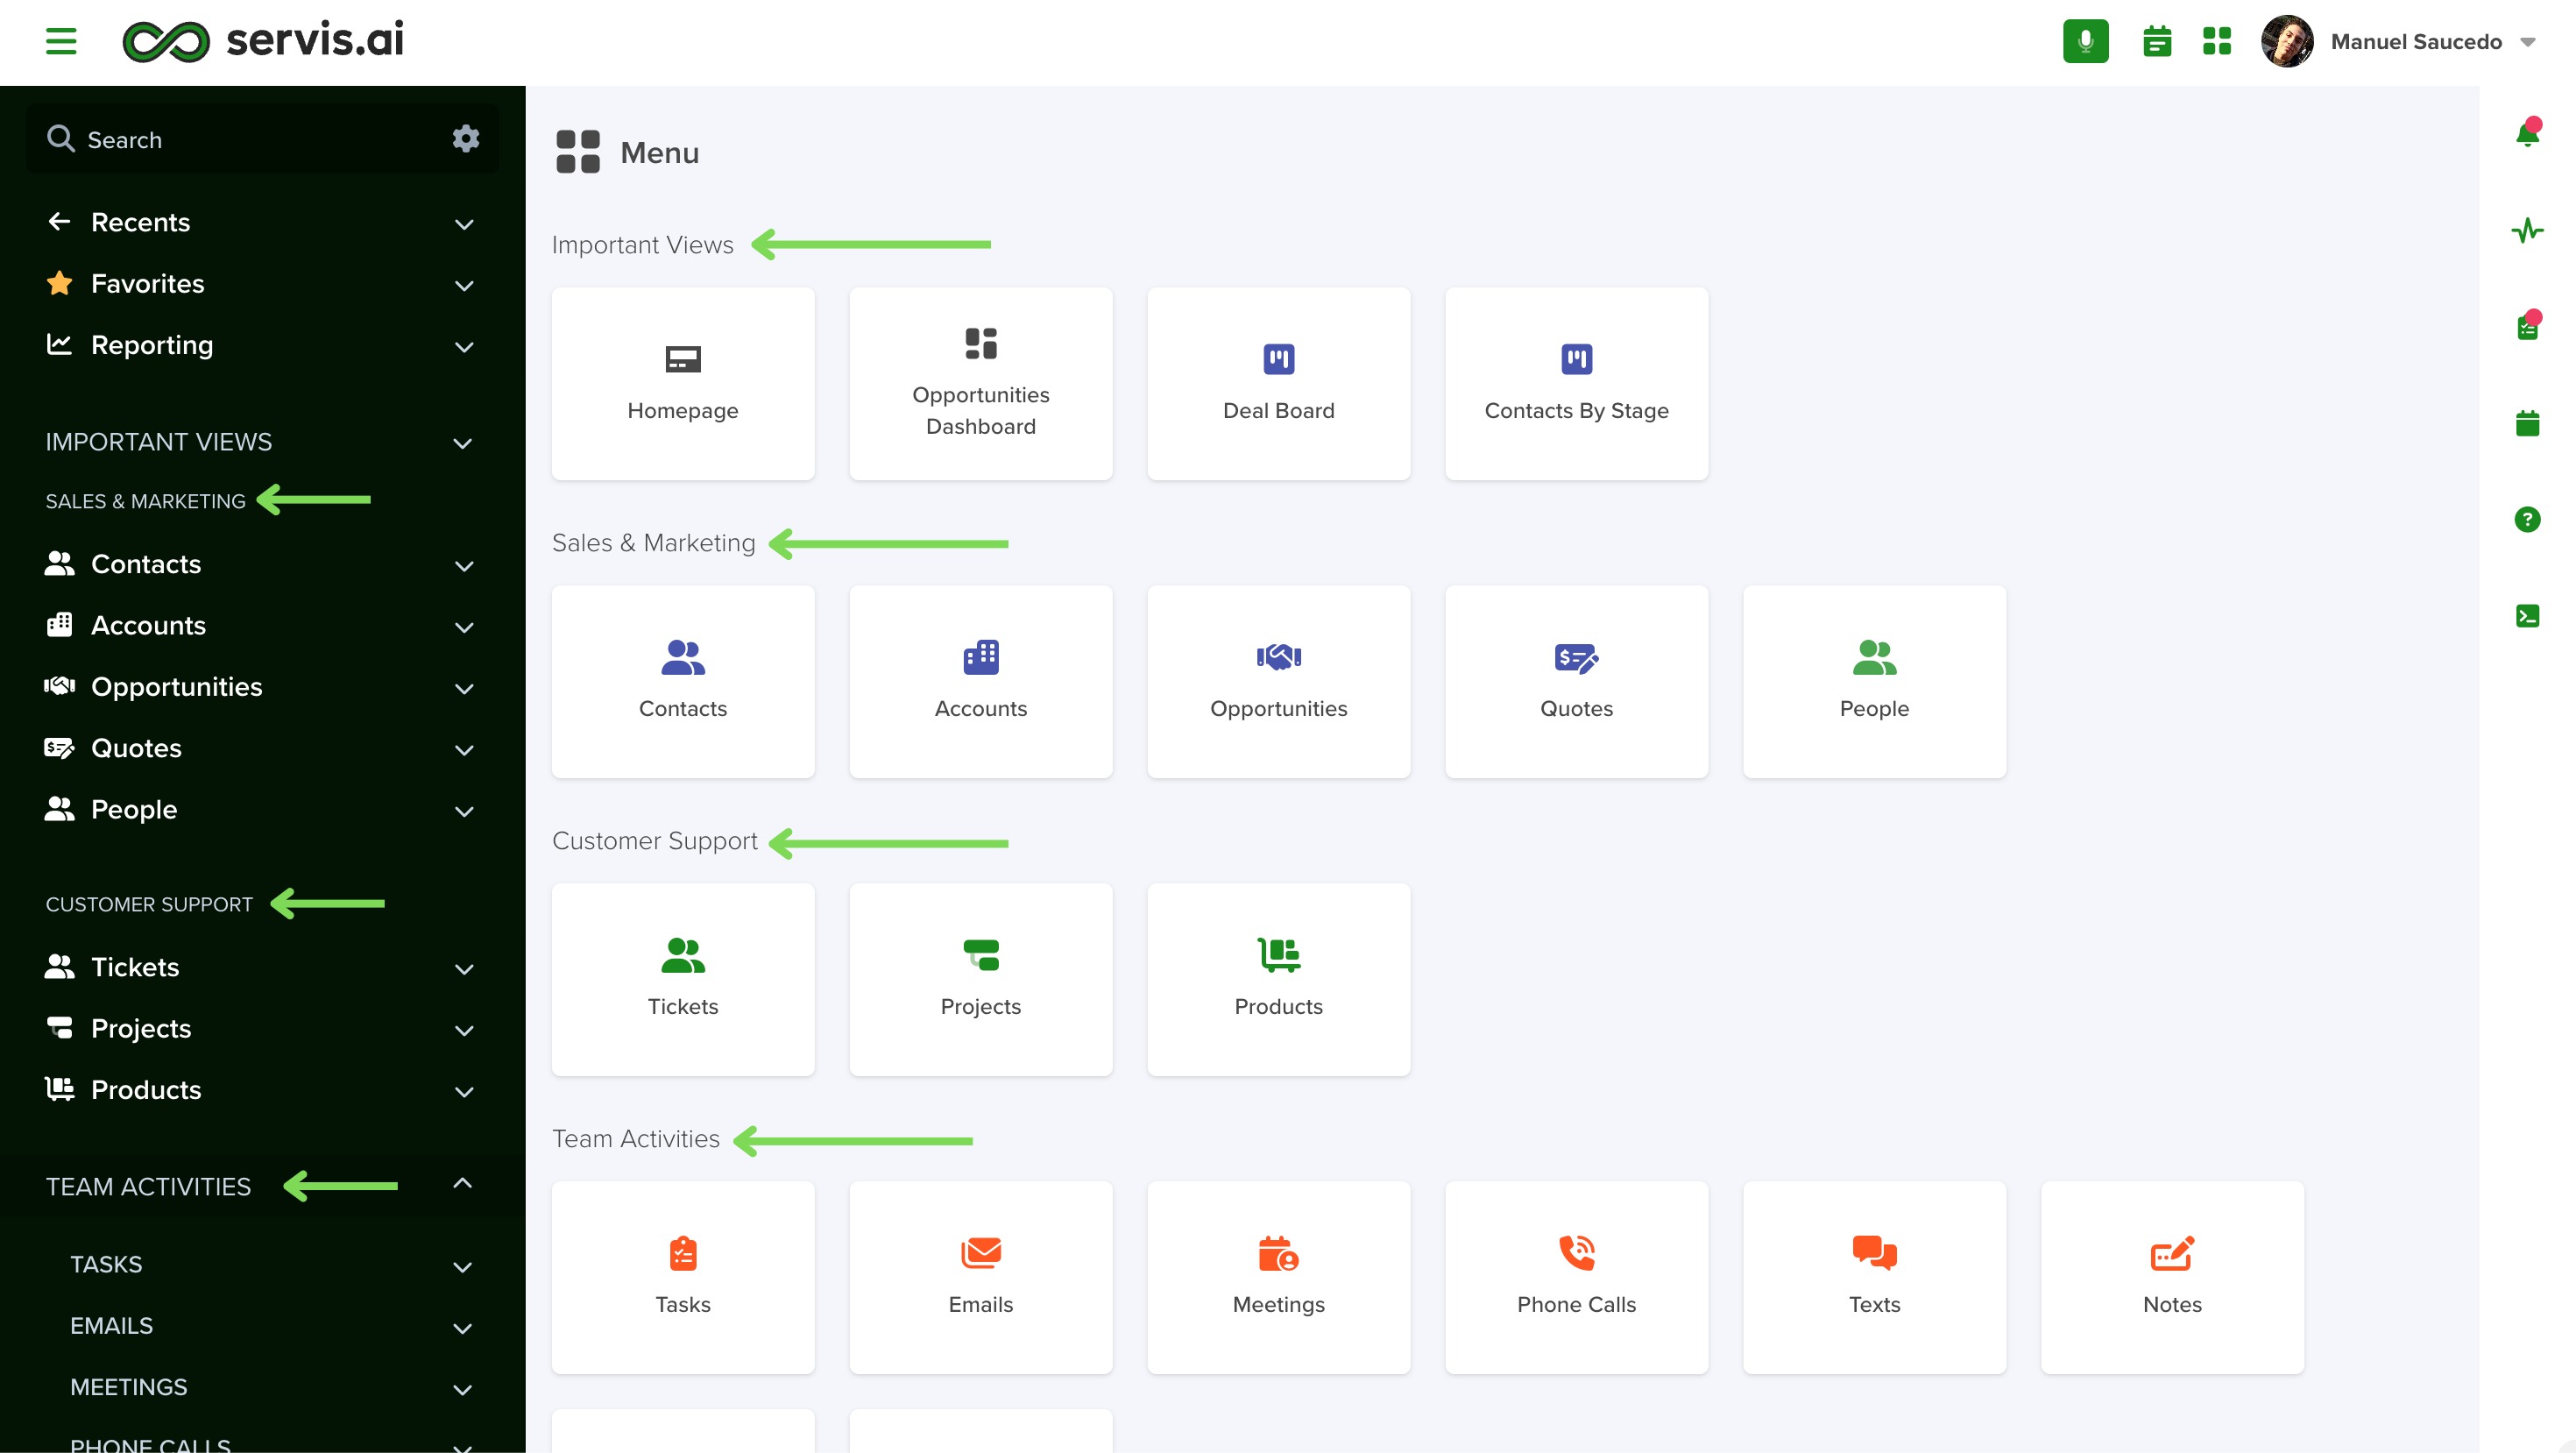
The Menu page in servis.ai is organized into three key sections:
- Navigation Menu
- Menu Page
- Right-Hand Menu
Both the Navigation Menu and the Menu Page display identical Menu Items, grouped consistently under sections like All Apps and Activities. The order of items remains the same across both areas. Any changes made to a Menu Group or Menu Item—such as edits or reorganization—are instantly reflected in both menus, ensuring a unified and up-to-date interface.
This article will cover the Navigation Menu and the Menu. To learn more about the Right-Hand Menu, check out our article, Right-Hand Menu.
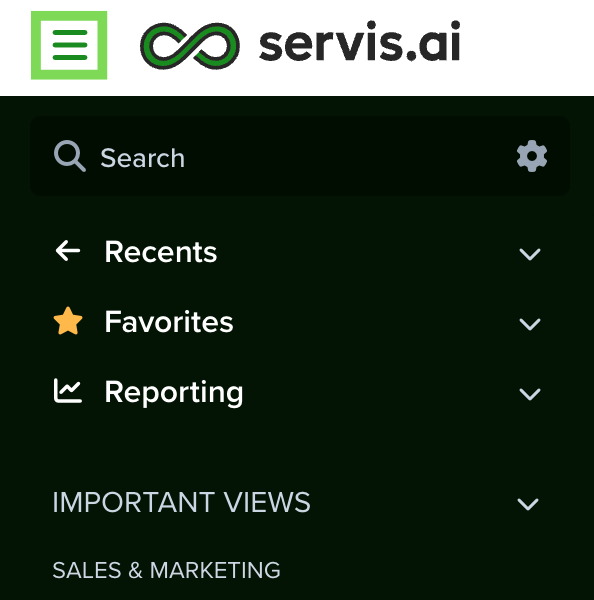
The Navigation Menu
The Navigation Menu is located along the left hand side of the Menu page. Menu Items appear in a list view separated into Menu Groups.Here’s what you need to provide in the Menu creation screen:
The Navigation Menu can be collapsed and expanded using the Close Navigation Menu button located in the top left hand corner above the Navigation Menu.
You can collapse and expand Menu Items by clicking on the arrow icon on the right hand side of the name of the Menu Item.

Navigate to Menus
To access Menu settings from the Navigation Menu, go to Settings > Advanced > Menus.
Menus Settings
When you enter the Menus settings the Menu Groups list view will appear. From here you can access a specific Menu Group by clicking on the name of the Menu Group. You can choose to Delete a specific Menu Group by clicking the Options button (…) on the left hand side of the Menu Group’s name.

The Menu Groups list view contains information on the Menu Group’s App (for Views and Dashboards), Type, Subtype and all the Menu Items in the Menu Group.
Edit Menu Group
You can edit a Menu Group by clicking the Pencil icon next to the Menu Item name. The Edit Menu window will appear.
From here you can edit the Name of the Menu Group as well as add and delete Menu Items.
Name
The Name field lets you update the title of a selected Menu Group.
- Use clear, descriptive names that indicate the type of Menu Items the group contains.
- The name should be plural, as each group typically includes multiple related items.
- Examples: All Apps, Activities.
This is a required field (*).
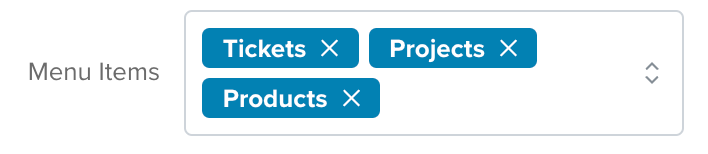
Add/Delete Menu Items
To Add a Menu Item, begin typing out the name of the Menu Item and a dropdown menu with all the matching options will appear. Select the Menu Item you want.
To Delete a Menu Item, select the X icon on the right hand side of the name of the Menu Item.
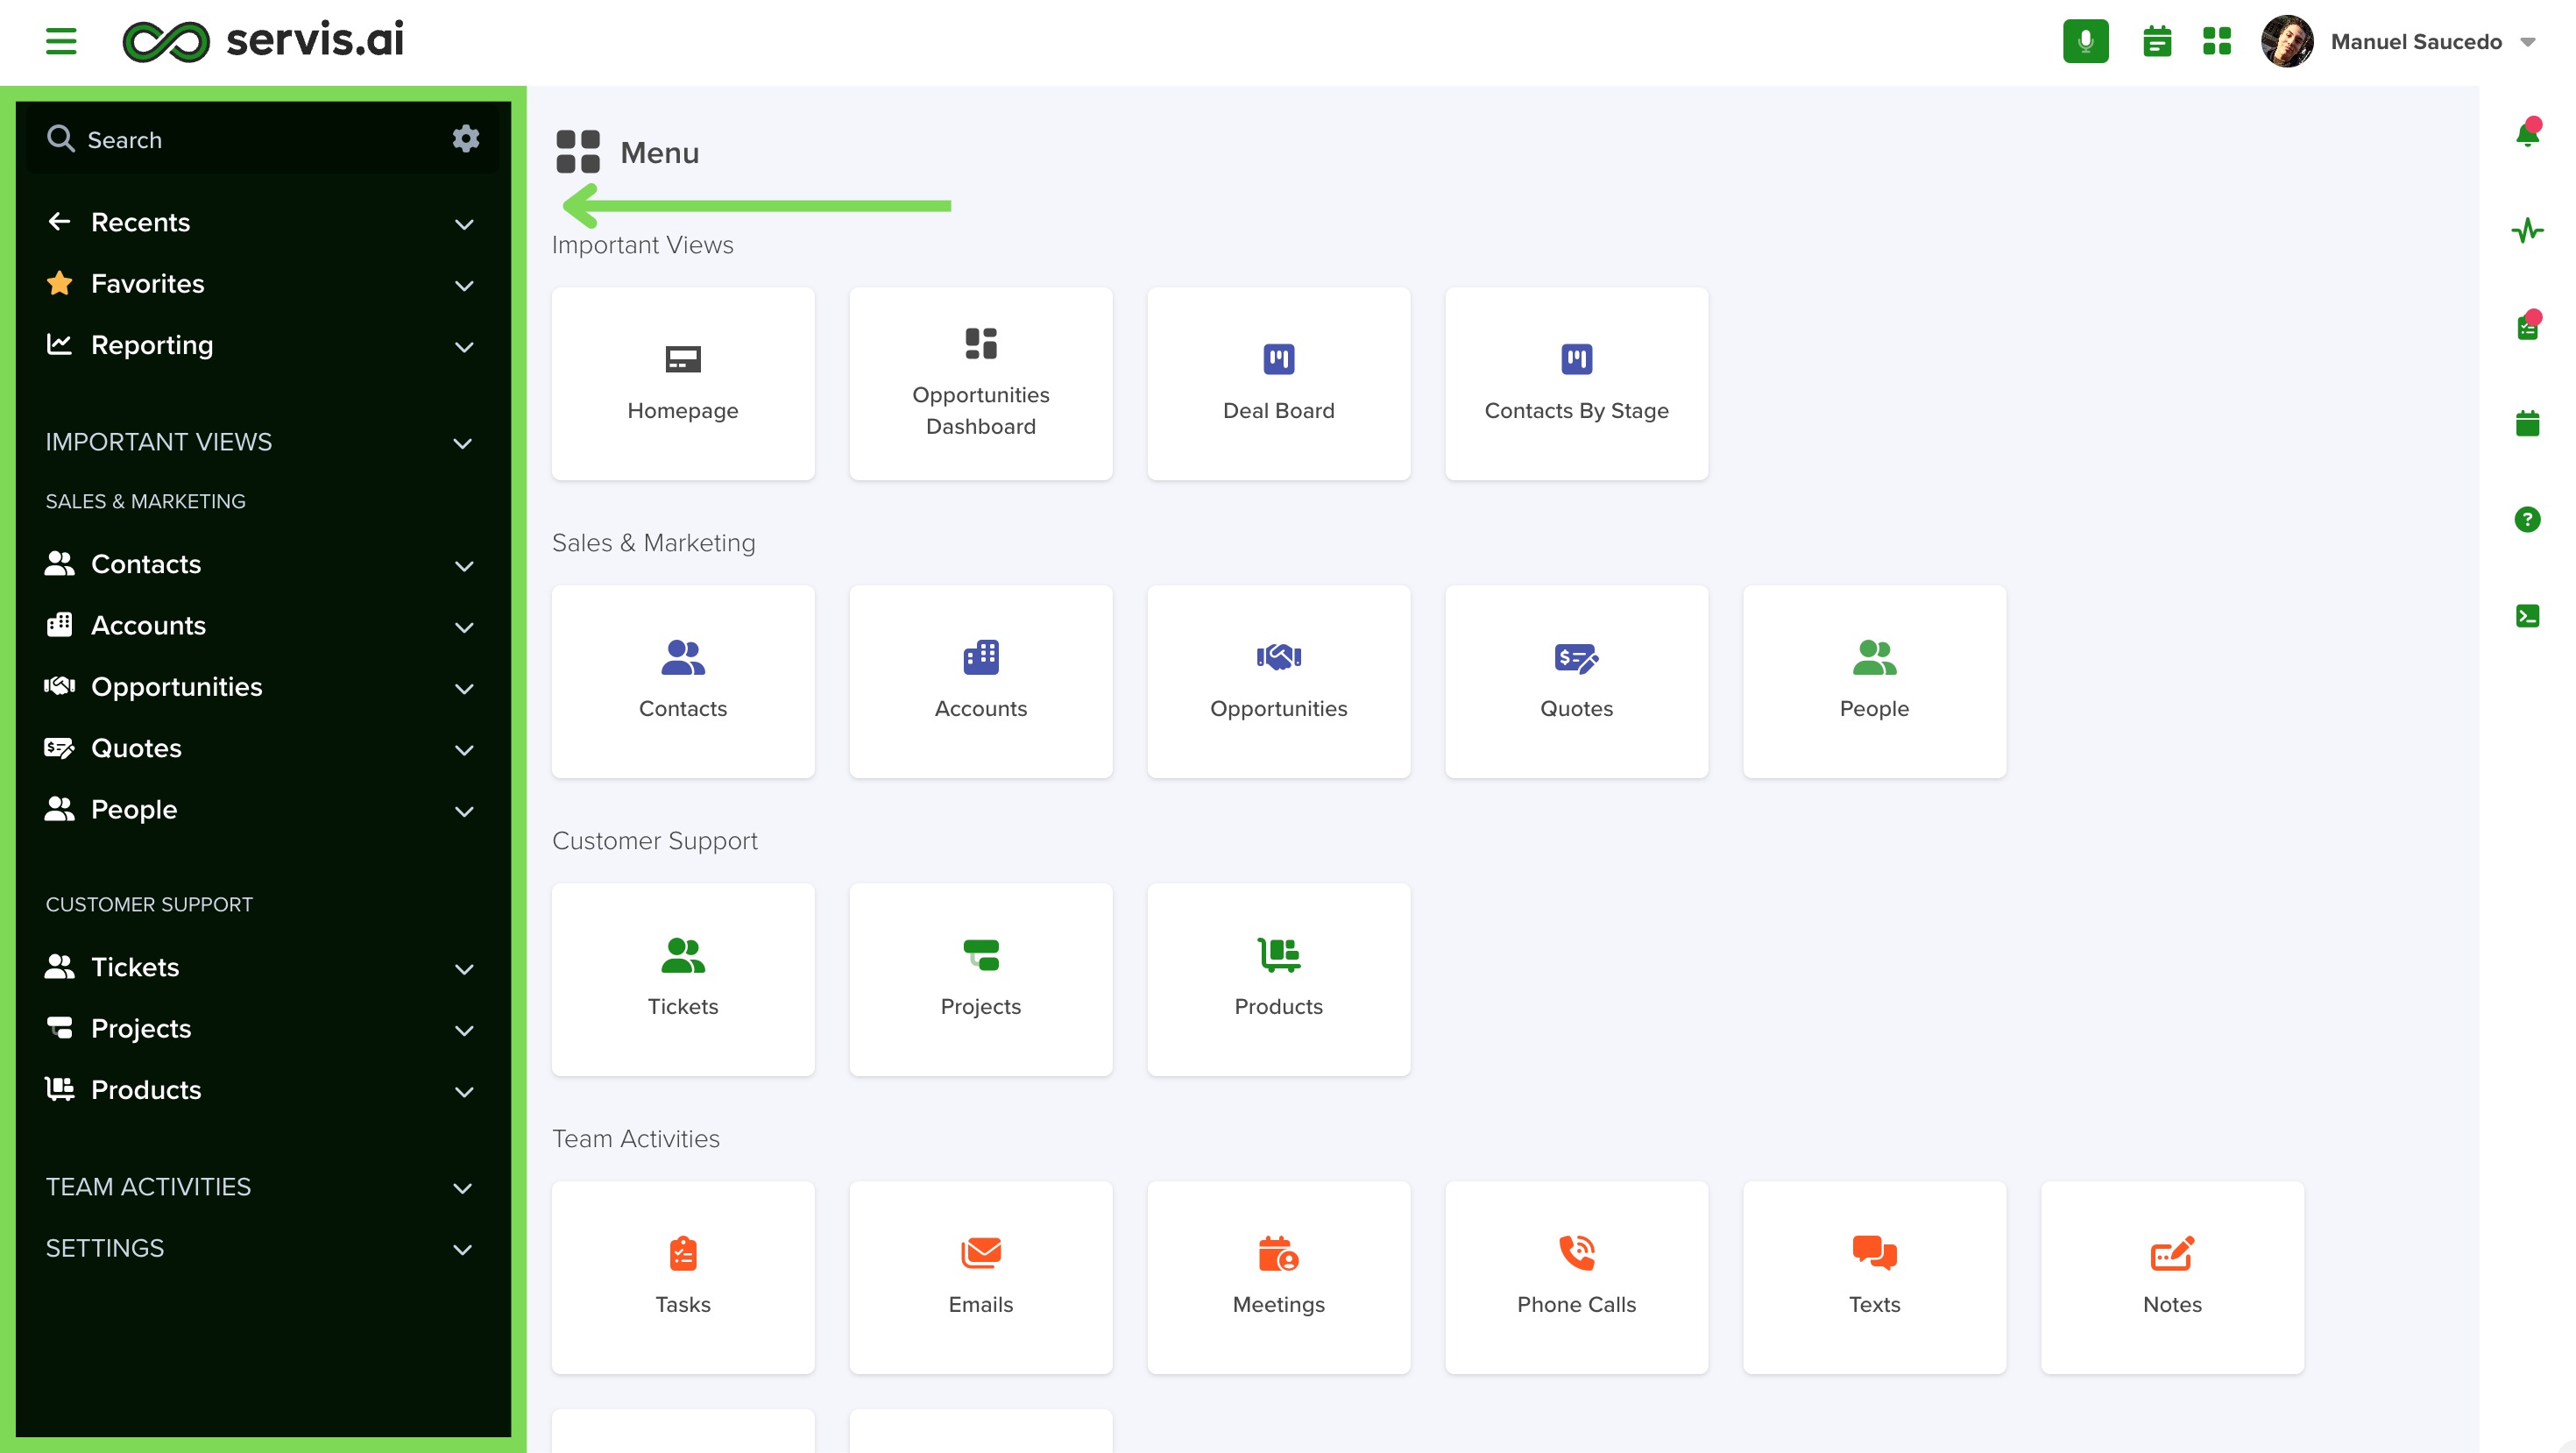
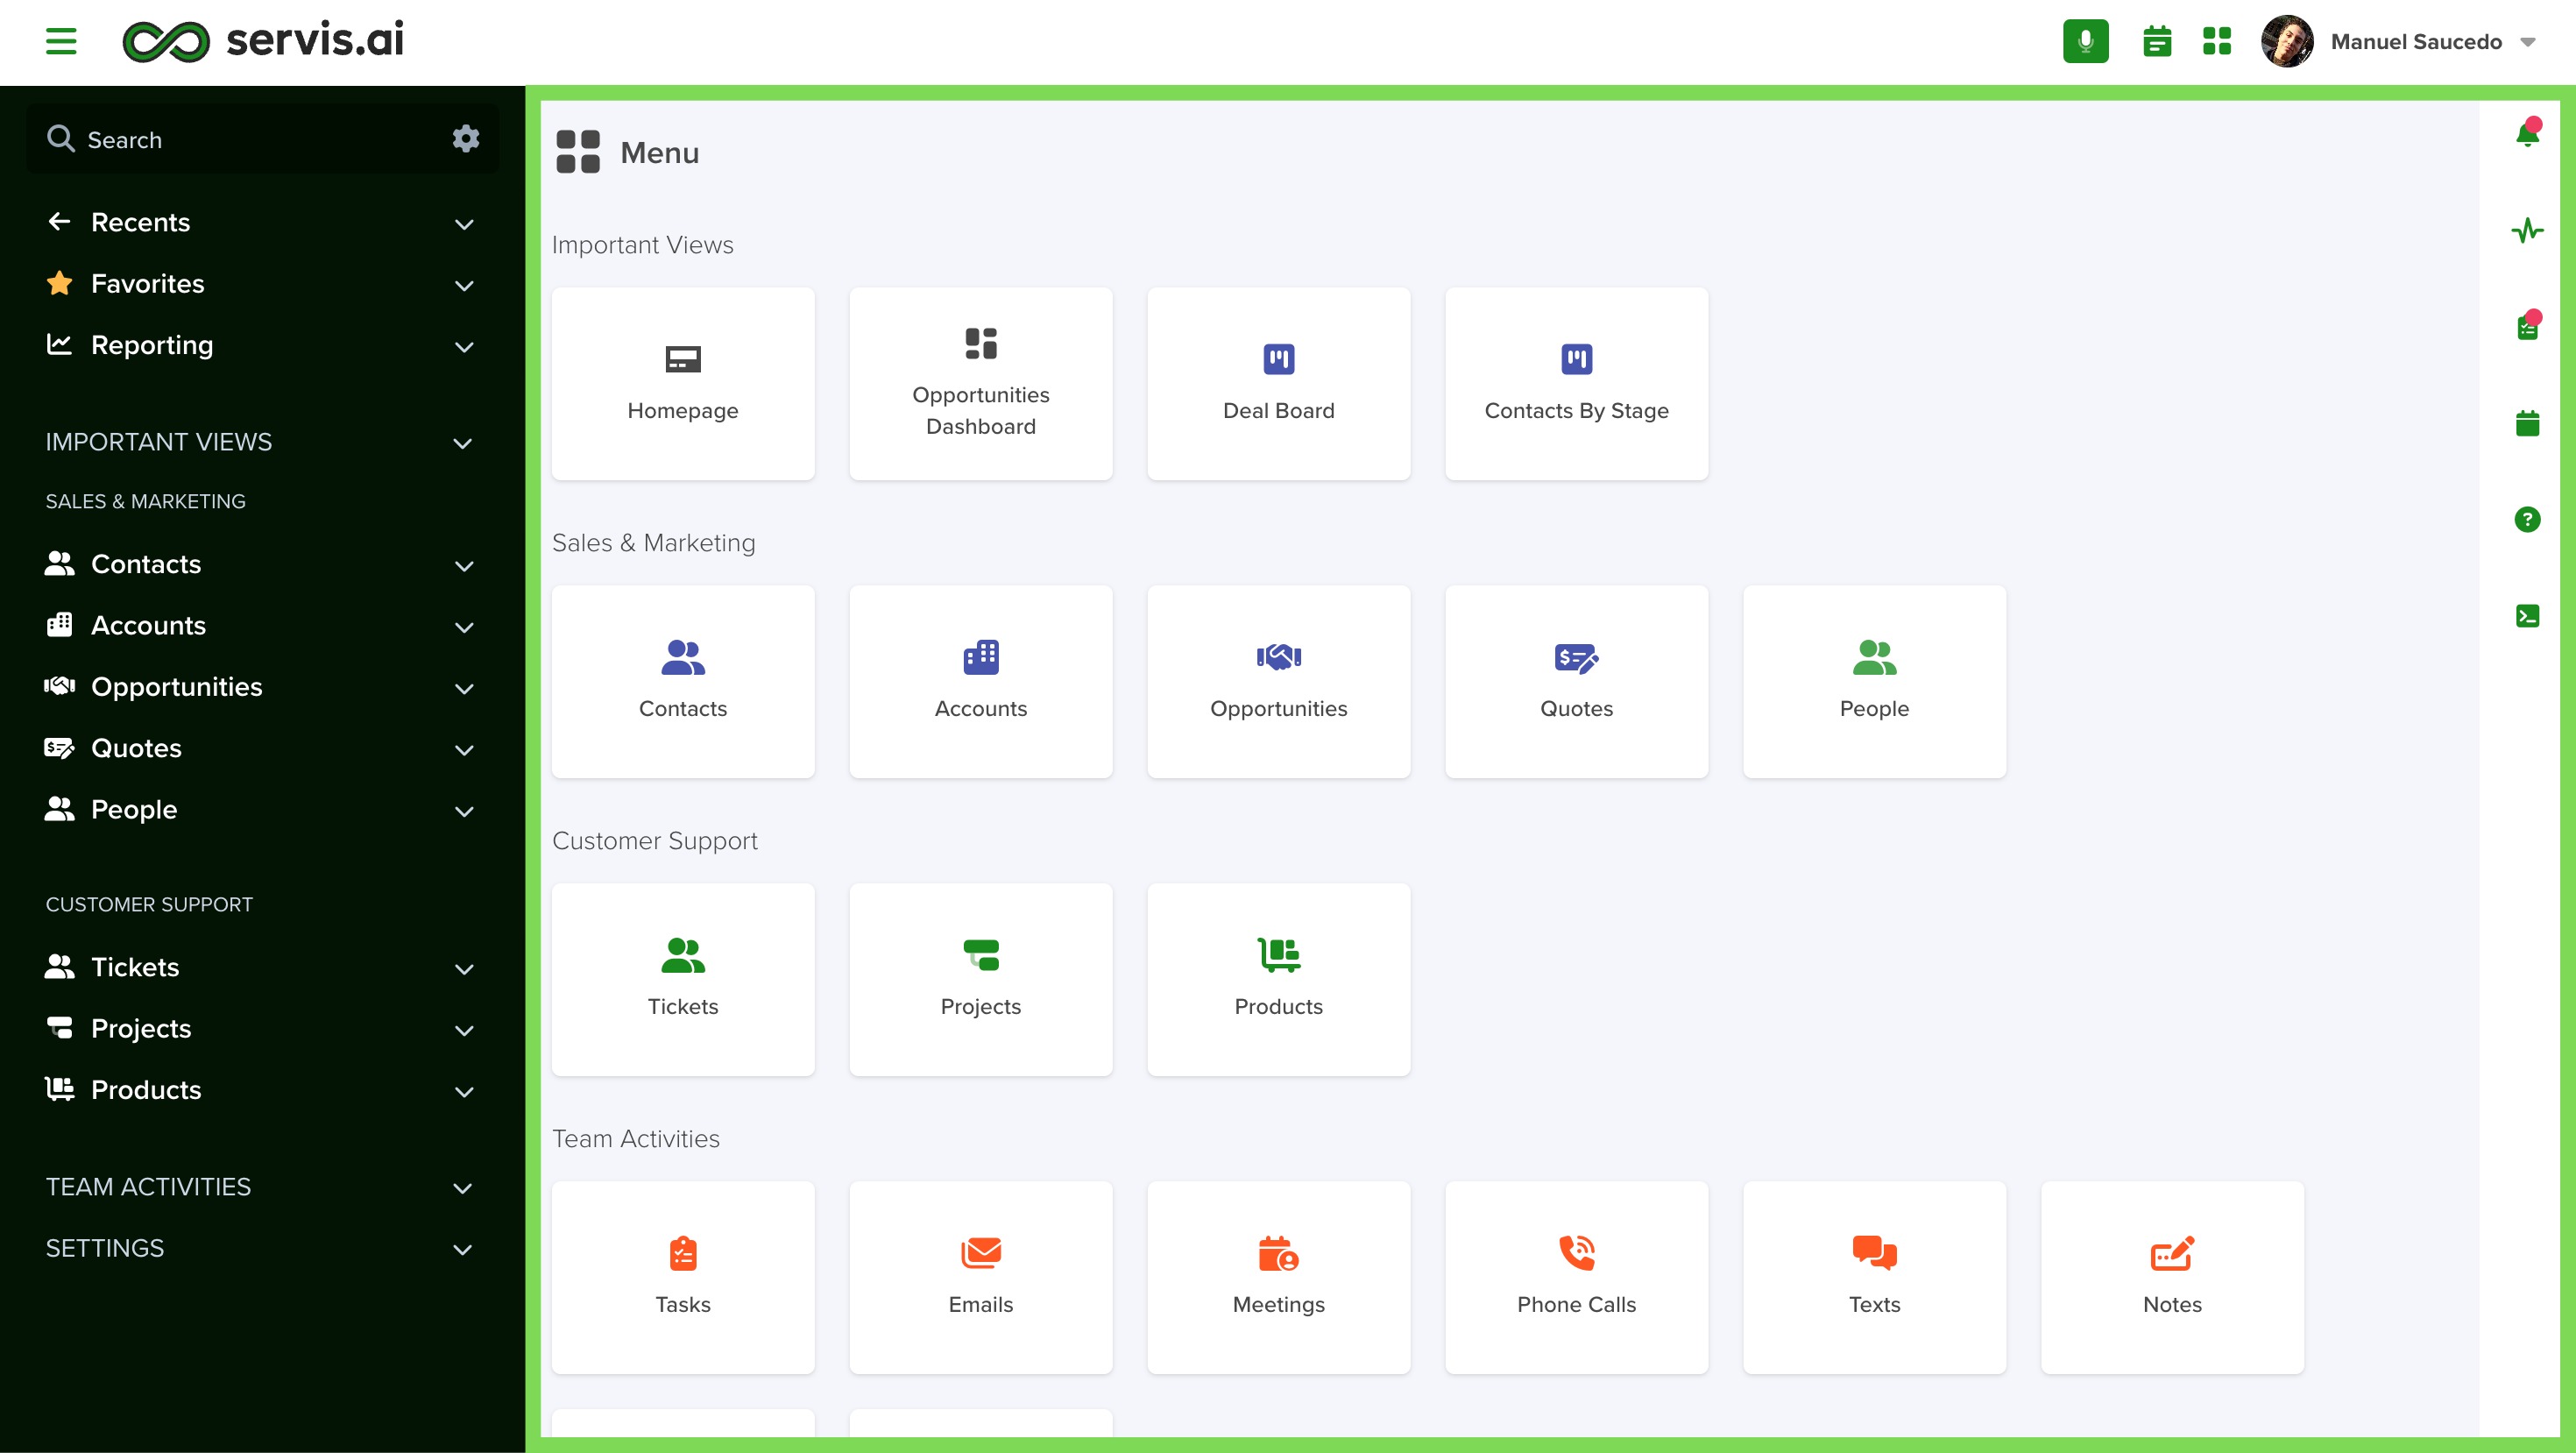
The Menu
The Menu is located to the right of the Navigation Menu. Menu Items are displayed as App Icons and arranged into Menu Groups.
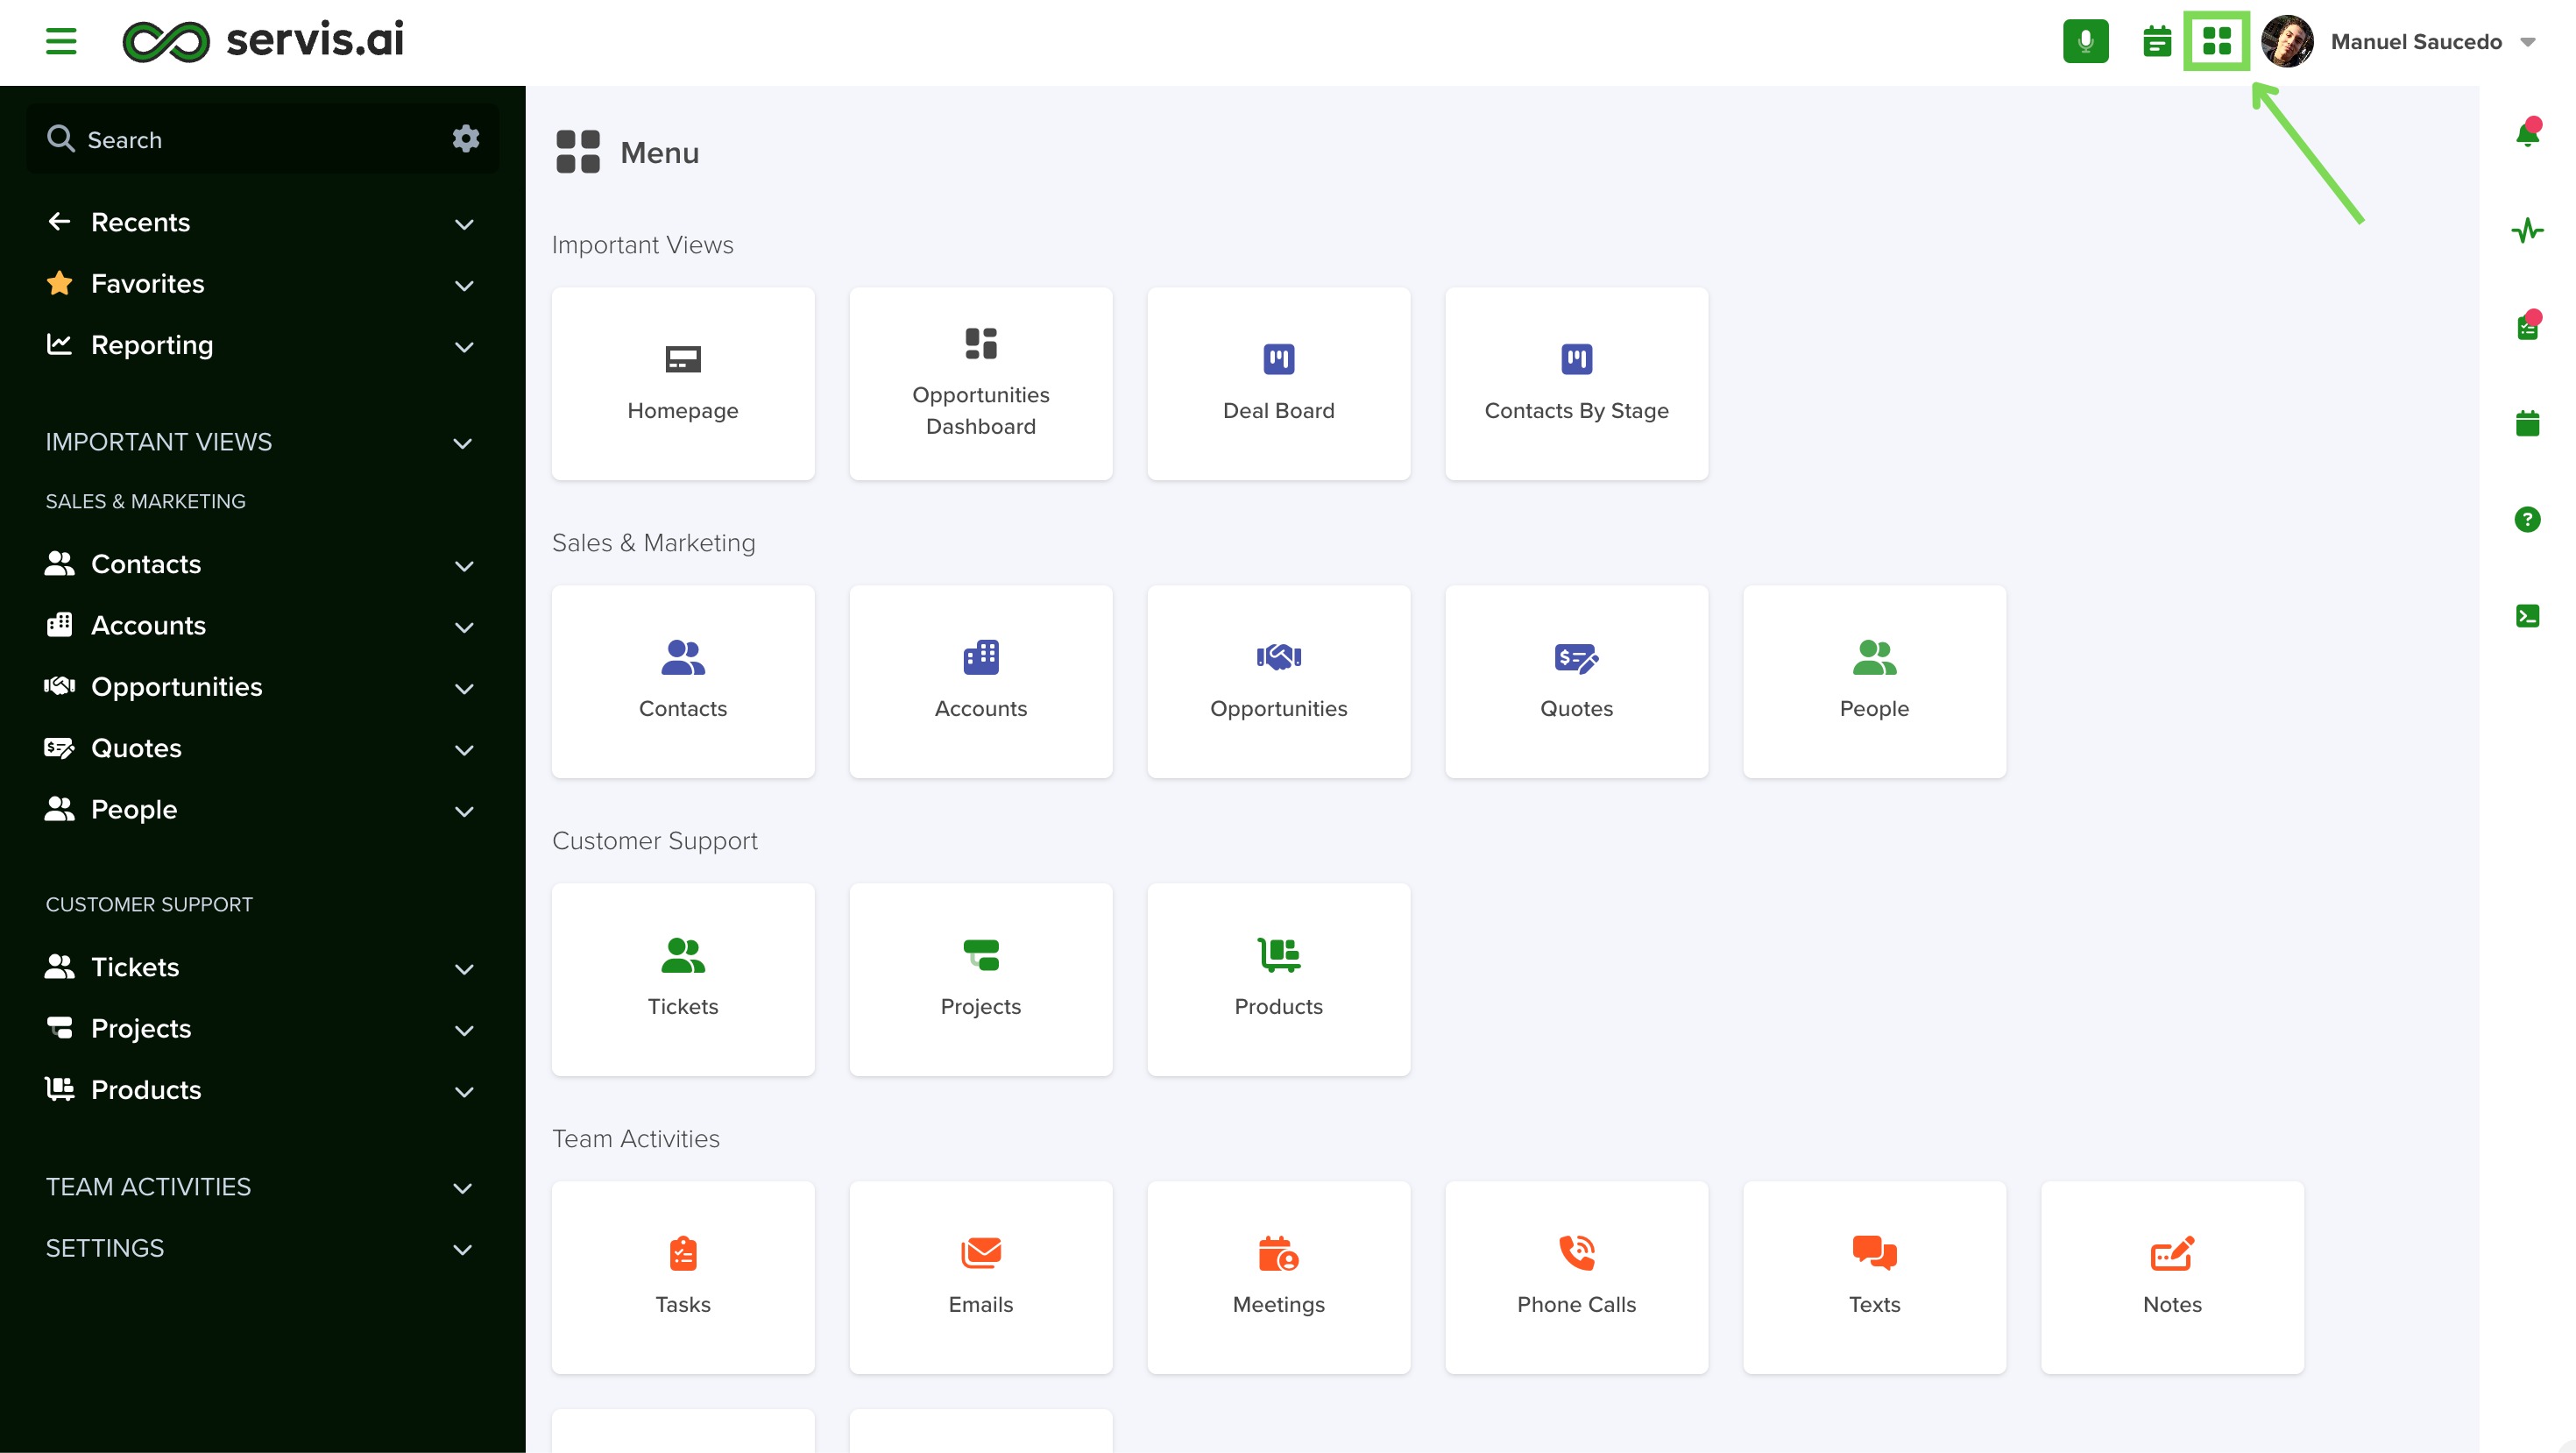
Navigate to the Menu Page
To access the Menu page, click the Menu icon in the top right hand side of any servis.ai view.
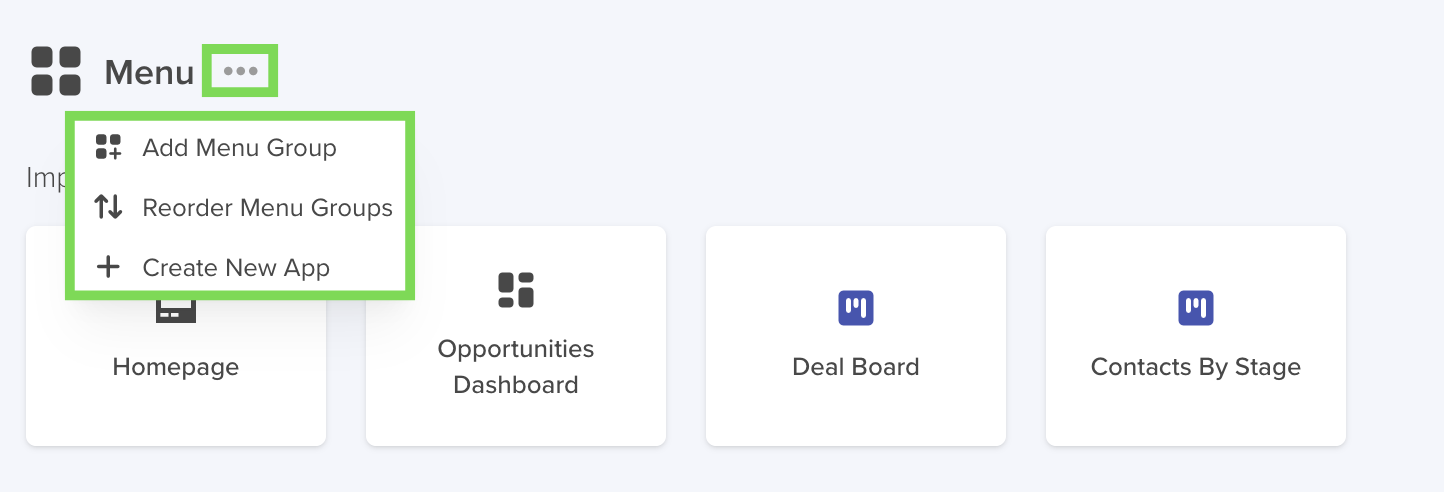
Add New Menu Group/Reorder Menu Groups/Create New App
Hover over the Options button (…) next to the Menu icon to pull up a dropdown menu with the options to Add New Menu Group, Reorder Menu Groups, and Create New App.
For more about creating Apps, check out our article, How to Create a Custom App.
Add New Menu Group
When you select Add New Menu Group from the dropdown menu, the Add New Submenu window will appear.

Name
The Name field is used to assign a clear and descriptive title to your Menu Group.
- Choose a simple, informative name that reflects the type of Menu Items it includes.
- Use plural terms, as each Menu Group typically holds multiple related items.
- Examples of good names include All Apps and Activities.
This is a required field (*).
Show as Expanded
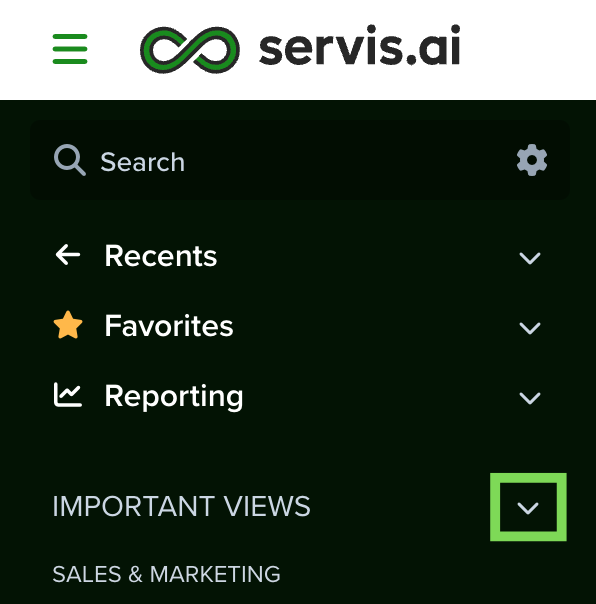
The Show as Expanded setting controls how a Menu Group appears in the Navigation Menu:
- Enabled: All Menu Items within the group are immediately visible in the Navigation Menu.
- Disabled: The group remains collapsed. Users must click the arrow icon next to the group name to expand and view its Menu Items.
Use this option to manage visibility and streamline navigation based on your users’ needs.
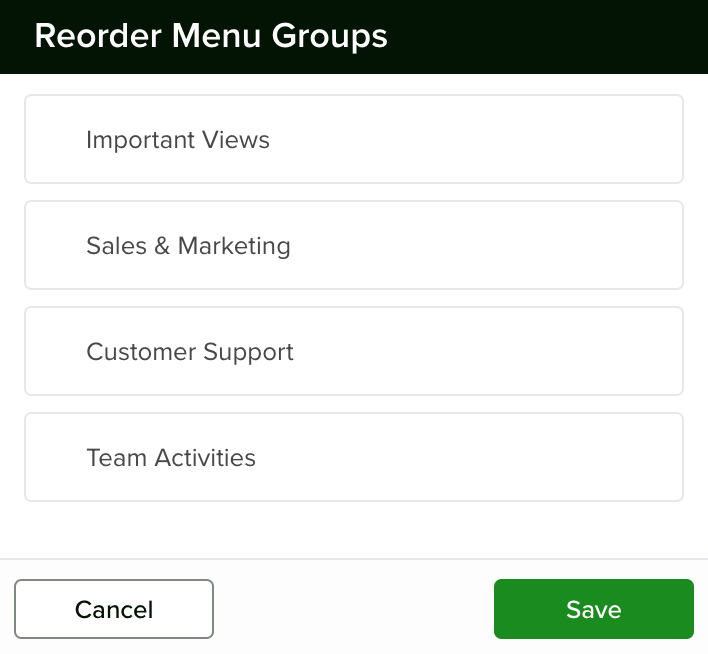
Reorder Menu Groups
When you select Reorder Menu Groups from the dropdown menu, the Reorder Menu Groups window will appear.
Edit Menu Group
When you select Edit Menu Group from the dropdown menu, the Edit Menu Group window will appear.
From here you can change the name of the Menu Group and choose whether to designate the Menu Group as Show as Expanded in the Navigation Menu.
Add Menu Item
When you select Add Menu Item from the dropdown menu, the Add Menu Item window will appear.
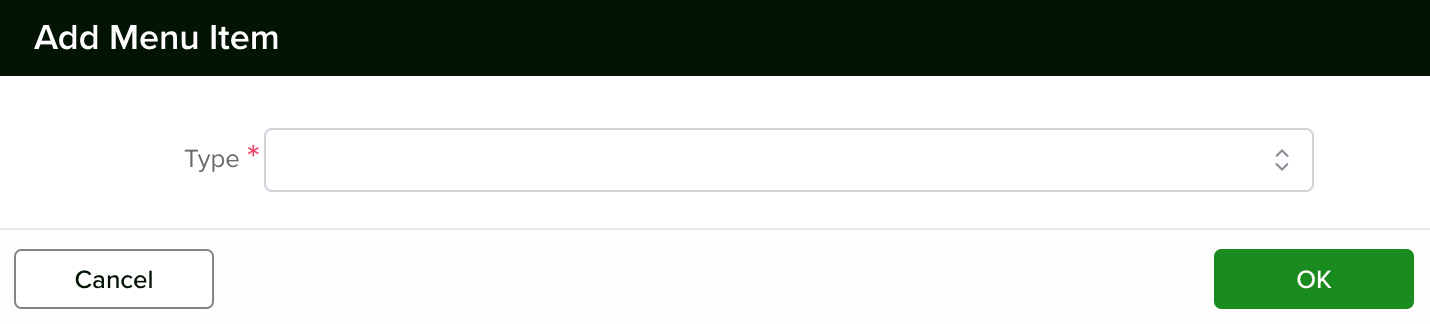
Type
The Type field allows you to choose the type of Menu Item to add to the Menu Group. Options include App, Dashboard and View. This choice will determine the options available in the underlying field.
App/Dashboard/View
The name of this field will change to match the Menu Item Type (see above). To add a Menu Item, begin typing out the name of the Menu Item and a dropdown menu with all the matching options will appear. Select the Menu Item you want.
Reorder Menu Items
When you select Reorder Menu Items from the dropdown menu, the Reorder Menu Groups window will appear.
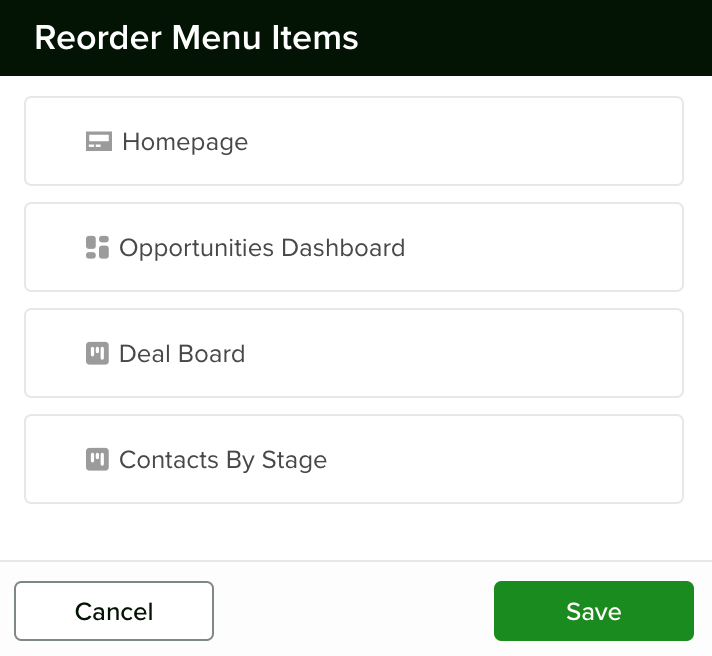
From here you can drag and drop Menu Items into the desired order. Click the Save button in the bottom right hand side of the Reorder Menu Items window when you have your Menu Groups in the desired order.
Note: The order of your Menu Items will be the same in the Navigation Menu and on the Menu page.
Remove Menu Group
When you select Remove Menu Group from the dropdown menu a confirmation message will appear asking you to confirm your request to delete the Menu Group. Click the Remove button to delete the Menu Group.
Removing Menu Items From the Menu
To remove a Menu Item from a Menu Group, hover over the Menu Item icon and an X will appear in the top right hand side.

Click the X button and a confirmation message will appear asking you to confirm your request to delete the Menu Item. Click the Remove button to delete the Menu Group.
