The Generate Document action allows you to automatically create personalized documents using dynamic data from your records. By applying a simple tag-based syntax within a pre-defined template, this action fills in key details—like names, dates, or custom fields—directly into a .docx file. Once generated, the document is converted into a PDF and stored in your app, ready for download or sharing. It’s a powerful way to streamline document creation, making it easy to produce customized files at scale with just a single automation.
How to Set Up the Generate Document Action
Name: Give your action a clear, recognizable name.
Step: Choose a previous action from the automation builder that must be completed before this one.
Note: The dropdown will only show actions that are already fully set up.
Document Template: Select a pre-existing template to use. If you want to know how to create one, refer to our article on setting up document templates.
For this example, we’ll use a basic template to demonstrate the process and expected outcome.
Document Name: Enter a name to identify the document that will be attached to the record.
This is required because the system converts the document into a PDF and uses this name for the final file.
Document File Field: Select a field in your app that accepts file uploads.
To find it, go to Settings > Apps > [Selected App], then open the Form Fields tab.
Sort by field type—any field marked as File type will be used to populate the dropdown.
Practical Example
We’ll use a basic .docx file in our document template and set the automation to trigger based on an app action.
If you’d like to learn more about app actions, check out this guide.
Here’s how the Trigger field should appear in your automation setup:
For this example, we’ll use a simple document with two fields: one for Name and one for Last Name.
This helps demonstrate how you can use tags to automatically fill in personalized information for each record—all from a single document template.
To set up the App Action, configure the Type as Automation and then select the automation you just created from the corresponding field.
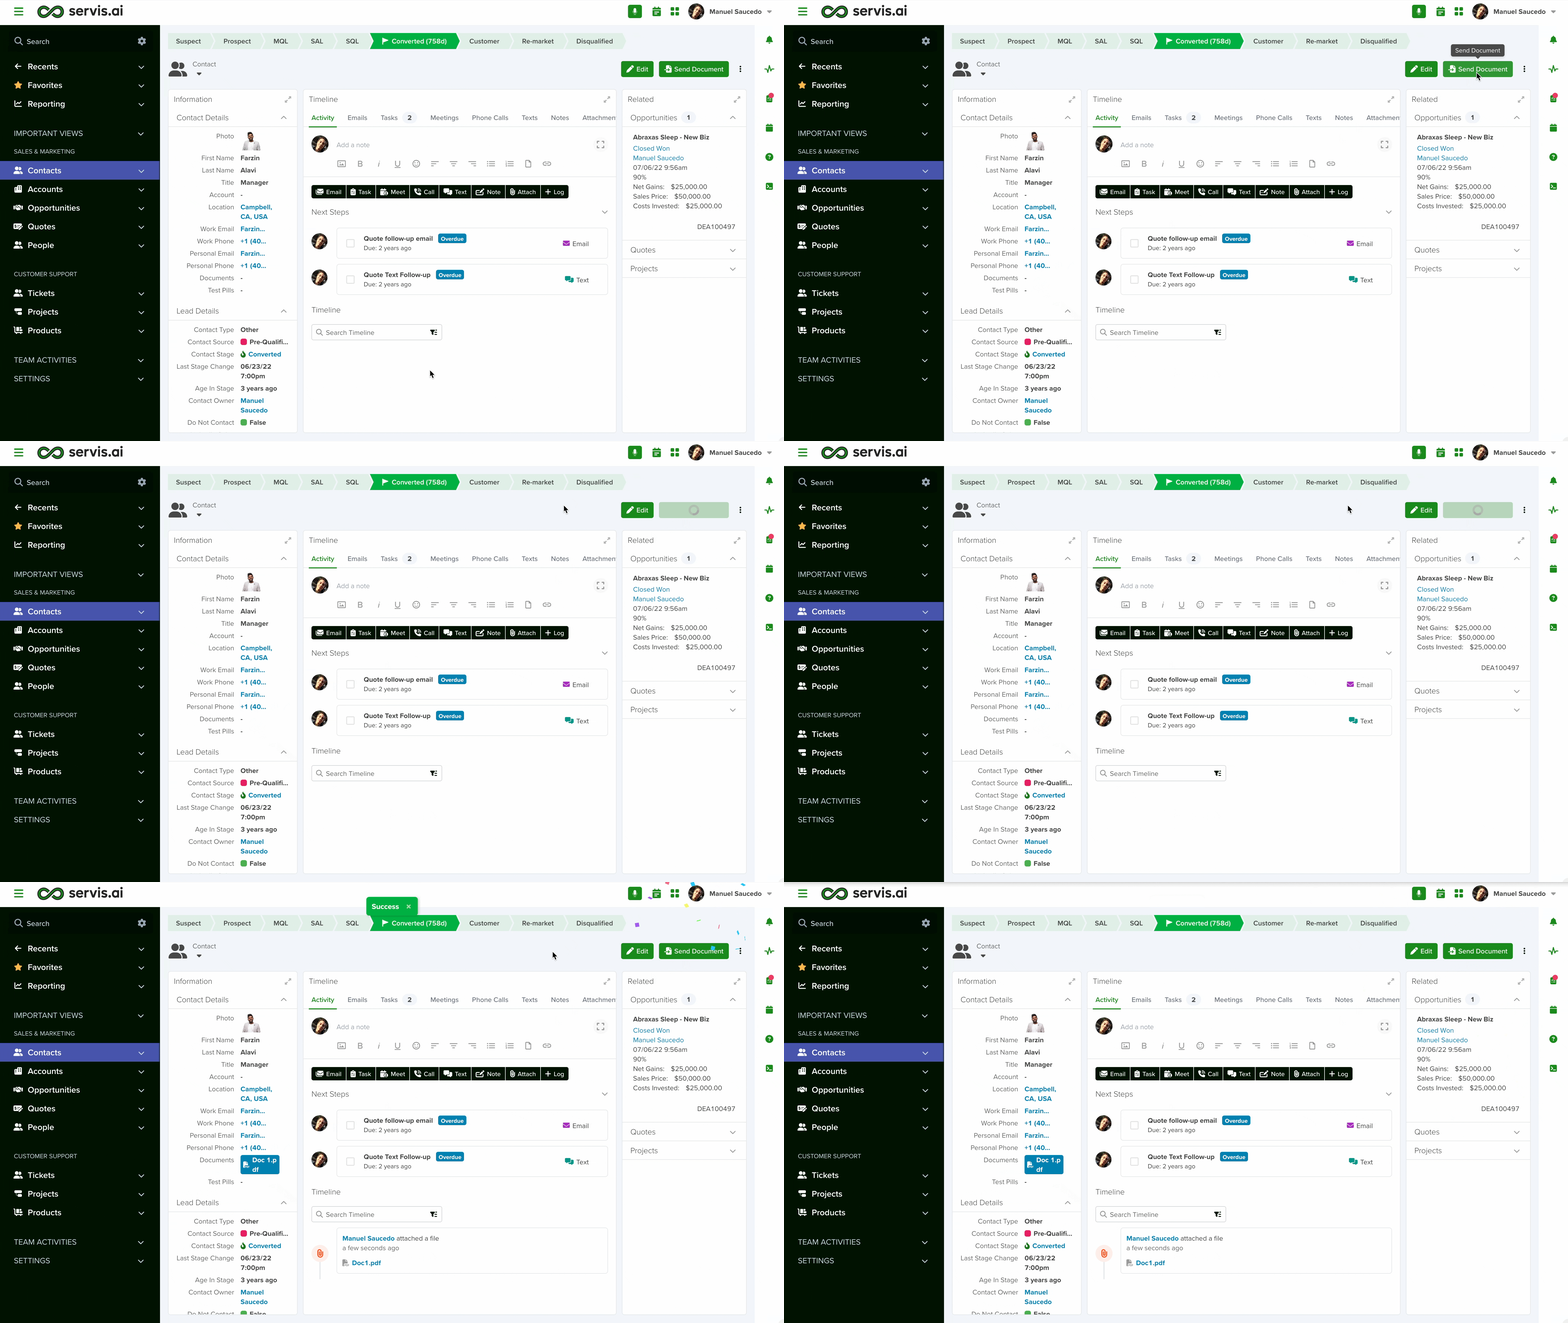
It should look like this on the Details Page of any Contact:
Once everything is set up, simply click the button to start the process.
When it’s complete, you’ll see the new document added to the field you selected in the action’s configuration:
This is where the tags in your document come into play—they’ll be automatically replaced with the specific information from the record that triggered the automation:
If you want to know more about other actions for the automation builder, check this article.


