You can learn how to create a new Form Field from this article.
When working with forms, it’s important to understand the distinction between the Date and Date-Time fields, as they serve different purposes.
- Date Field: This field allows users to select a date using the date picker and is best suited for storing date-only values, such as birthdays or event dates.
- Date-Time Field: This field enables users to choose both a date and a specific time, making it ideal for scheduling deadlines, task due dates, or time-sensitive actions.
Navigating to Form Fields
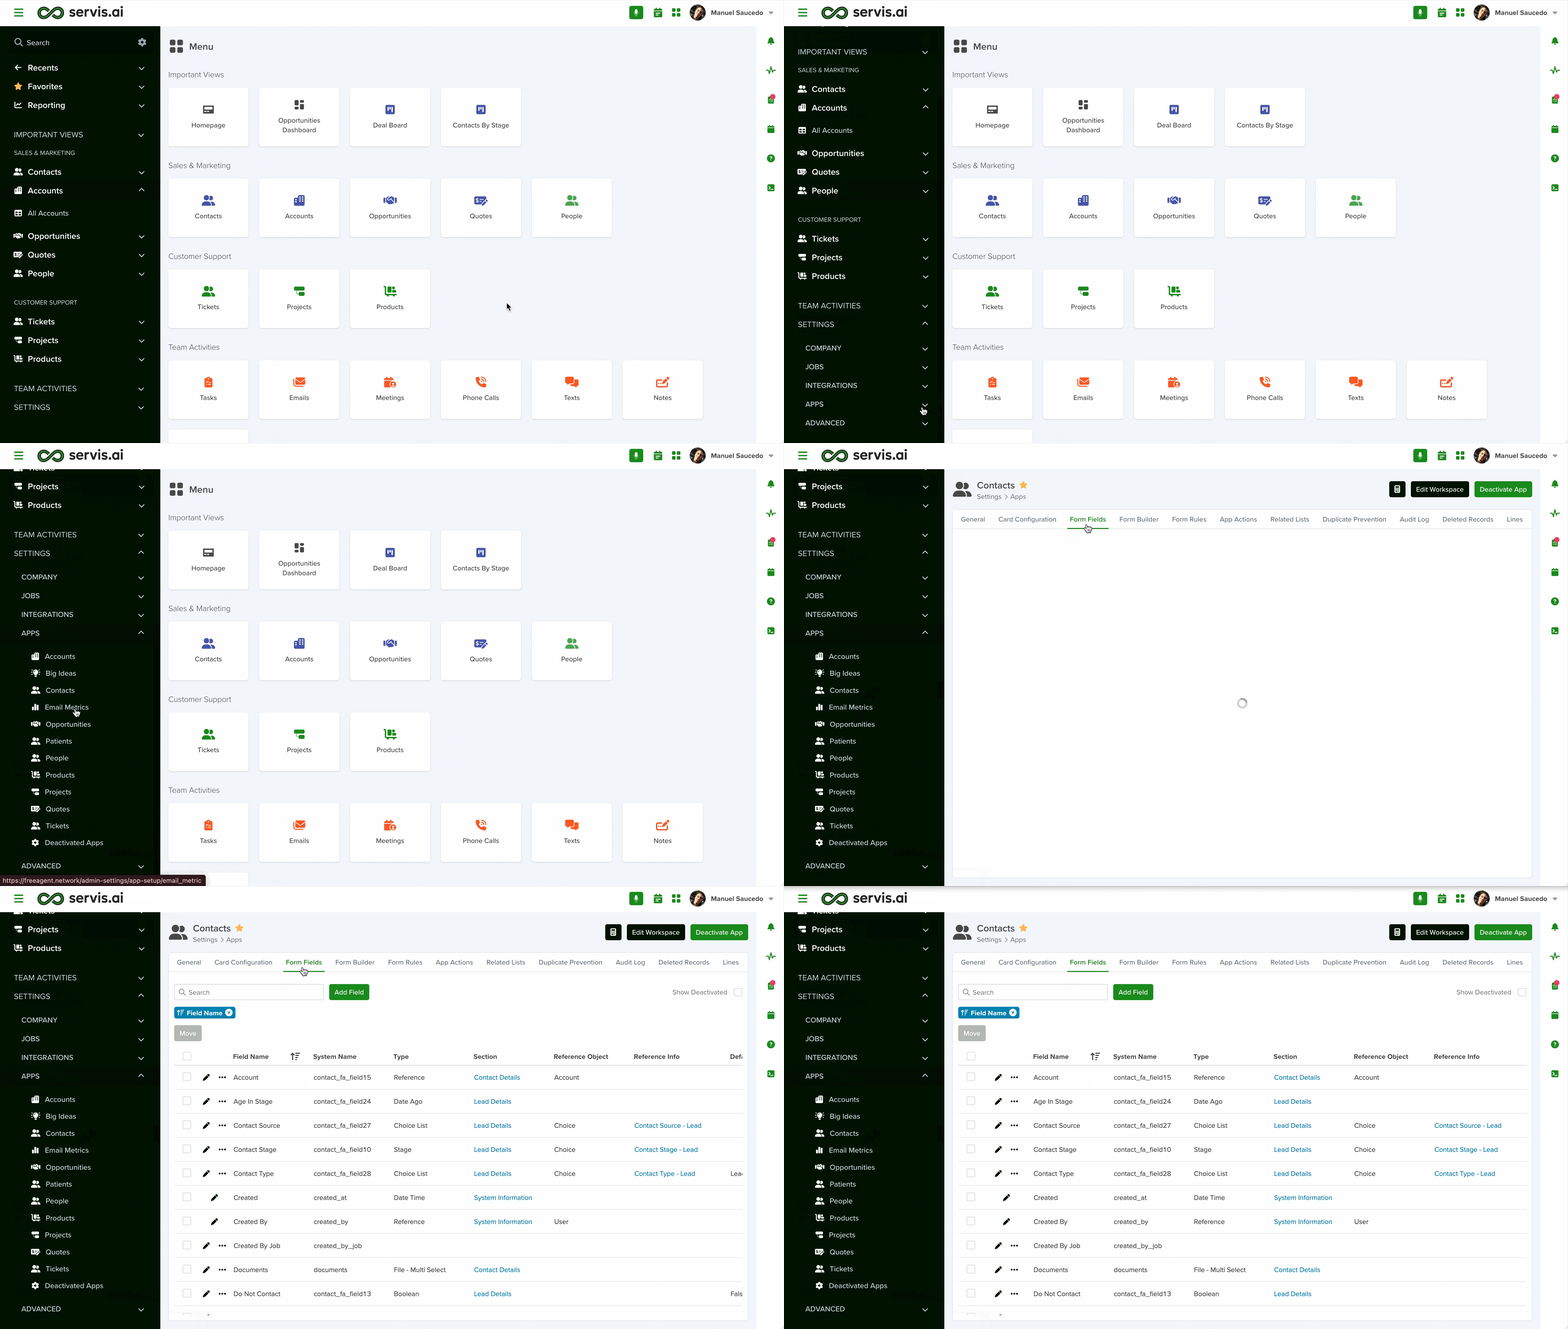
Go to Settings > Apps, select the app you’d like to add the field to and select the ‘Form Fields’ tab.
Selecting Date Field
To set up a Date field in your app, follow these steps:
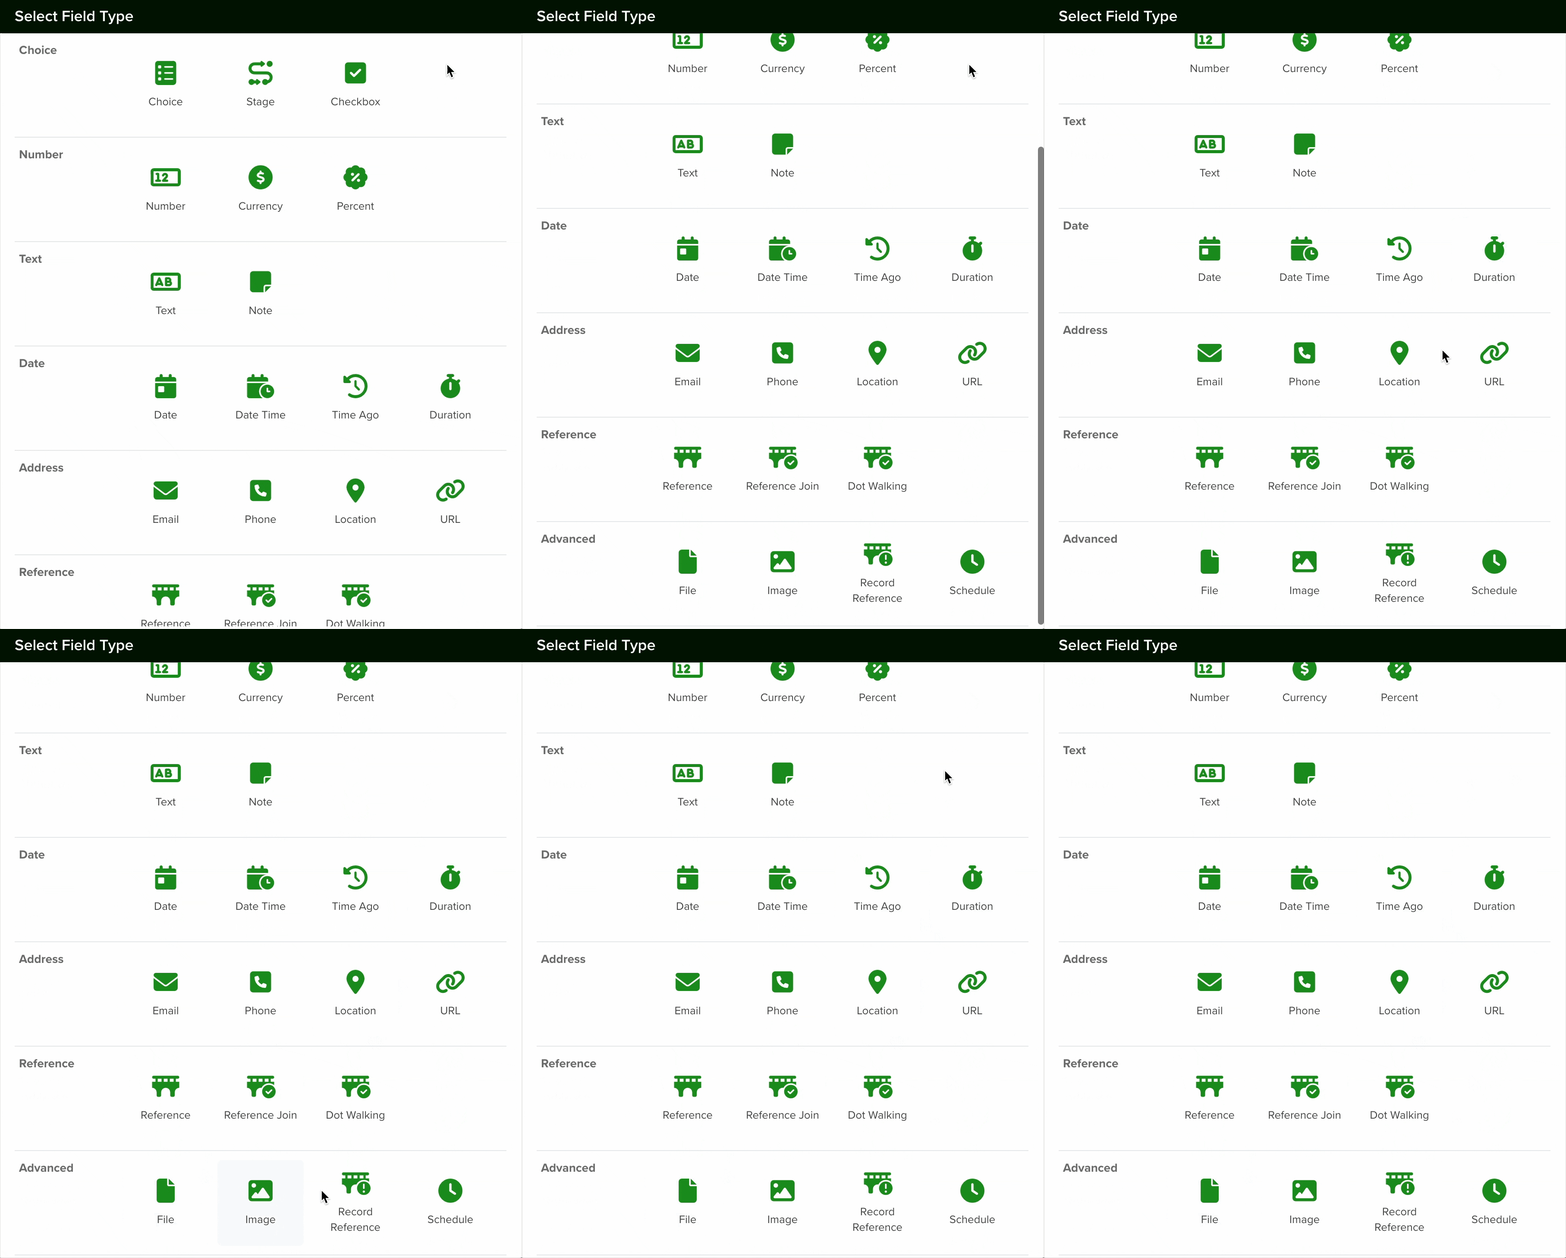
- Add a New Field: Click the Add Field button to open the Field Type selection window.
- Select Choice Type: From the list of available field types, choose the Date option.
- Configure the Field: After selecting the Date field, proceed with the configuration settings as needed.
Configuring a Date Field
Give your field a name and add a field hint if desired. You can then select the section in which the field will be created or keep the default option.
You can add a Format Mask for your Date fields to change the way they are displayed in the forms.
Here is a table with the formatting options available.
| Date Format | Value | Result |
| Month | M | 1 2 … 11 12 |
| Mo | 1st 2nd … 11th 12th | |
| MM | 01 02 … 11 12 | |
| MMM | Jan Feb … Nov Dec | |
| MMMM | January February … November December | |
| Quarter | Q | 1 2 3 4 |
| Qo | 1st 2nd 3rd 4th | |
| Day of Month | D | 1 2 … 30 31 |
| Do | 1st 2nd … 30th 31st | |
| DD | 01 02 … 30 31 | |
| Day of Year | DDD | 1 2 … 364 365 |
| DDDo | 1st 2nd … 364th 365th | |
| DDDD | 001 002 … 364 365 | |
| Day of Week | d | 0 1 … 5 6 |
| do | 0th 1st … 5th 6th | |
| dd | Su Mo … Fr Sa | |
| ddd | Sun Mon … Fri Sat | |
| dddd | Sunday Monday … Friday Saturday | |
| Day of Week (Locale) | e | 0 1 … 5 6 |
| Day of Week (ISO) | E | 1 2 … 6 7 |
| Week of Year | w | 1 2 … 52 53 |
| wo | 1st 2nd … 52nd 53rd | |
| ww | 01 02 … 52 53 | |
| Week of Year (ISO) | W | 1 2 … 52 53 |
| Wo | 1st 2nd … 52nd 53rd | |
| WW | 01 02 … 52 53 | |
| Year | YY | 70 71 … 29 30 |
| YYYY | 1970 1971 … 2029 2030 | |
| YYYYYY | -001970 -001971 … +001907 +001971 Note: Expanded Years (Covering the full time value range of approximately 273,790 years forward or backward from 01 January, 1970) |
|
| Y | 1970 1971 … 9999 +10000 +10001 Note: This complies with the ISO 8601 standard for dates past the year 9999 |
|
| Era Year | y | 1 2 … 2020 … |
| Era | N, NN, NNN | BC AD Note: Abbr era name |
| NNNN | Before Christ, Anno Domini Note: Full era name |
|
| NNNNN | BC AD Note: Narrow era name |
|
| Week Year | gg | 70 71 … 29 30 |
| gggg | 1970 1971 … 2029 2030 | |
| Week Year (ISO) | GG | 70 71 … 29 30 |
| GGGG | 1970 1971 … 2029 2030 | |
| AM/PM | A | AM PM |
| a | am pm | |
| Hour | H | 0 1 … 22 23 |
| HH | 00 01 … 22 23 | |
| h | 1 2 … 11 12 | |
| hh | 01 02 … 11 12 | |
| k | 1 2 … 23 24 | |
| kk | 01 02 … 23 24 | |
| Minute | m | 0 1 … 58 59 |
| mm | 00 01 … 58 59 | |
| Second | s | 0 1 … 58 59 |
| ss | 00 01 … 58 59 | |
| Fractional Second | S | 0 1 … 8 9 |
| SS | 00 01 … 98 99 | |
| SSS | 000 001 … 998 999 | |
| SSSS … SSSSSSSSS | 000[0..] 001[0..] … 998[0..] 999[0..] | |
| Time Zone | z or zz | EST CST … MST PST Note: as of 1.6.0, the z/zz format tokens have been deprecated from plain moment objects. Read more about it here. However, they *do* work if you are using a specific time zone with the moment-timezone addon. |
| Z | -07:00 -06:00 … +06:00 +07:00 | |
| ZZ | -0700 -0600 … +0600 +0700 |
If desired, you can set a default value for all new records. Team members will have the option to override the default value if needed.
Date fields can also be calculated. Just enable the ‘Calculated’ checkbox and add your custom code in the space available for it.
Enable the ‘Required’ checkbox if the information for this field is mandatory. It means that if you enable this option, every time a team member creates a new record, they will need to input a date for this field in order to save it.
If you enable the ‘Lock After Create’ as its name implies, the field will be locked once the new record is saved and the value of the field will not be editable afterward.
Once you are done setting your field, click the save button.
Note: All new fields are added at the bottom of the form.
Configuring a Date Time Field
Follow the same steps described in the section above, the only difference should be the type. It must be set to ‘Date Time’.
Changing a Field’s Type
In servis.ai, once a field is created, its type (e.g., text, number, date, boolean) cannot be modified directly. This limitation helps ensure data consistency and prevents errors that could arise from incompatible data formats.
If you need to change the type of an existing field, you’ll need to follow these steps:
- Create a New Field: Go to the Form Fields tab on your App’s Settings and create a new field with the desired type (for example, switching from a text field to a number field).
- Deactivate the Old Field: Once the transition is complete, you can choose to delete the original field or simply hide it from views to avoid confusion.


