Access and manage all your Saved Views from one place.
Edition Qualifier: The filter feature is available in all servis.ai Editions.
User Permissions: Only Administrators can access and manage Saved Views.
Navigate to Saved Views
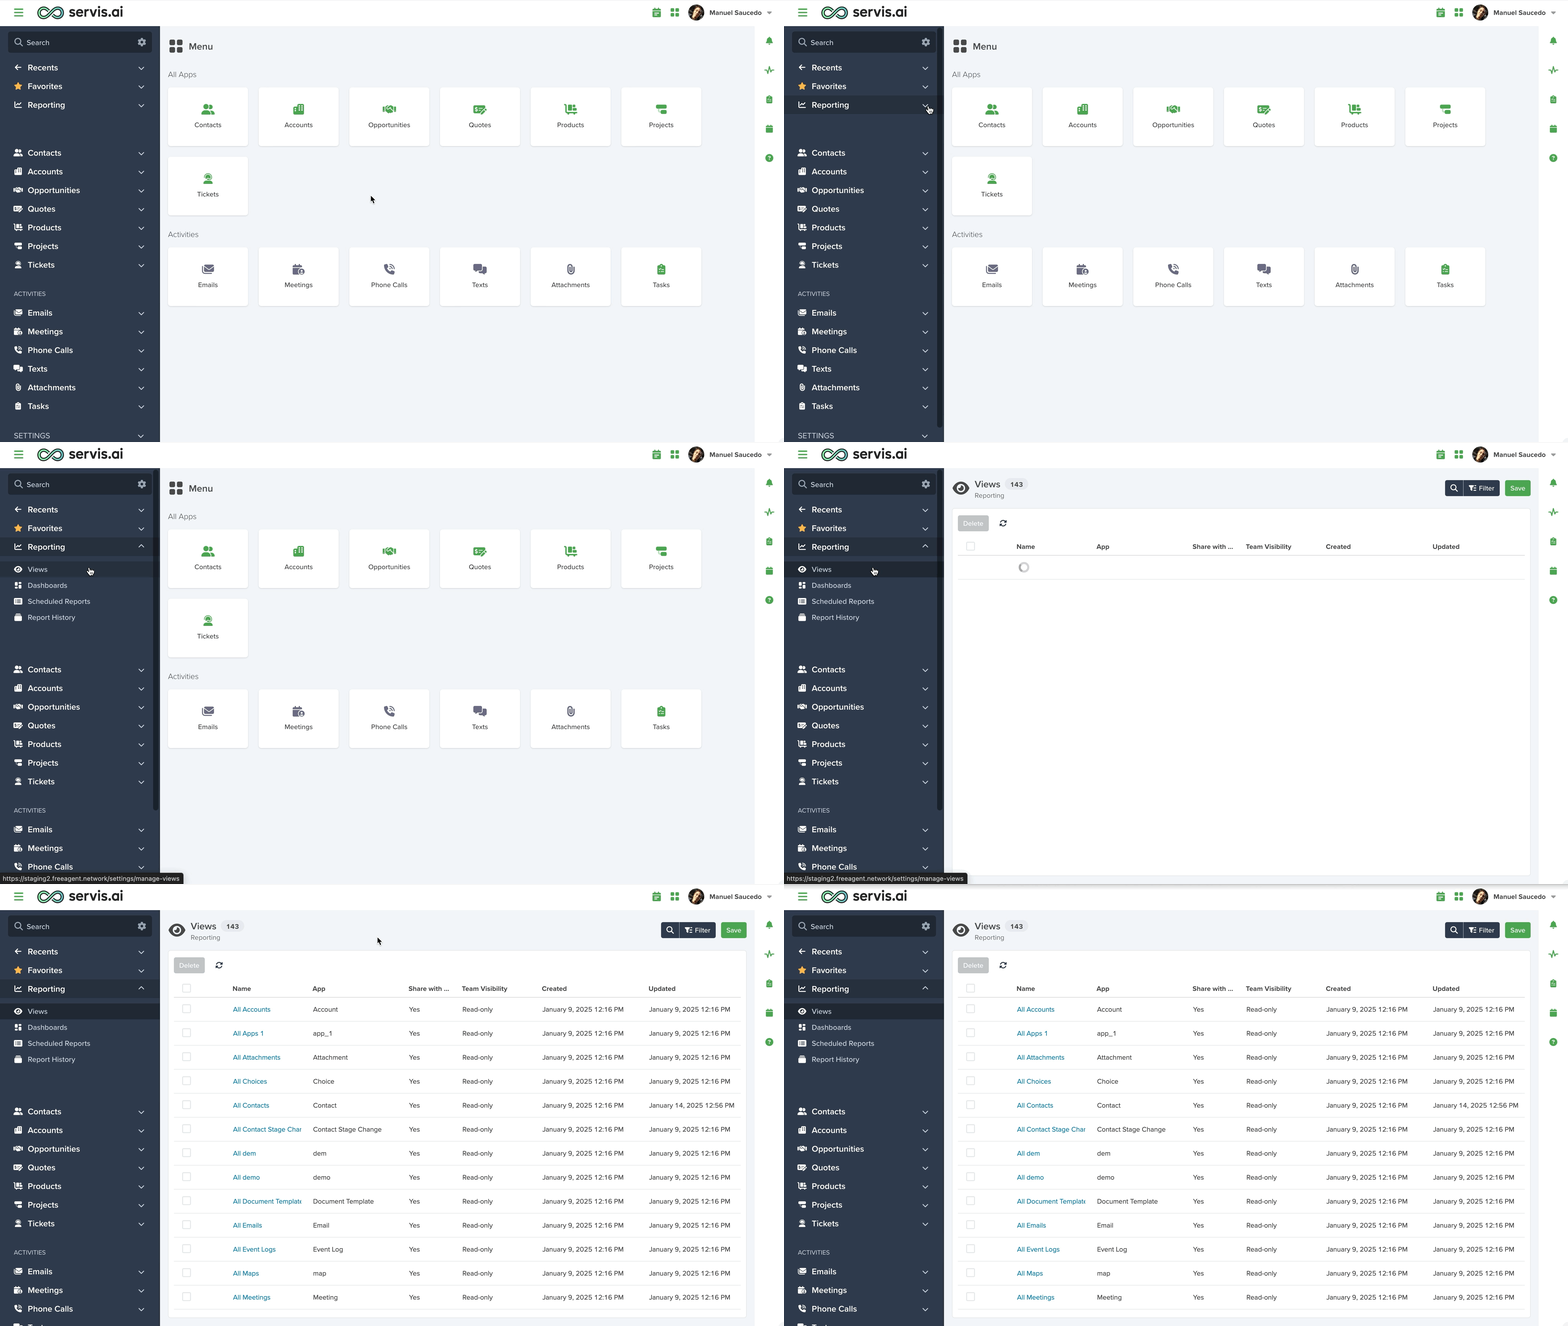
From the Navigation Menu, go to Reporting > Views.
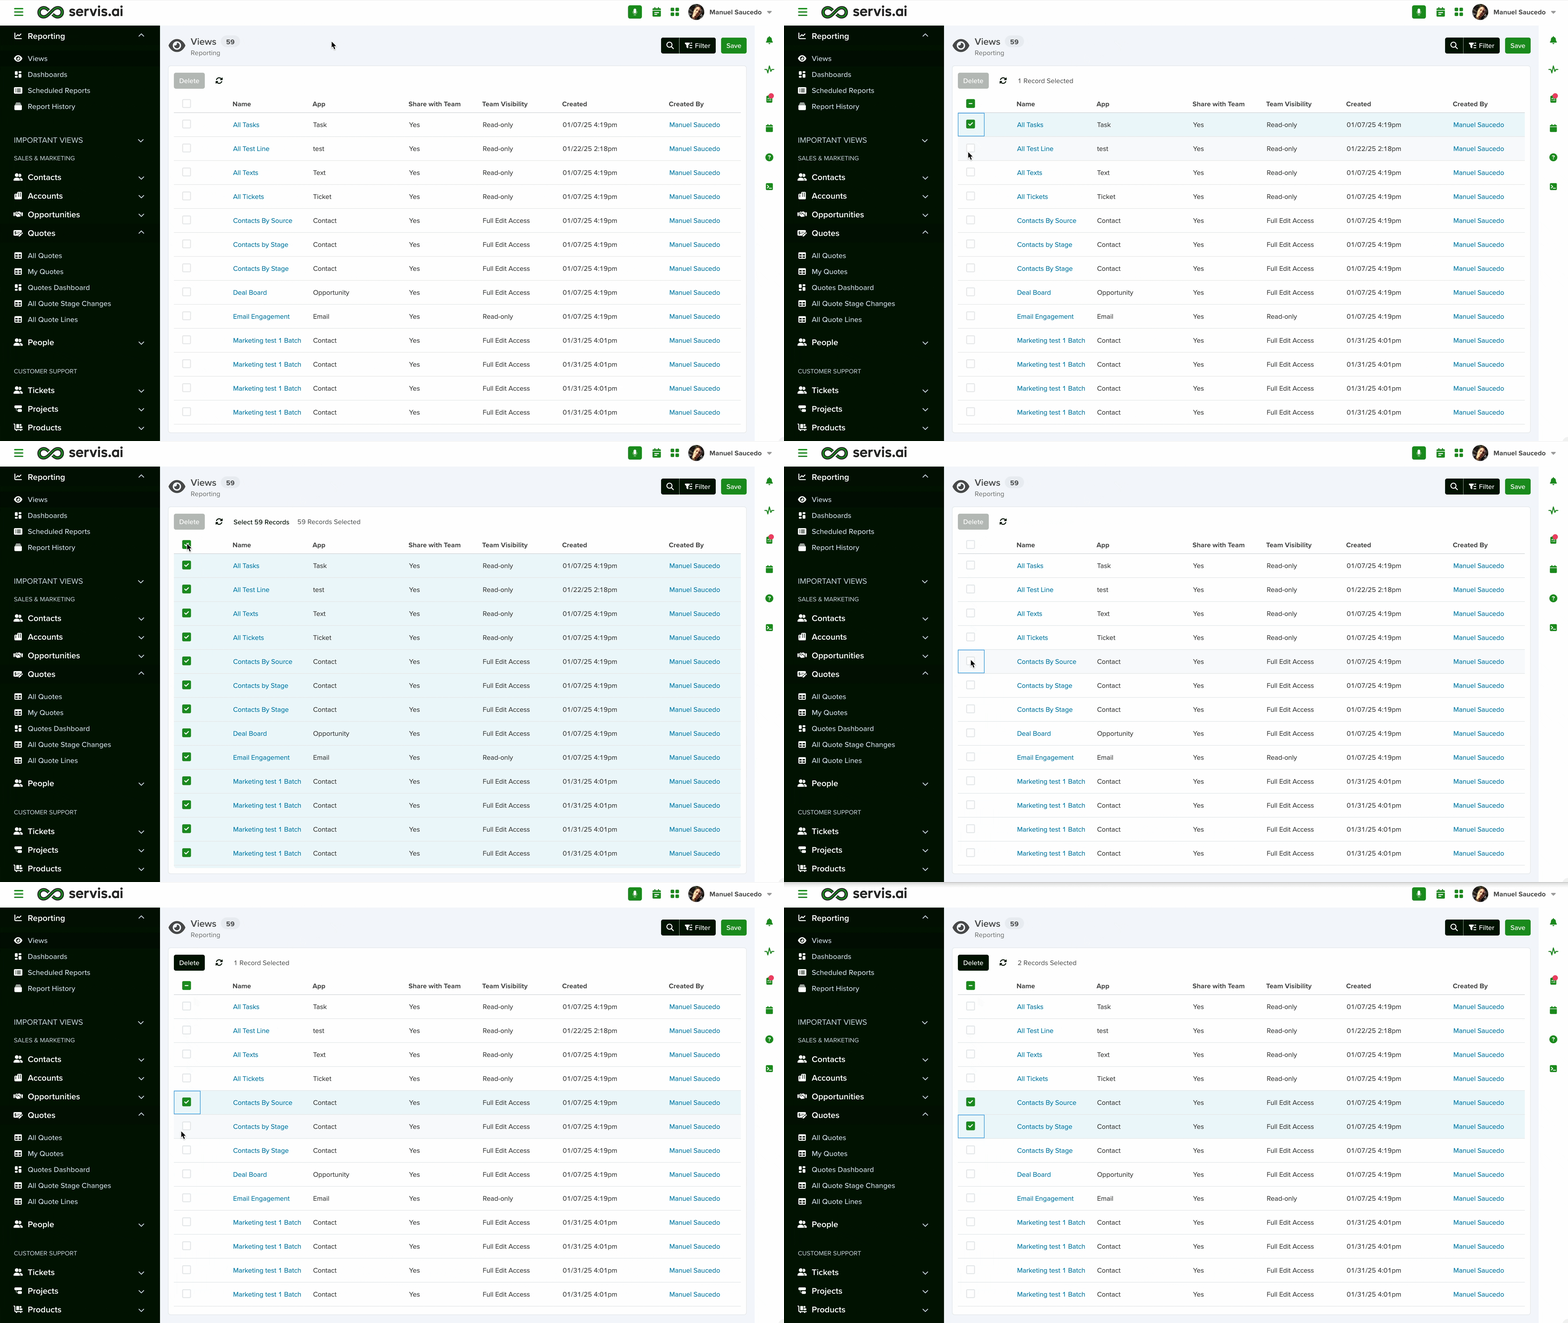
Note: Views include your Saved Views as well as those of your team members. If you delete a Saved View it will remove it for everyone on your team.
Views Page
The Views page is a list of all the Saved Views created by you and your team. From here you can see the Saved View’s details, including:
- Name
- App (where it was created)
- Who created it
- When it was created
- Who it is shared with
- Team Visibility (Full Edit Access, Read-only)
Click on the name of a Saved View to open it.
Search and Filter Saved Views
To search for a Saved View, click the Search icon in the top right hand side of the Views page and type the Saved View’s name into the search box.
You can apply filters to your Saved Views search by clicking the Filter button in the top right hand side of the Views page.
You can filter your Views based on various criteria, including:
- Who created it
- When it was created
- Who it is shared with
- Team Visibility (Full Edit Access, Read-only)
Creating and Saving Views
Creating a new View is done using Filters. Check out our article, Filter, Sort & More to learn how to create a View.
Once you have created a View, you can save it so that you don’t have to apply Filters to your data over and over again. This is called a Saved View.
Note: Views can only be created in the details page of an App. You can create Views for custom Apps.
The Save Button
Once you have created a View and you want to Save it, click the Save button in the top right hand side of the details page.
There are several components of this Save button.
Save
If you have updated an existing Saved View and don’t want to keep the original Saved View, select Save.
Save As New
If you have configured a new View, or if you have made changes to an existing Saved View and want to keep the original Saved View, select Save as New.
Rename
If you want to rename an existing Saved View, select Rename. The Rename View form will appear. Enter the new name in the Name field and click the Save button in the bottom right hand side of the Rename View form.
Note: You can’t rename system Views such as the ‘All’ View of an App. For example, you can’t rename the All Accounts View.
Share
If you want to share a Saved View with your team, select Share. The Share View form will appear.
Choose whether to grant Read-only or Full Edit Access permissions.
Read-only
If you select Read-only, all of your team members will be able to see the Saved View, but they won’t be able to edit it.
Full Edit Access
If you select Full Edit Access, all of your team members will be able to edit the Saved View.
Note: When a Saved View is shared, you will be able to copy and paste the URL and send it to your team members.
Discard Changes
If you made changes to an existing Saved View and would like to revert back to the original Saved View, select Discard Changes.
Add to Menu/Remove from Menu
If you want to add a Saved View to the Navigation Menu, select Add to Menu. The Saved View will appear in the Navigation Menu under the App it created in.
Once a Saved View has been added to the Navigation Menu, you can remove it from the Navigation Menu by going back to the Save button menu and clicking Remove from Menu.
Delete View
If you want to remove a Saved View from servis.ai permanently, select Delete View. If you delete a Saved View it will remove it for everyone on your team.
Note: You cannot delete system Views such as the ‘All’ View of an App. For example, you can’t delete the All Accounts View.
Accessing Saved Views
There are several different ways to access Saved Views in servis.ai.
The Main Apps Page
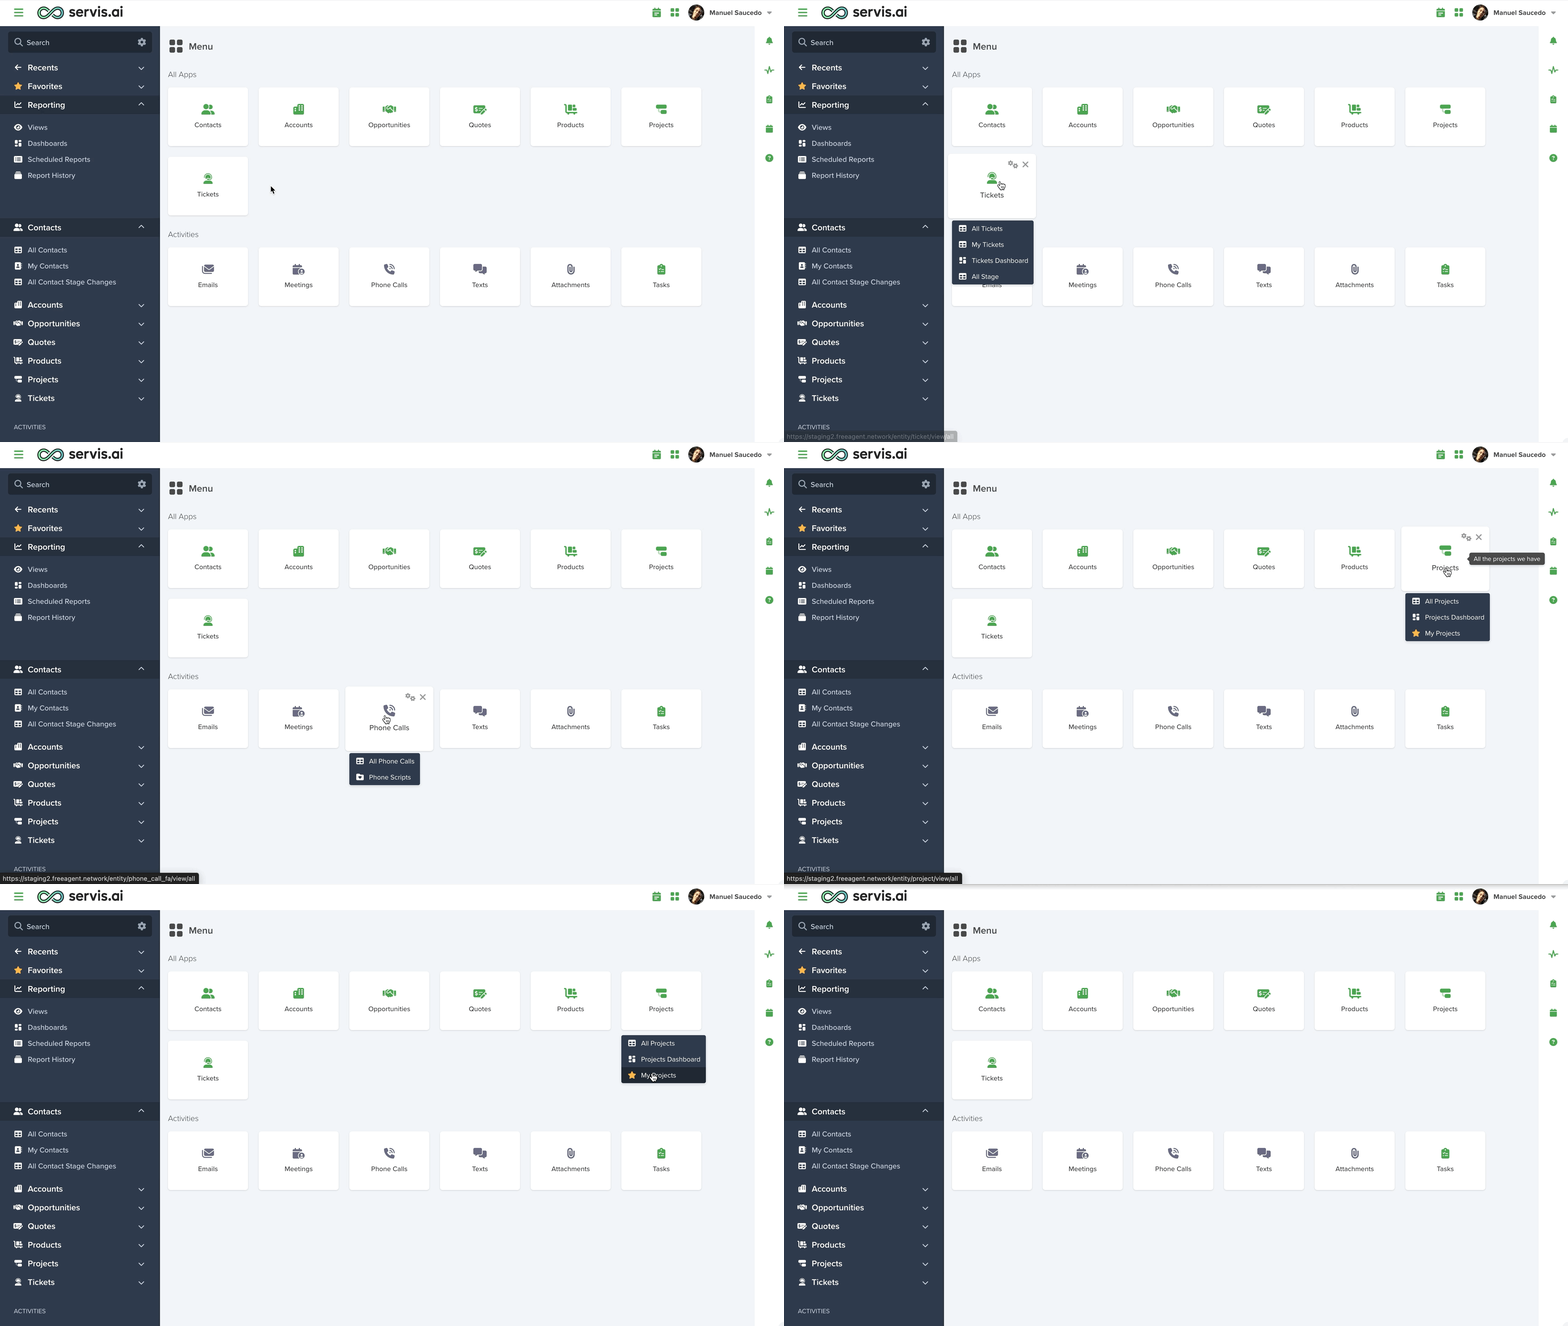
You can hover over any App icon on the main Apps page to see the Views associated with that App. Click on the name of the View to navigate to open it.
The App Title List
You can hover your cursor over the Dropdown Arrow next to the title of the current View in the top left hand side of the View’s detail page to see a dropdown list of all available views for that App.
Favorites List
You can add a View to your Favorites list by clicking on the Star icon next to the View’s name in the top left hand side of the View’s details page.
Note: Favorite Views work at a user level. That means the Views you favorite will only be available in your Favorites menu.
Once you have marked a Saved View as a Favorite, you will be able to find it in two different locations. The Navigation Menu, under Favorites or the App Title List for the App the Saved View is Associated with.
Reordering Saved Views in the Favorites List
You can reorder your Favorite Saved Views. Hover your cursor over the Favorite section of the Navigation Menu and the reorder icon will appear.
Click the reorder icon and the Reorder Favorites window will appear.
Drag & drop your Views in the desired order and click the Save button in the bottom left hand side of the Reorder Favorites window.
Bookmark Saved Views
Every Saved View in servis.ai has a unique URL. This means you can bookmark Saved Views in your browser.
Export Saved Views
Click the Export button in the top right hand side of the View’s details page to Export to CSV, Print to PDF or Schedule Report.
Export as CSV
Export the View in CSV format.
Print to PDF
When you select Print to PDF, you will receive a notification when the View is ready to print. Click on the notification and the accompanying URL to initialize the PDF download.
Schedule Report
You can schedule a report based on the View. When you select Schedule Report, the Add Scheduled Report form will appear. Name the report, decide whether or not to share the report via email (if so, with whom), and set the time and frequency of the report.
To learn more about scheduling reports, check out our article, Scheduled Reports.


