The Choice List field is available in two versions:
- Choice List (Single Select): Ideal for scenarios where only one option should be selected from a predefined list.
- Choice List (Multi-Select): Allows users to select multiple options from the same list.
Creating a Choice List Field
Before adding a Choice List field, you must first create the list of available options. To learn how to set up a Choice List, refer to this guide:
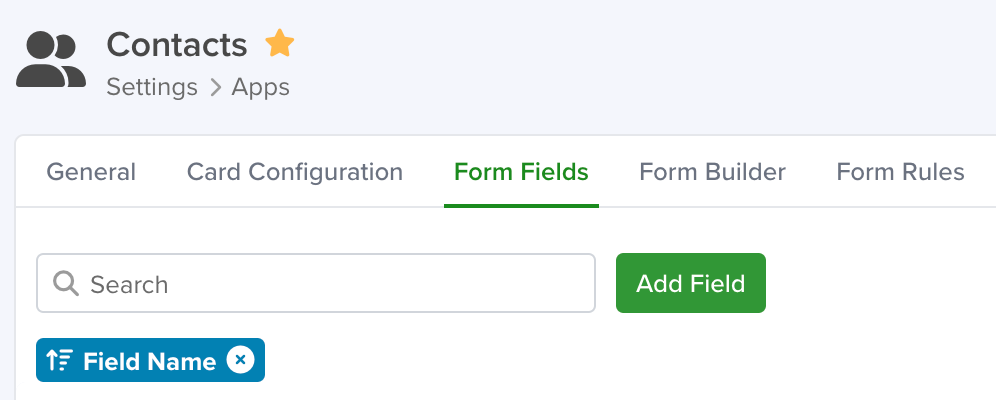
Navigating to Form Fields
Go to Settings > Apps, select the app where you want to add the field, then open the Form Fields tab.
Configuring a Choice List Field
To configure a Choice List field, follow these steps:
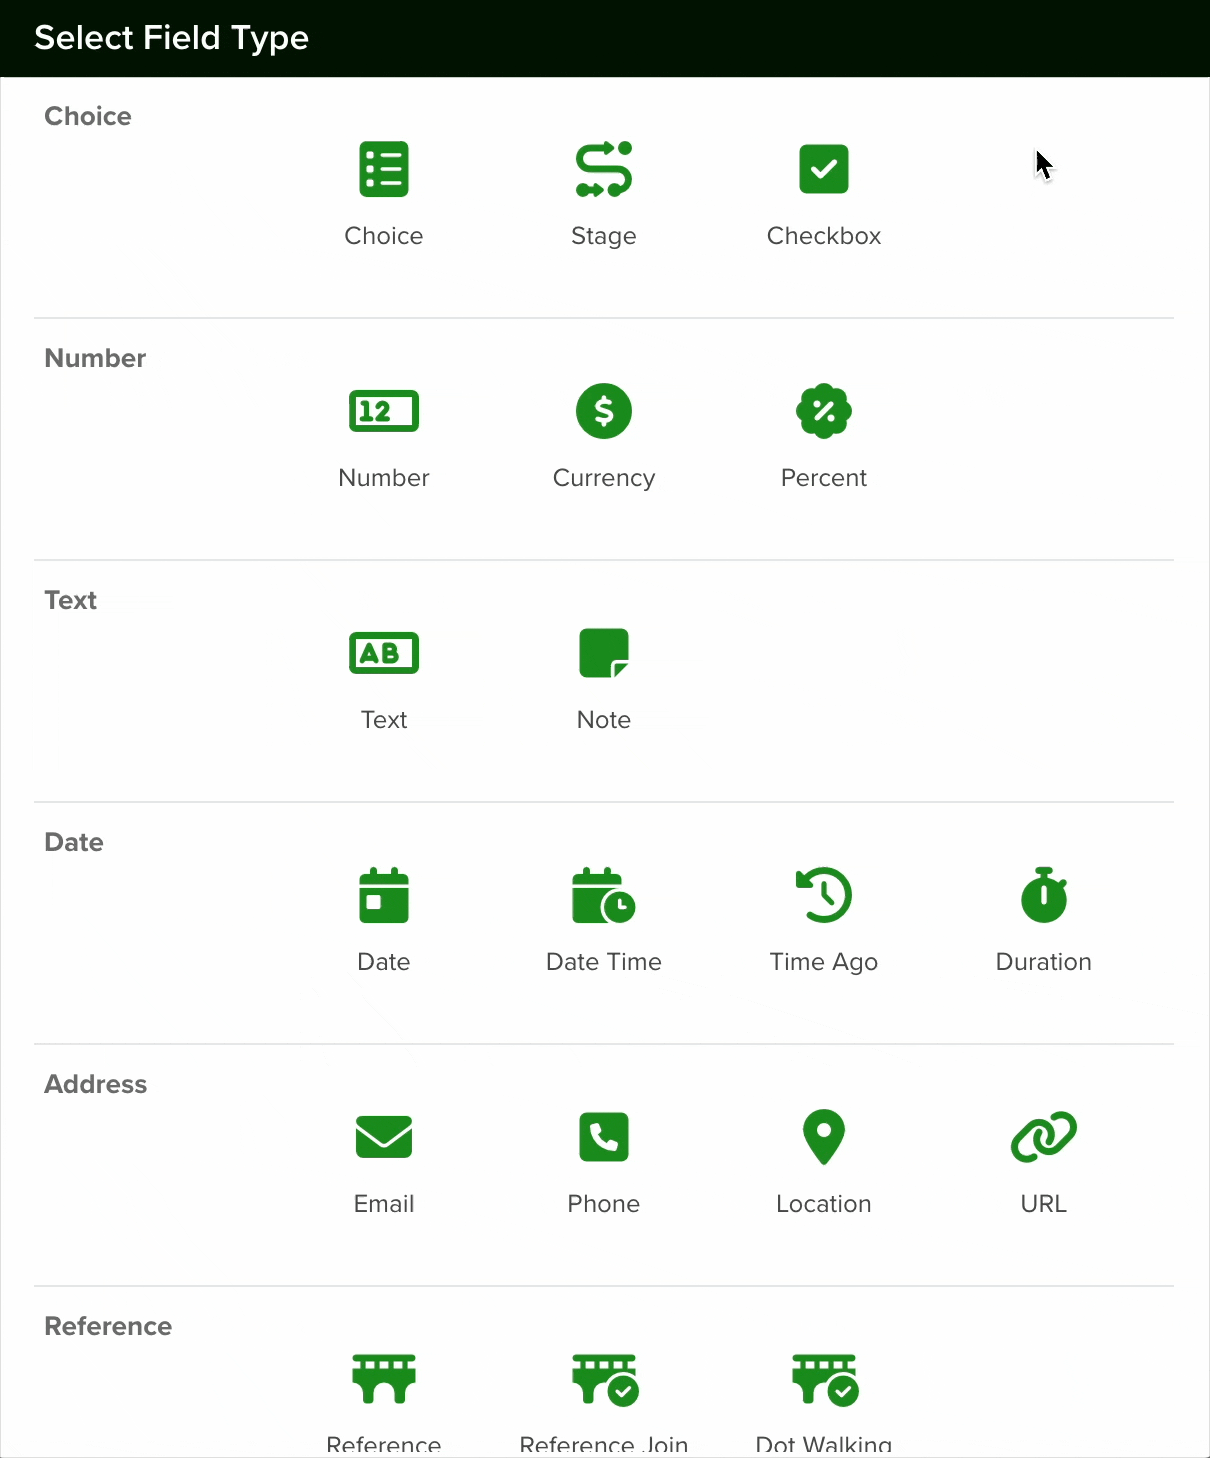
- Add a New Field: Click the Add Field button to open the field type selector.
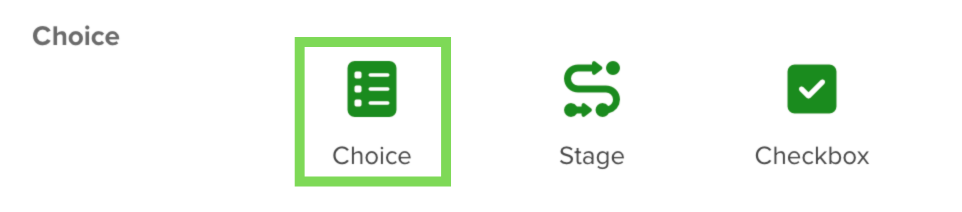
- Select Choice Type: Choose the Choice field type from the list.
- Configure the Field: Complete the configuration options as needed.
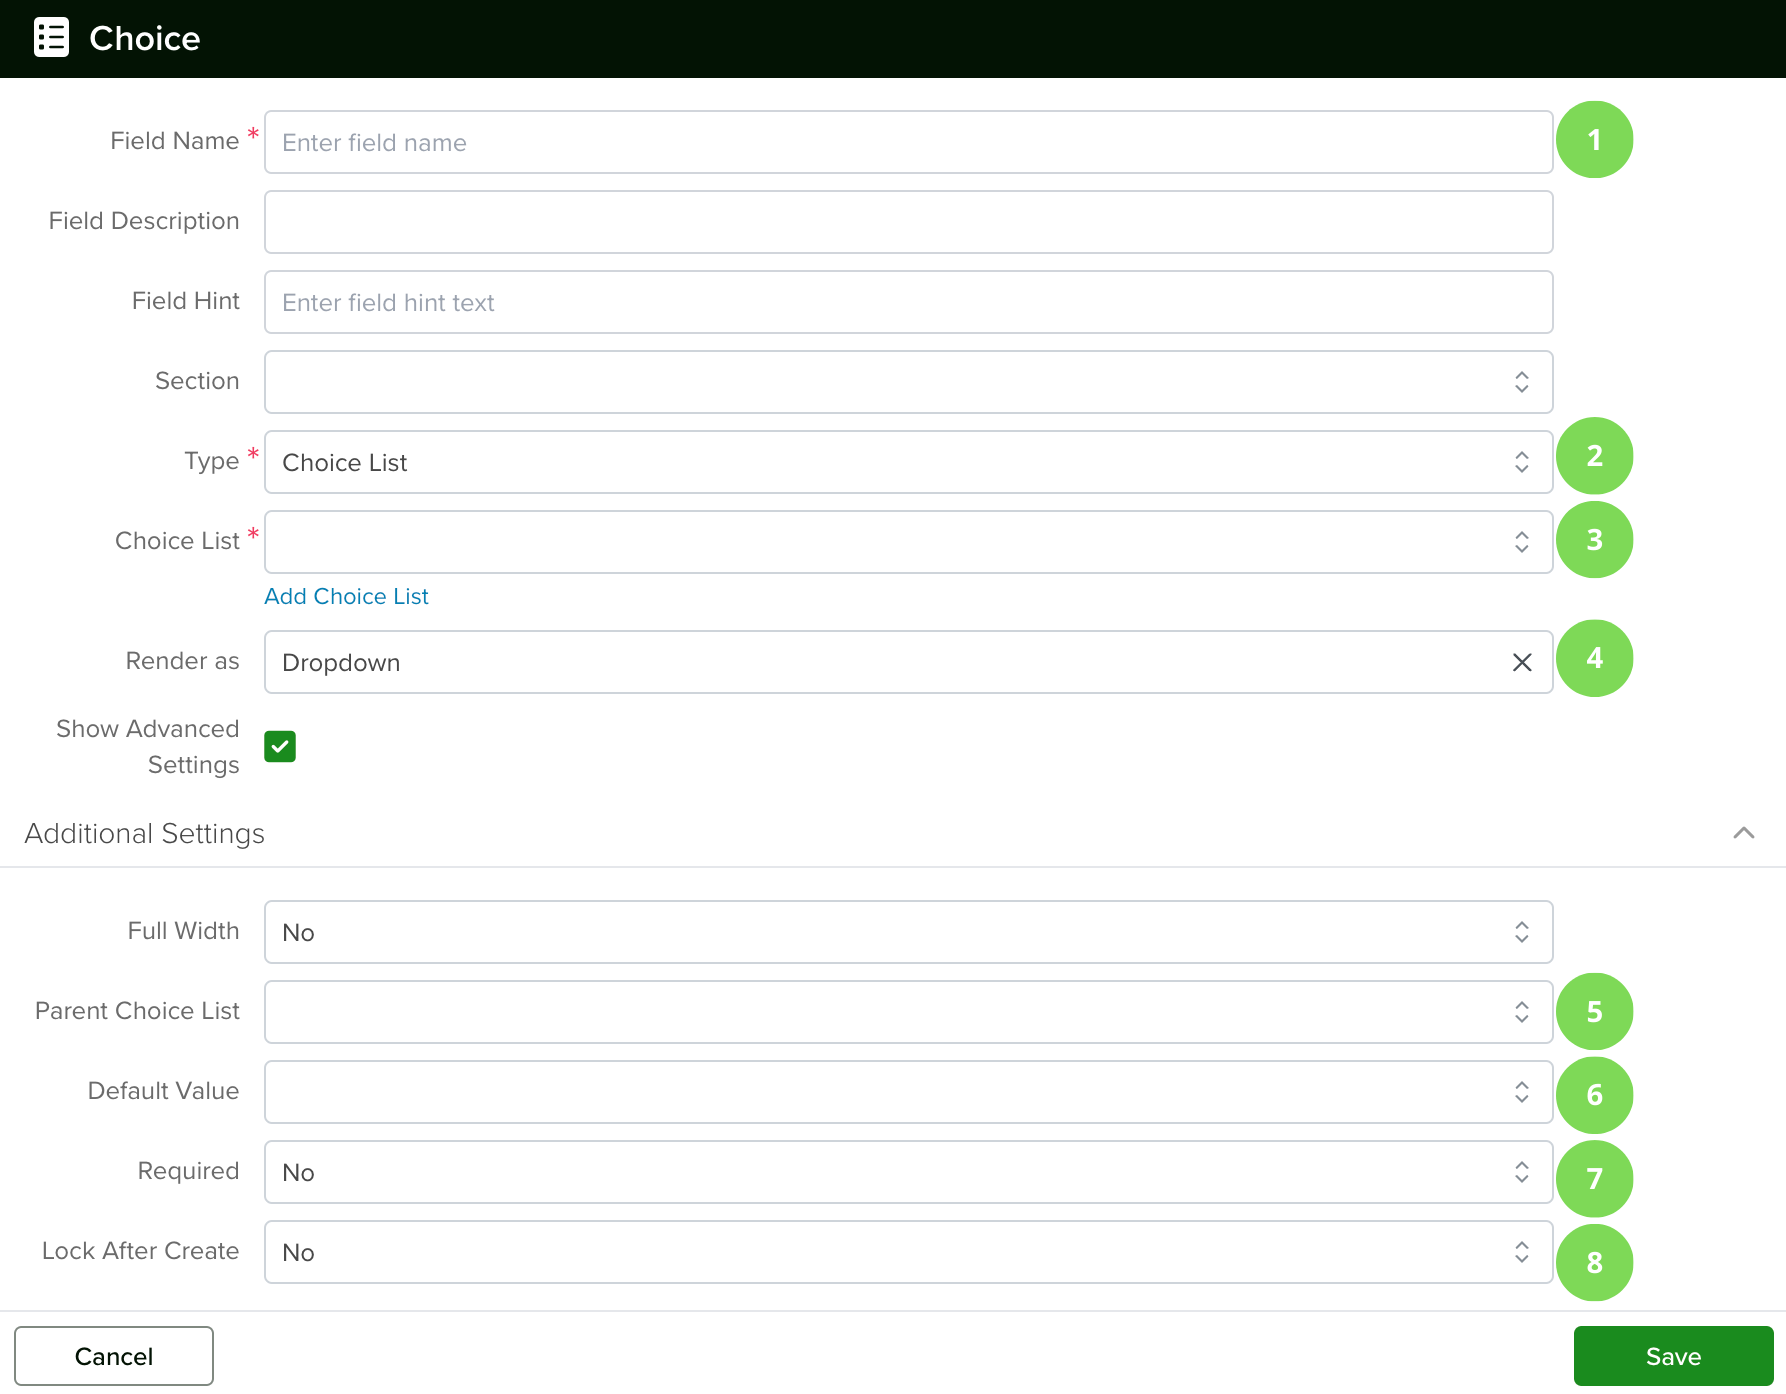
1. Field Name
Provide a name for your field and optionally add a field hint. You can also choose which section of the form the field belongs to or keep the default placement.
2. Type
When creating a Choice List field, you can select:
- Choice List (Single Select): Select one option.
- Choice List (Multi-Select): Select multiple options.
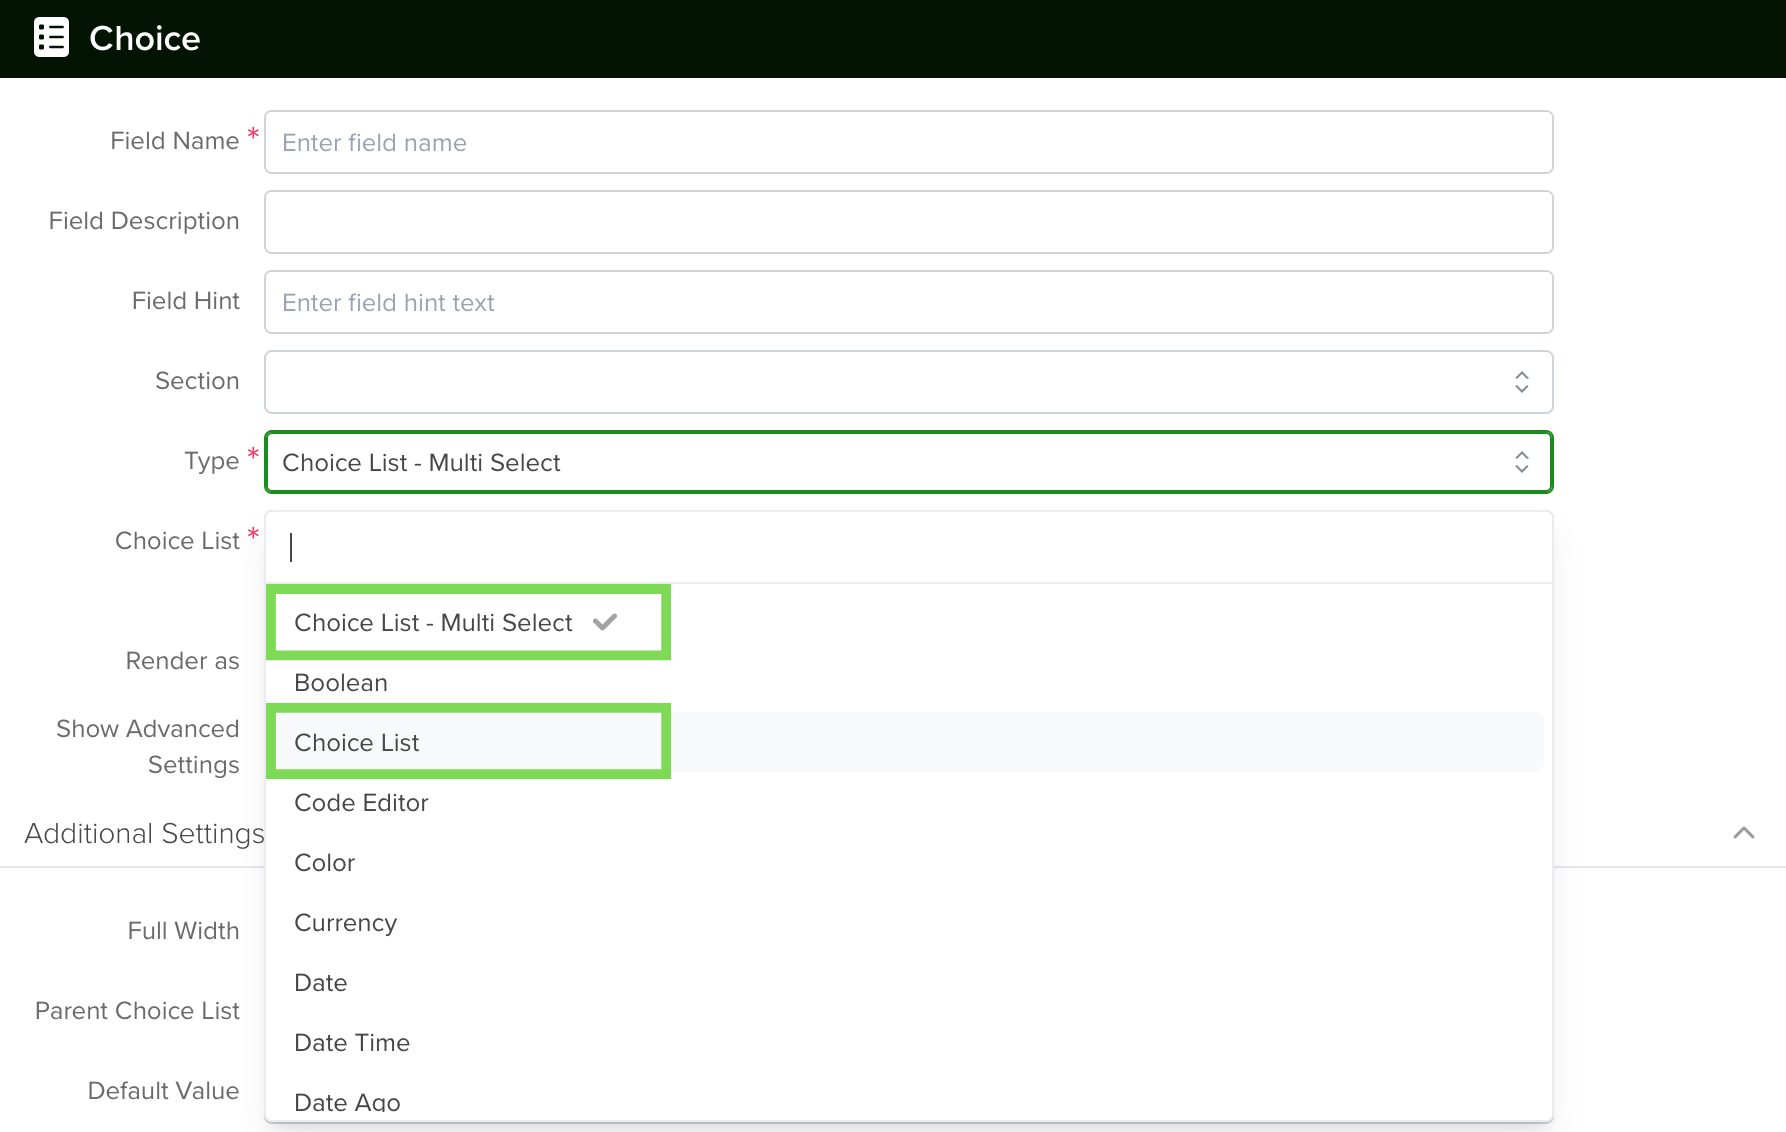
3. Choice List
Select an existing Choice List that you previously created. See the Manage Choice Lists article for more details.
Note: The same Choice List can be reused across multiple fields.
4. Render As
You can choose how the field is displayed:
Dropdown
A collapsible list where users select an option.
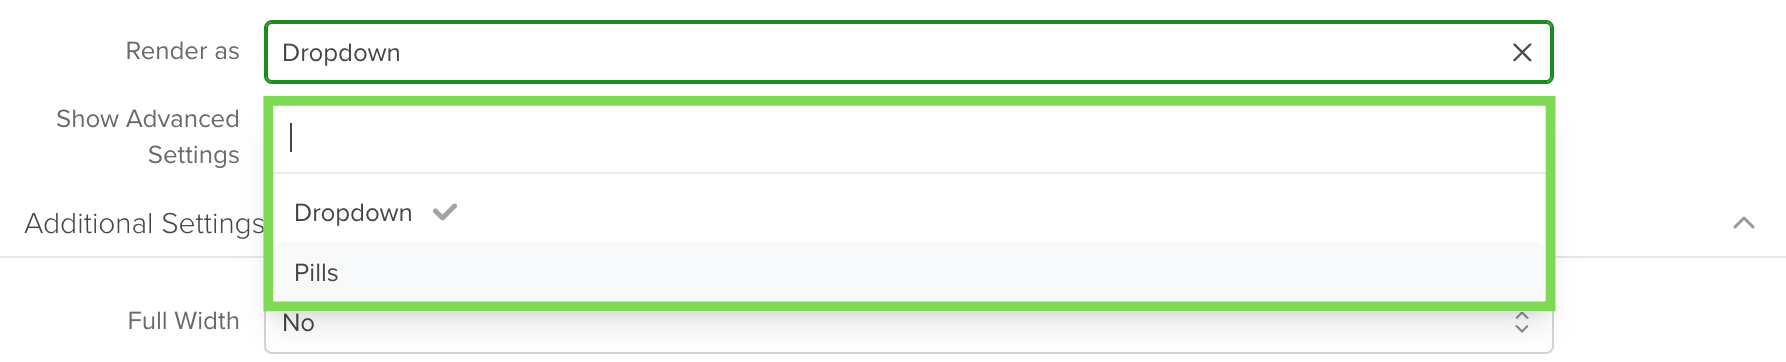
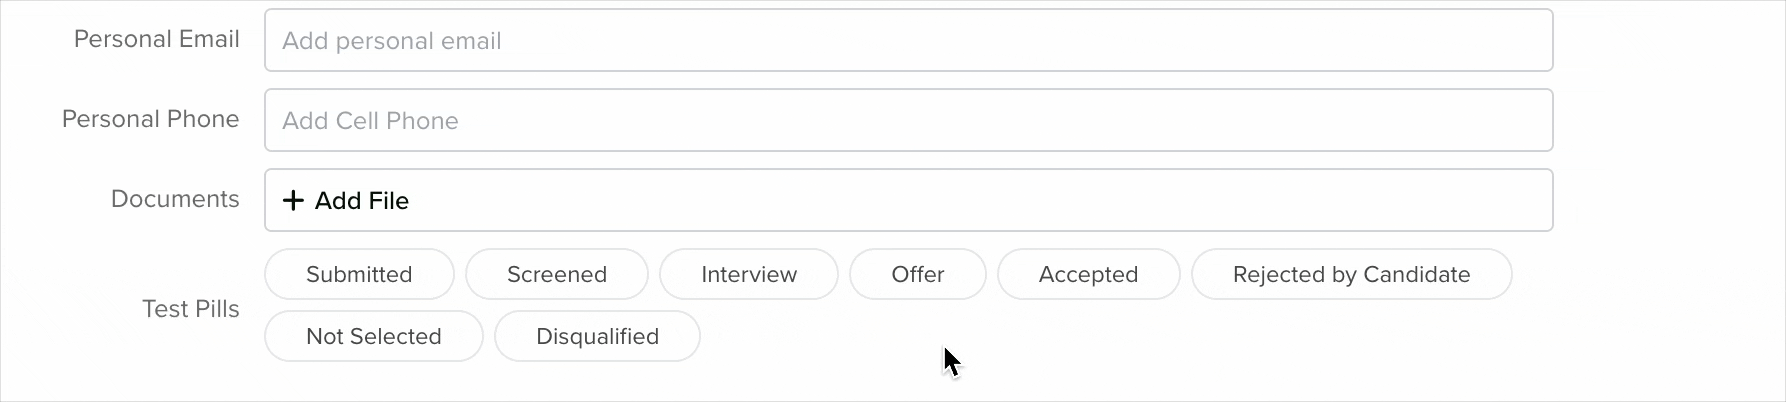
Pills
Button-style options that toggle on and off when selected.
To access more options, enable Show Advanced Settings.
5. Parent Choice List
A Parent Choice List allows you to create dependent fields. For example, selecting an Industry can dynamically filter available Subindustry options.
6. Default Value
You can assign a default value that will automatically populate the field.
7. Required
Enable the Required option to make the field mandatory when creating records.
8. Lock After Create
When enabled, the field becomes read-only after the record is saved.
Once configuration is complete, click Save.
Note: New fields are added to the bottom of the form by default.
Dependent Choice List
A dependent Choice List allows you to display different options based on another field’s selection. For example, choosing an Industry can determine which Subindustry options appear.
To configure this, select a Child Choice List. A new field labeled Parent Choice List will appear, allowing you to link it to the appropriate parent list.
Learn how to create Child Choice Lists here:
Managing Choice Lists
Note: The same Choice List can be reused for multiple fields.
Changing a Field’s Type
Once a field is created in servis.ai, its type cannot be changed. This ensures data integrity and prevents conflicts.
If you need to change a field type:
- Create a New Field: Add a new field with the desired type from the Form Fields settings.
- Deactivate the Old Field: Remove or hide the original field once the transition is complete.
