You can learn how to create a new Form Field from this article.
The Notes field is designed for entering longer text entries, offering more flexibility compared to a standard text field. Its key advantage lies in presentation—users can expand the field for a larger writing area and utilize the built-in Text Editor to format their notes with various styles, enhancing readability and organization.
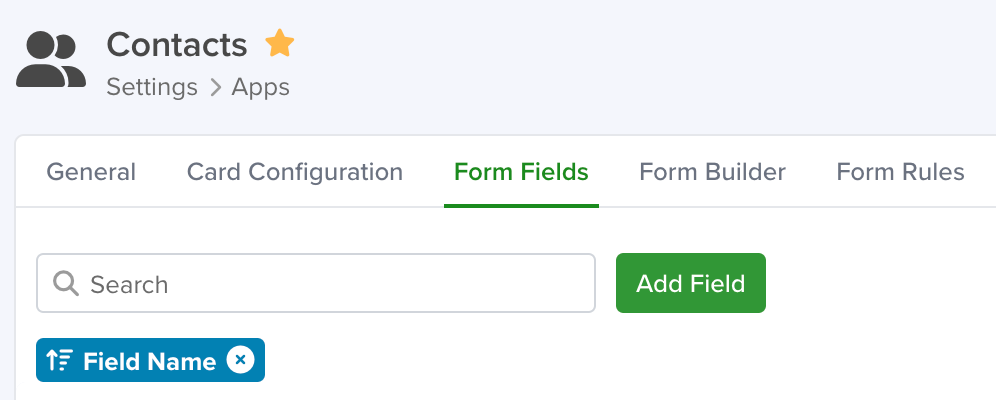
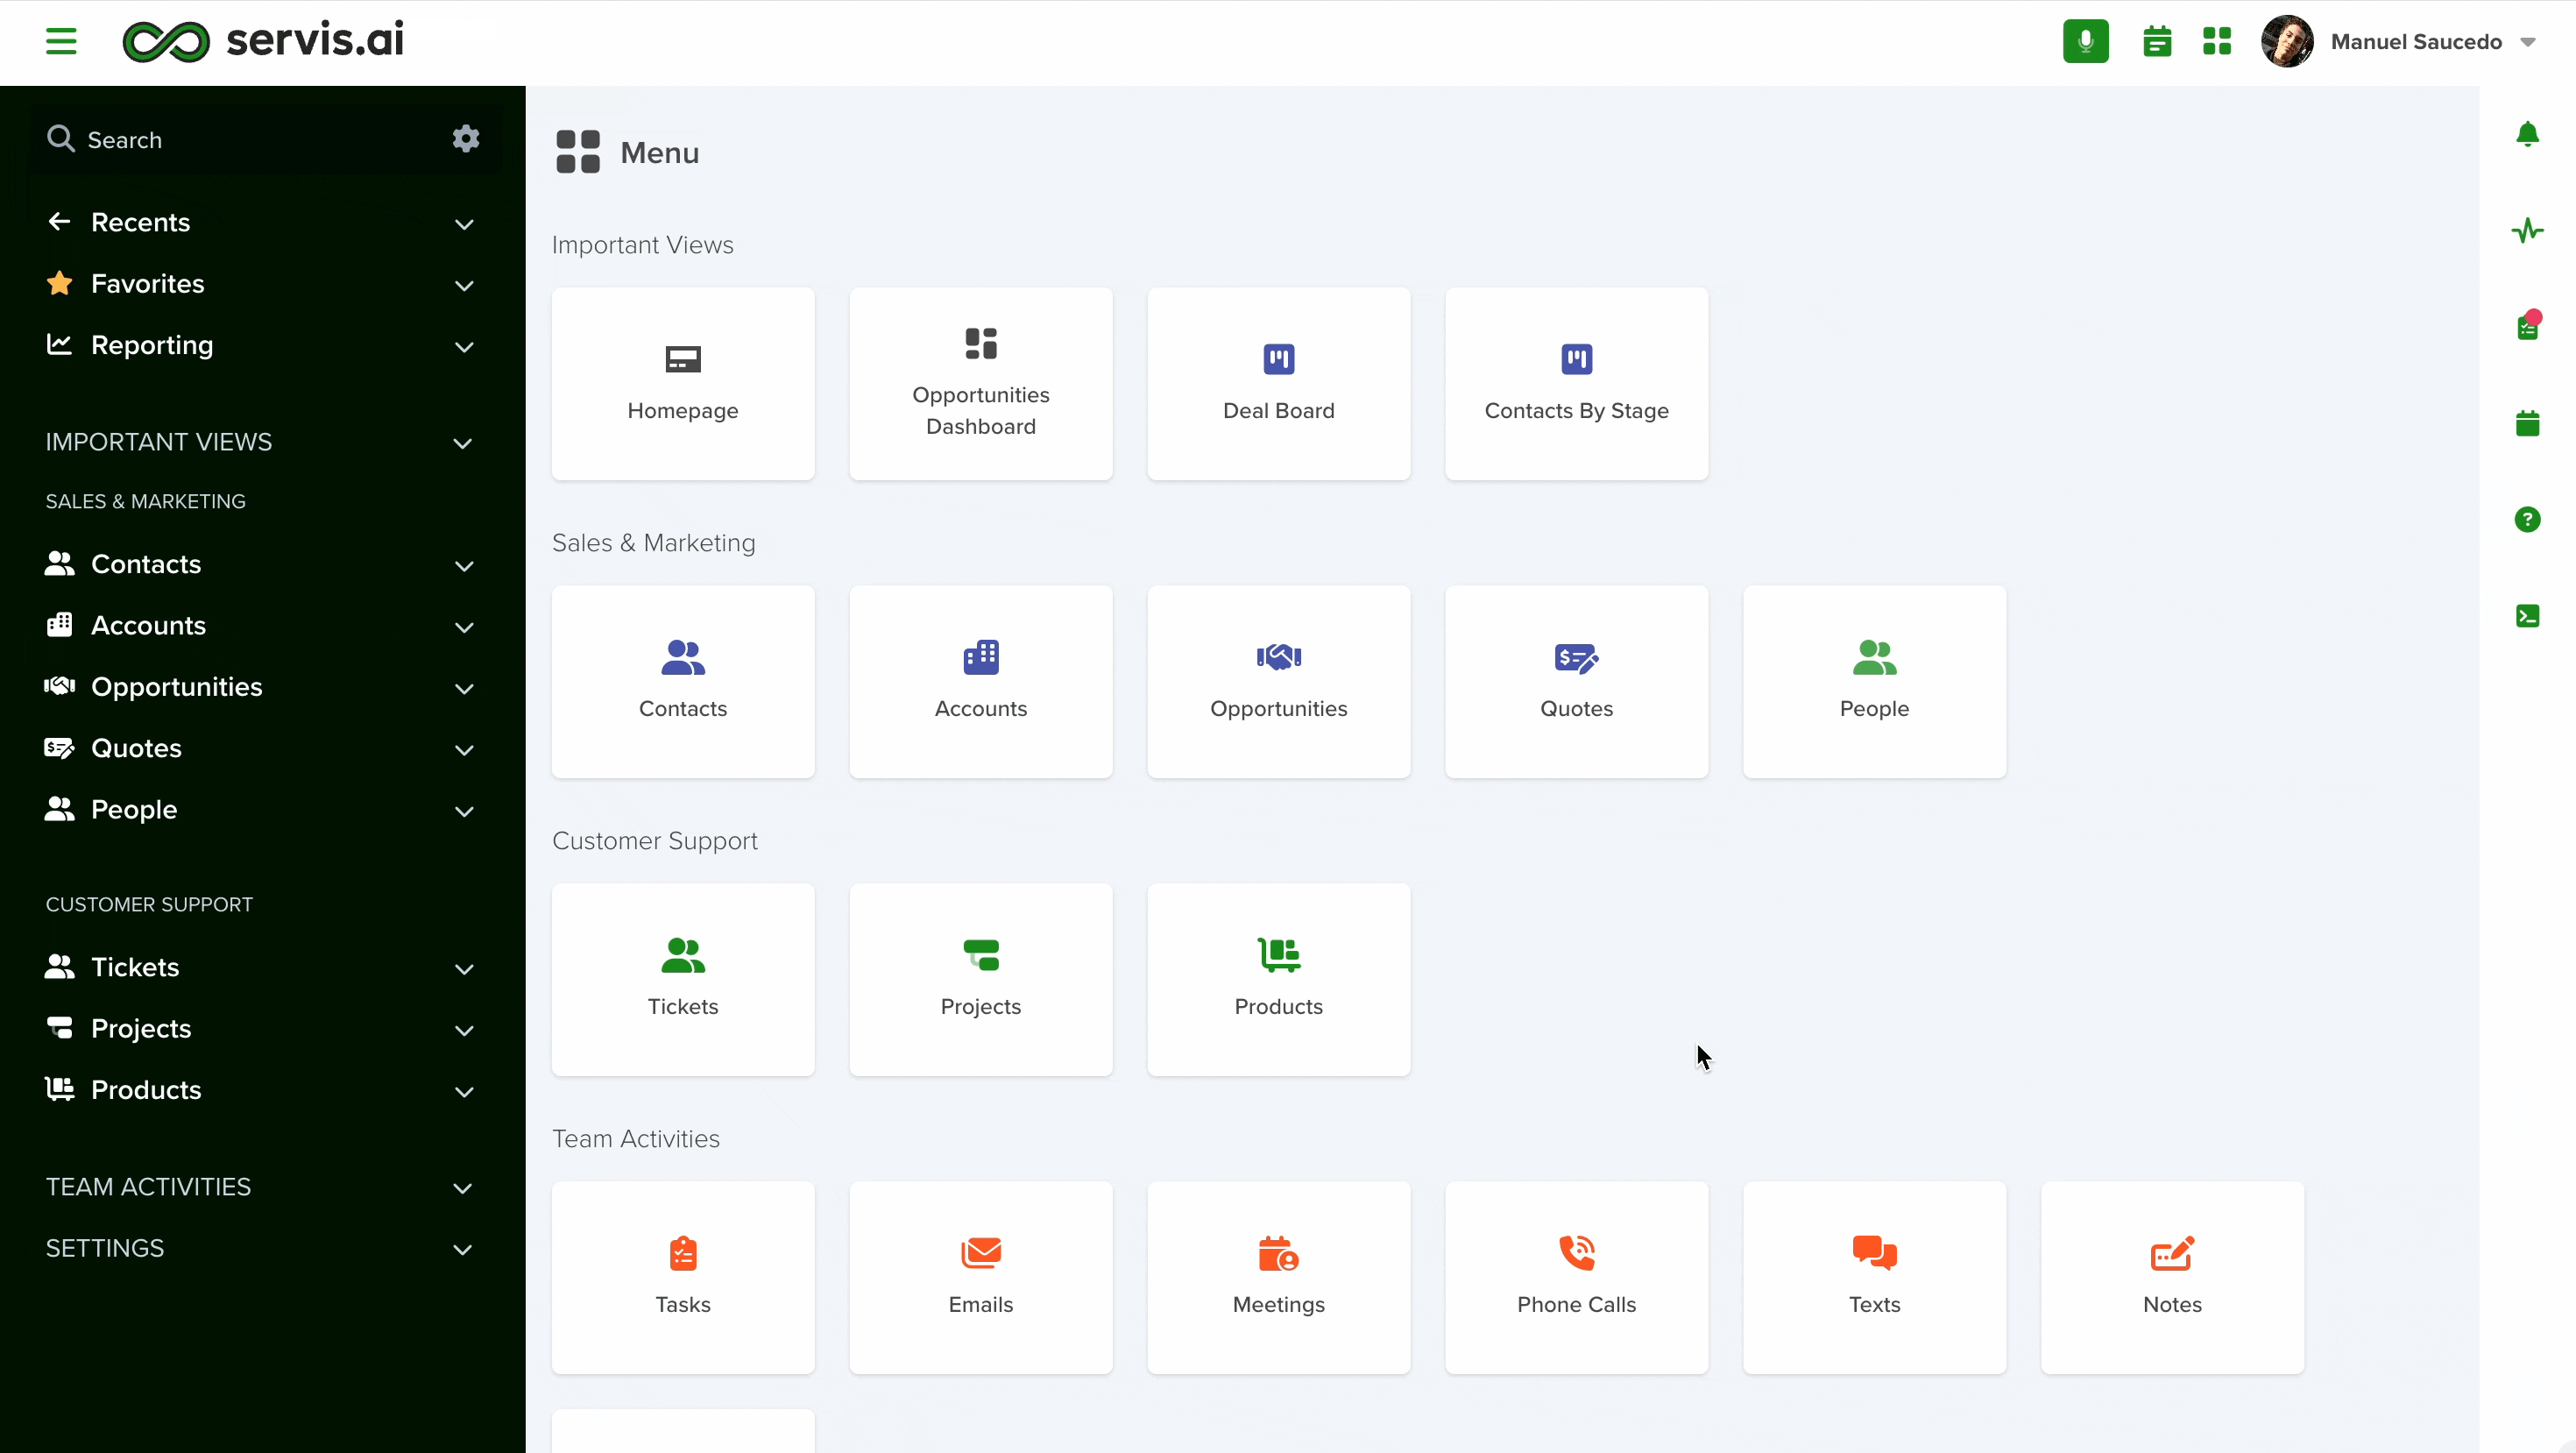
Navigating to Form Fields
Go to Settings > Apps, select the app you’d like to add the field to, and select the ‘Form Fields’ tab.

Configuring a Note Field
To set up a Note field in your app, follow these steps:
- Add a New Field: Click the Add Field button to open the Field Type selection window.
- Select Choice Type: From the list of available field types, choose the Note option.
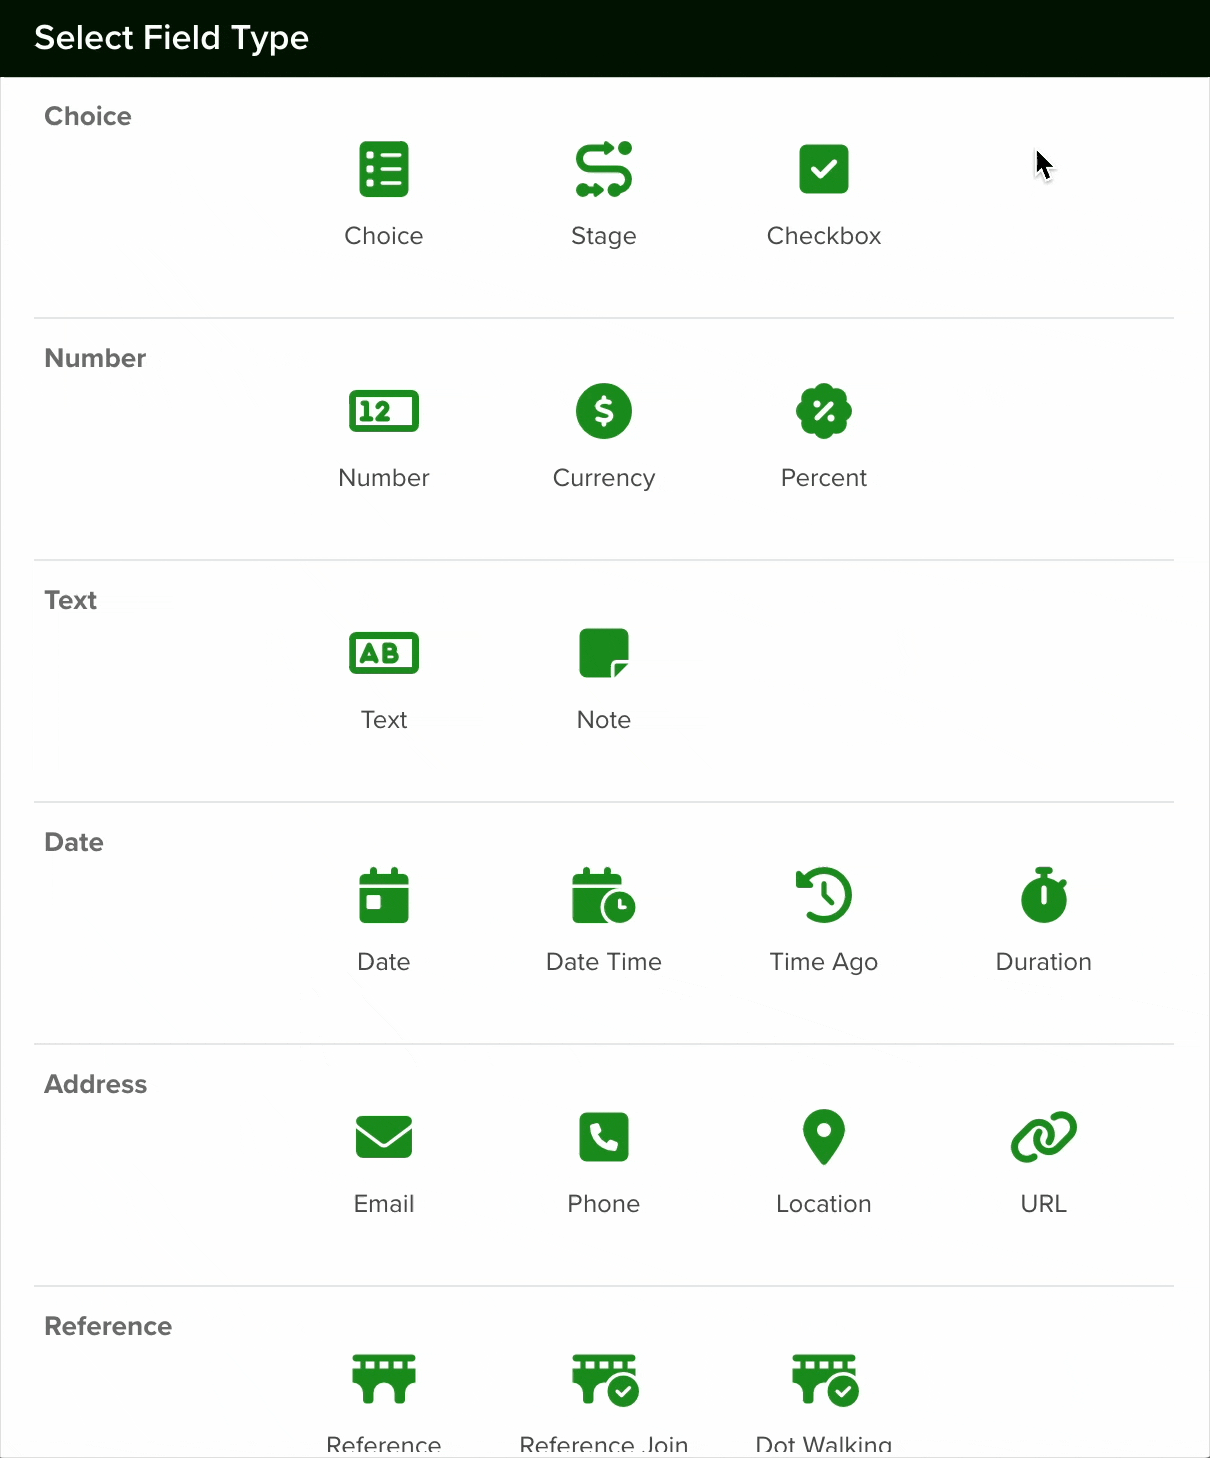

- Configure the Field: After selecting the Note field, proceed with the configuration settings as needed.
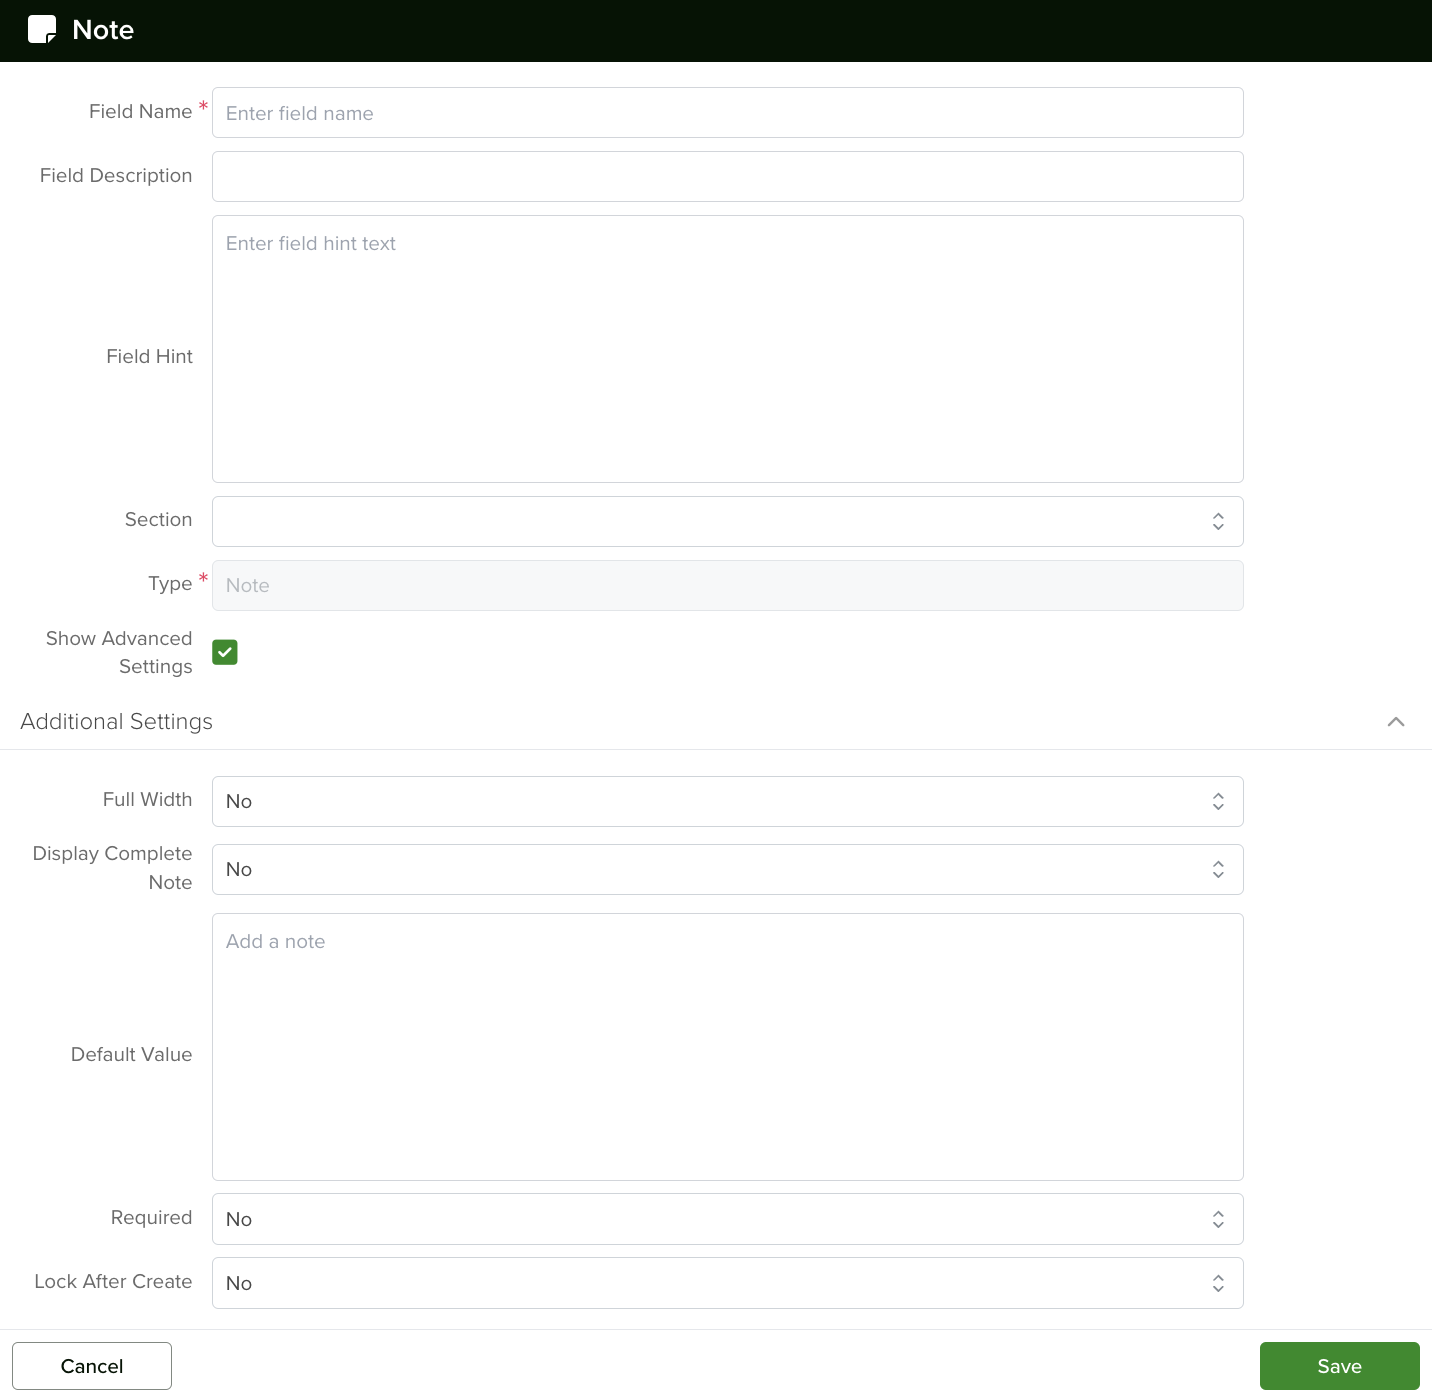
Give your field a name and add a field hint if desired. You can then select the section in which the field will be created or keep the default option.
The field type must be set to ‘Note’.
Full Width
-
When to use: If your form (Edit Mode) or record view (View Mode) is set to two columns.
-
On: The field stretches across both columns (full row width).
-
Off: The field stays within a single column.
Display Complete Note
-
On (True): Shows the entire note inline, with formatting (links, bold, etc.).
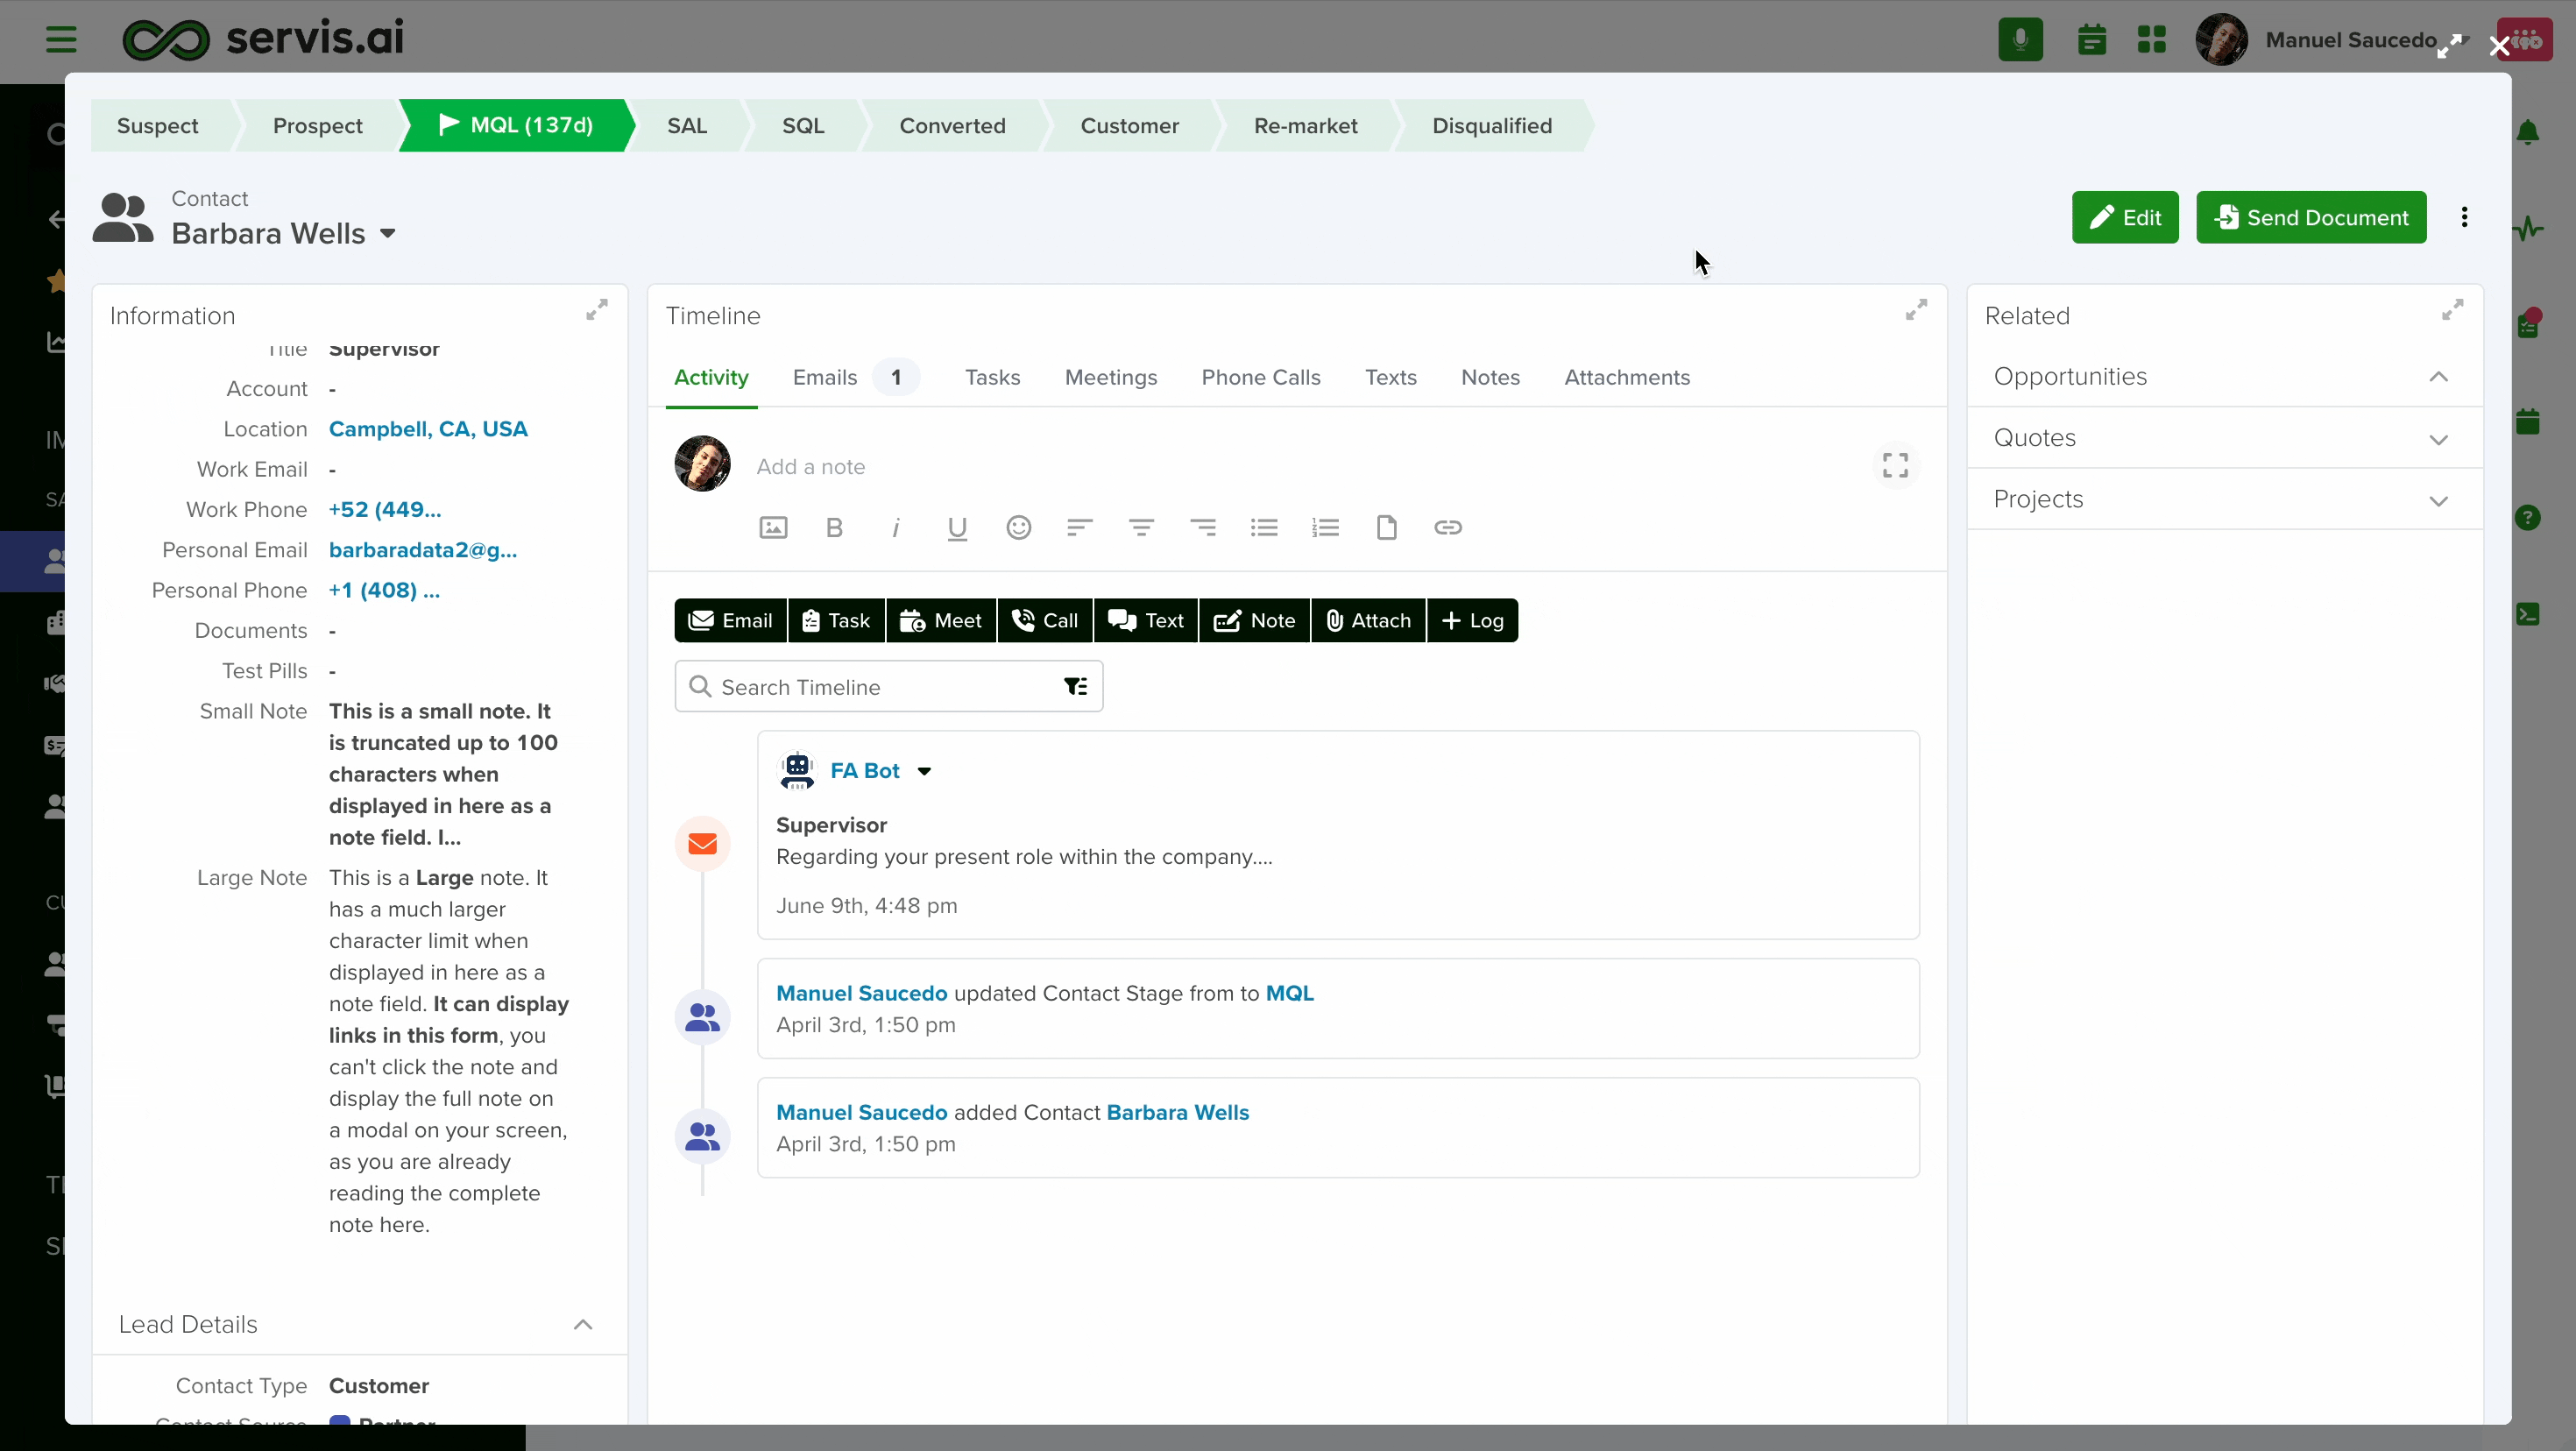
-
Off (False): Shows a short, plain-text preview (about 100 characters) with a link to open the full note in a modal or expanded view.

If desired, you can set a default value for all new records. Team members will have the option to override the default value if needed.
Enable the ‘Required’ checkbox if the information for this field is mandatory. It means that if you enable this option, every time a team member creates a new record, they will need to add a note to save it.
If you enable the ‘Lock After Create,’ as its name implies, the field will be locked once the new record is saved, and the value of the field will not be editable afterward.
Once you are done setting your field, click the save button.
Note: All new fields are added at the bottom of the form.
Exporting Notes
Exporting Notes to CSV or PDF
You can export notes in CSV or PDF format for easy access and sharing.
Steps to Export Notes:
- Navigate to: Activities > Notes > All Notes
- Use the Filter, Sort & More options to select the specific note fields you want to export.
- Once ready, click on the three-dot menu in the upper right corner.
- Select “Export CSV” to generate your file.
Important Considerations:
- CSV files store data in plain text, which means rich text formatting (bold, italics, bullet points) is not supported.
- Best practice: Before exporting, review your notes and ensure they are in plain text.
- If you need to preserve formatting, opt for PDF export instead.
Changing a Field’s Type
In servis.ai, once a field is created, its type (e.g., text, number, date, or boolean) cannot be modified directly. This limitation helps ensure data consistency and prevents errors that could arise from incompatible data formats.
If you need to change the type of an existing field, you’ll need to follow these steps:
- Create a New Field: Go to the Form Fields tab on your App’s Settings and create a new field with the desired type (for example, switching from a text field to a number field).
- Deactivate the Old Field: Once the transition is complete, you can choose to delete the original field or simply hide it from views to avoid confusion.
