If you’re looking for instructions on importing data manually via CSV, please refer to the following article:
In this article, we will cover how to automate your data imports using the servis.ai API.
User Permissions: Access to imports is role-based. If you are unable to import files, contact your administrator.
Prerequisites: Before importing data, ensure your apps are fully configured. This ensures your CSV template includes all required fields.
What is Automated Import?
Automated import is used to integrate third-party systems (such as ERPs) with servis.ai. It supports both creating new records and updating existing ones to keep systems synchronized.
This process must be set up on your end, as it requires making API calls to servis.ai.
Example cURL request:
curl https://freeagent.network/api/graphql
  --header "Content-Type: multipart/form-data"
  --header "Authorization: Bearer XXXXXXXX"
  -F operations='{ "query": "mutation importEntities($upload: Upload!){ importEntities(entity: "contact", file: "demo", upload: $upload) { importId}}", "variables": {"upload": null} }'
  -F map='{ "0": ["variables.upload"] }'
  -F 0=@/Users/ram/Desktop/contact_import_test.csv
The CSV file is uploaded and processed directly through the API to import data into servis.ai.
What Does the Process Look Like?
The automated import process is similar to manual imports, with a few key differences. Below is a high-level overview:

Preparing Your Data
You must prepare a CSV file with all the data you want to import. Follow this guide:
Ensure Exact Field Matching
Manual Import
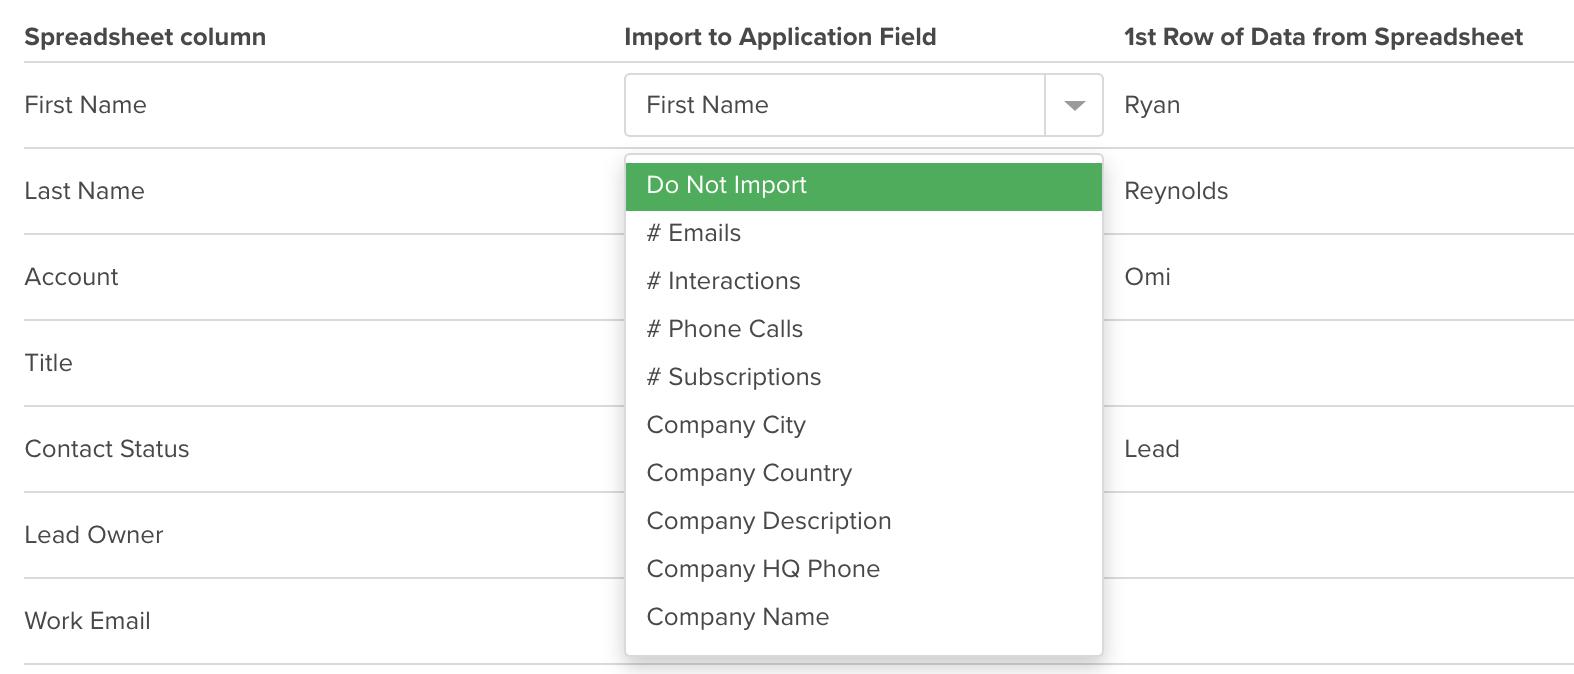
During manual imports, you can adjust field mappings if any data is incorrectly matched.
After uploading, servis.ai allows you to review and verify all field mappings. Unmapped fields will appear highlighted (e.g., in red).
You can make adjustments before proceeding to complete the import.
Automated Import
When using the API, all CSV columns must match your servis.ai fields exactly. There is no opportunity to review mappings or correct errors during the process.
Managing Data Imports
Navigate to any app and click Import in the top right corner to view your import history.
Note: Import records are stored for 90 days.
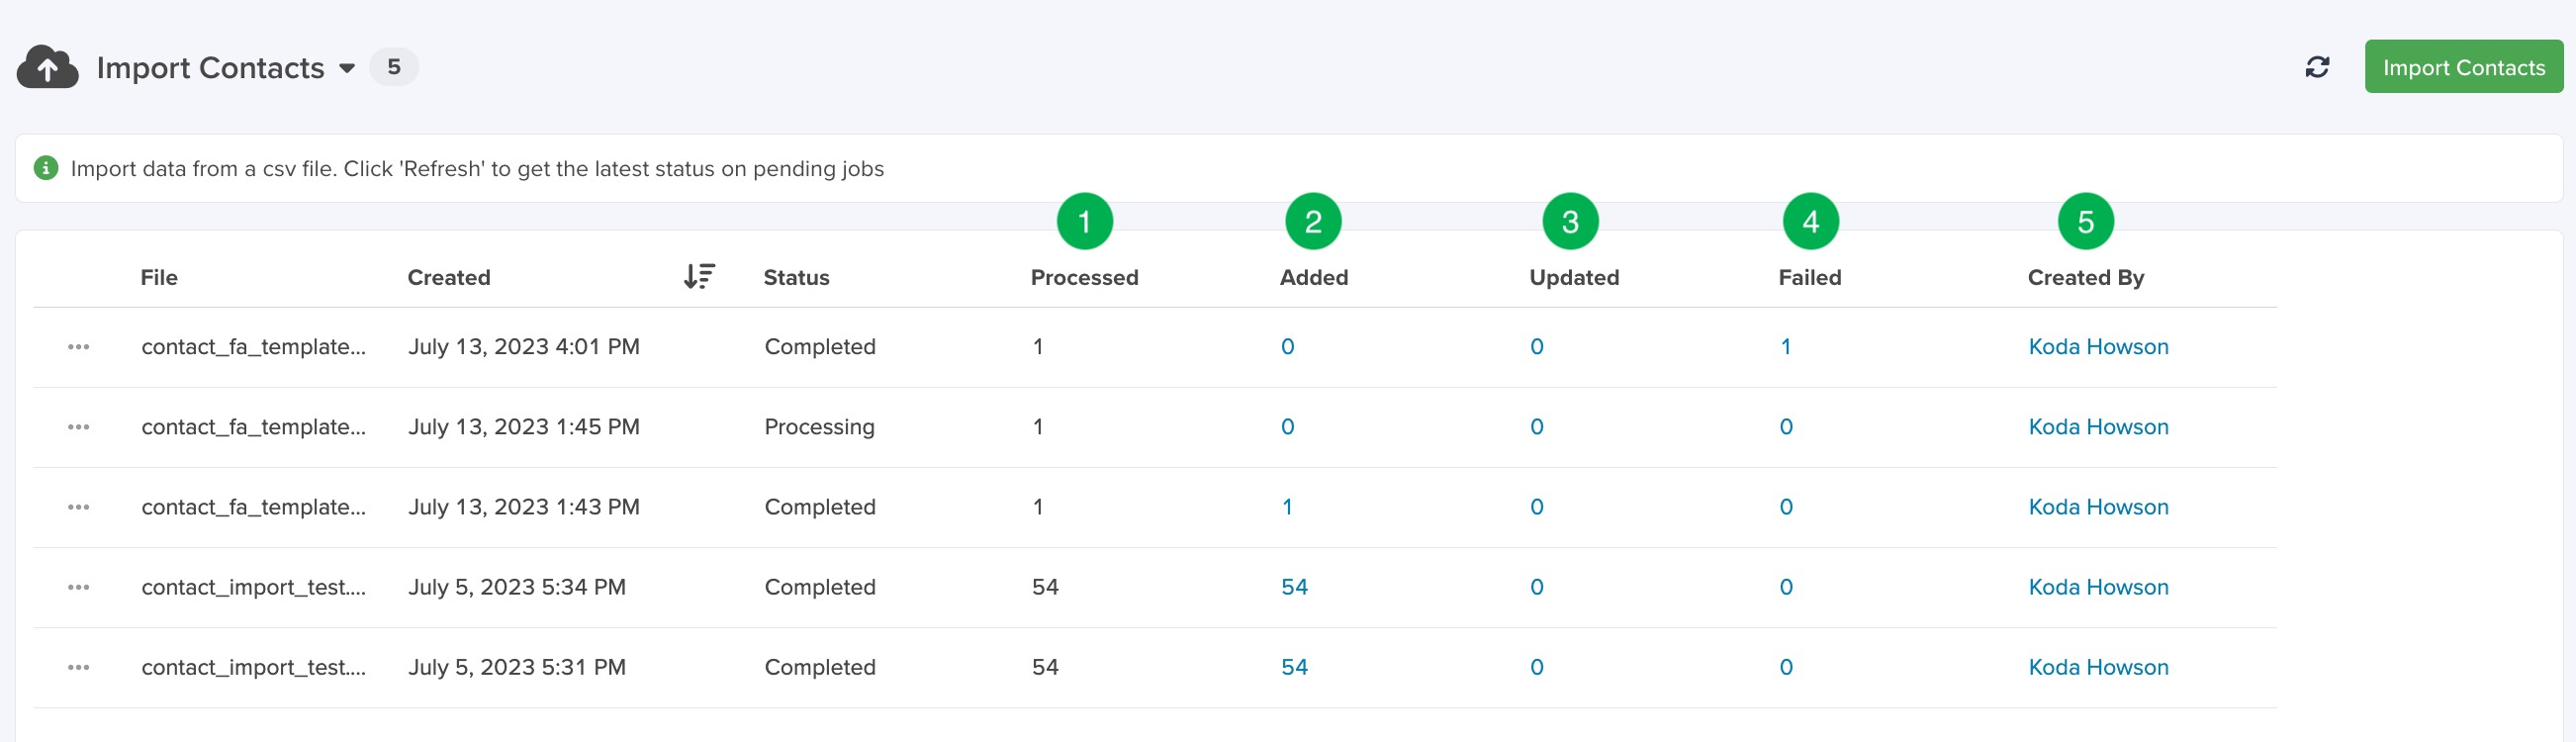
Import Status Fields
1. Processed
Total number of records processed.
2. Added
Number of new records created.
3. Updated
Number of existing records updated.
4. Failed
Number of records that failed to import or update.
5. Created By
The user who initiated the import.
