Now we have some Form Fields and Form Sections set up in our new app. You could just stop there for a basic app where you just want to collect information. If you’d like to learn how to do more, please continue reading.
Open the menu and go to Settings > Apps, and select your app. You can also use the search function to get there faster, just start typing ‘Apps’. Select the app you’ve been building and then select ‘App Actions’.

App Actions
App Actions allow you to add custom actions to various places within your app. Think of them as custom choices within various options menus within your apps.
Create App Action
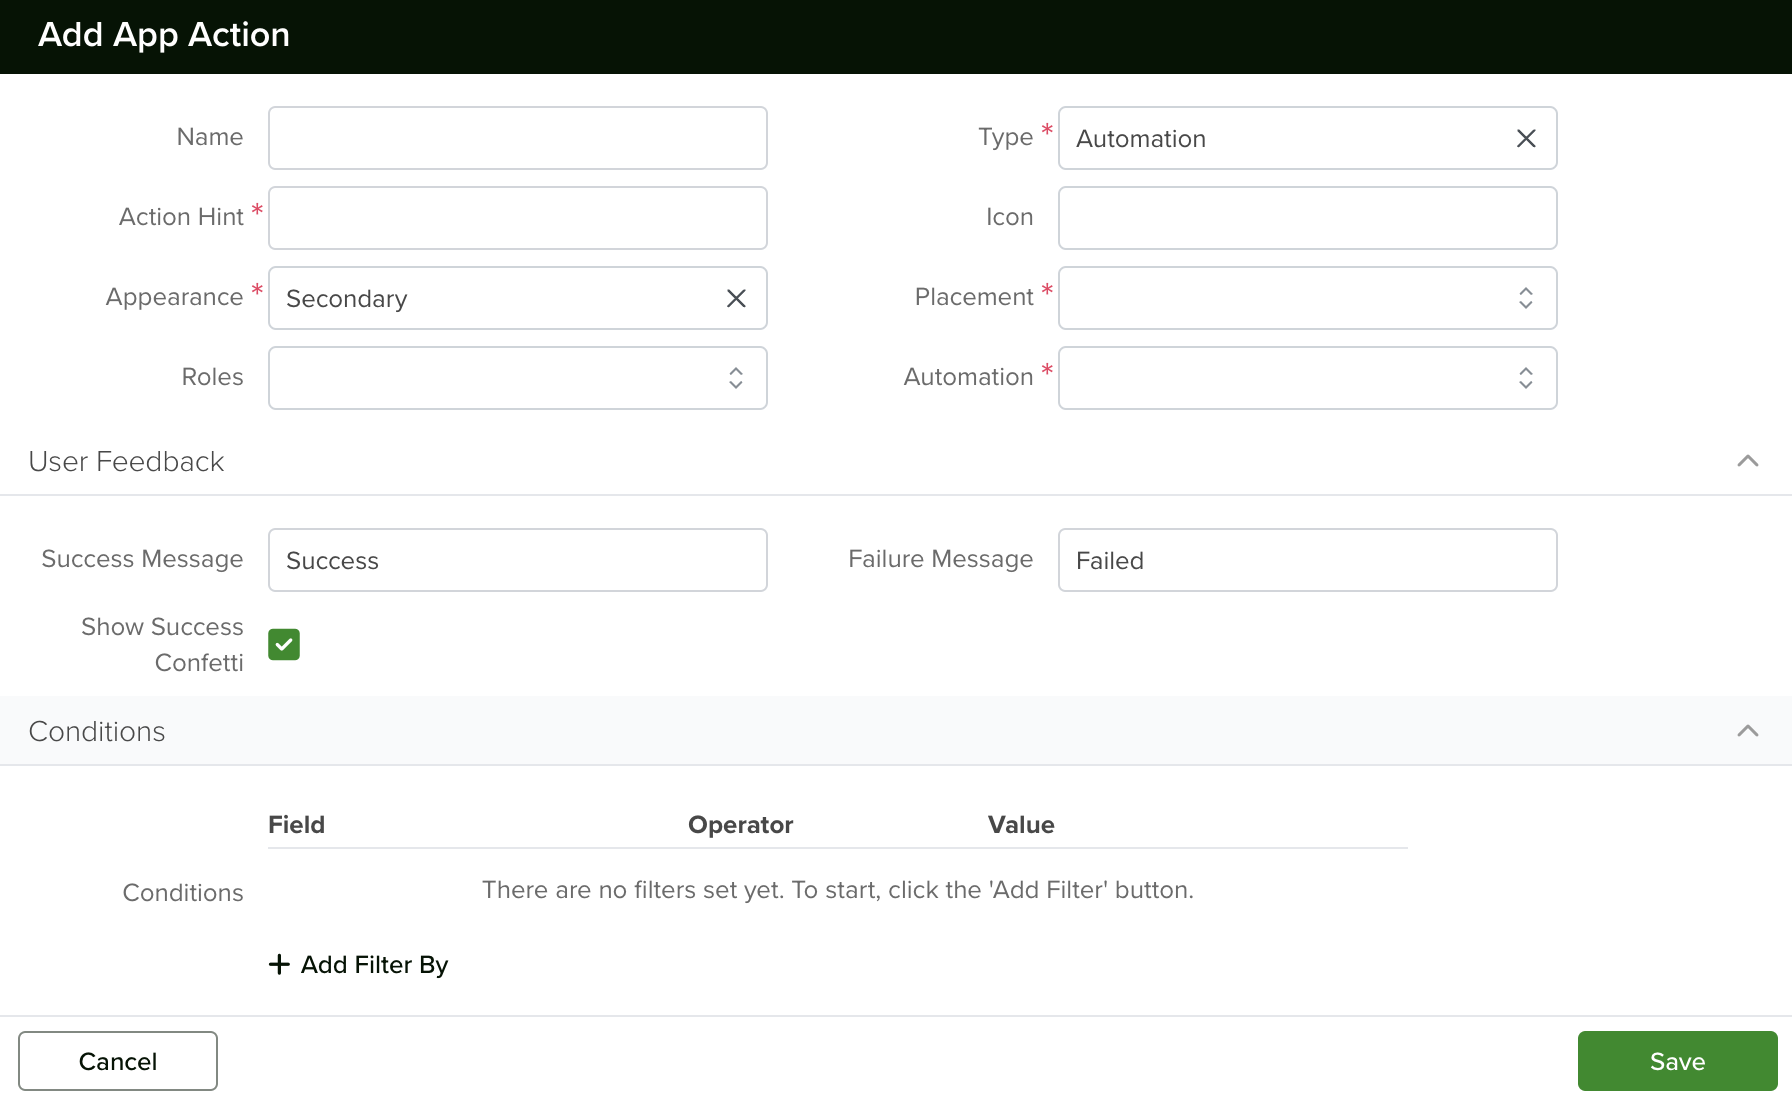
There are a few elements to take into consideration when creating a new App Action. You can see the details for each of them in the table below:
| App Action Creation Fields | Description |
| Name | Identifies the App Action. |
| Action Hint | A brief description of what the action is for. |
| Icon | Enables you to select from the current icon selection. |
| Appearance | Default – Light grey colored button. Primary – The button will have the main color of the selected theme. Secondary – Light grey colored button. |
| Roles | Select the Roles that will have access to the App Action |
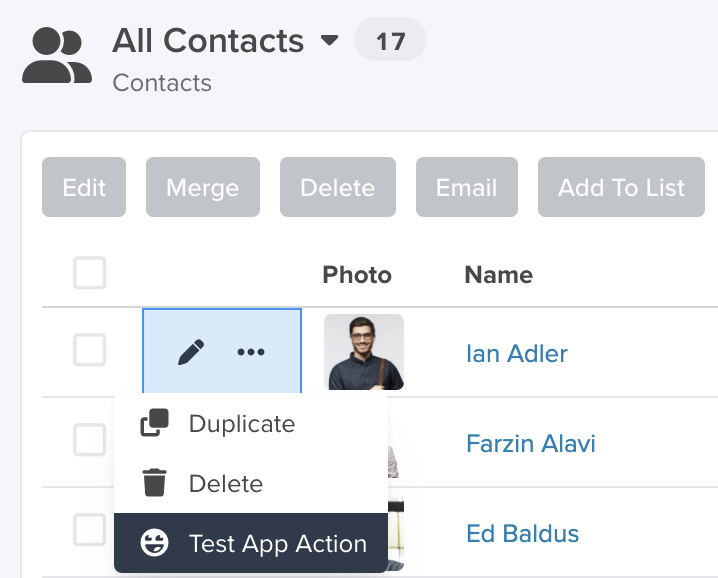
| Placement |
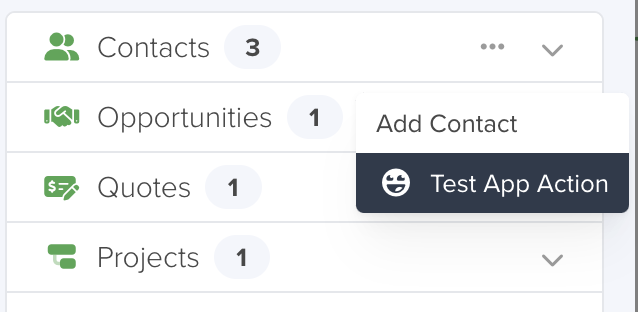
List – adds the action to the options menu within the list view.
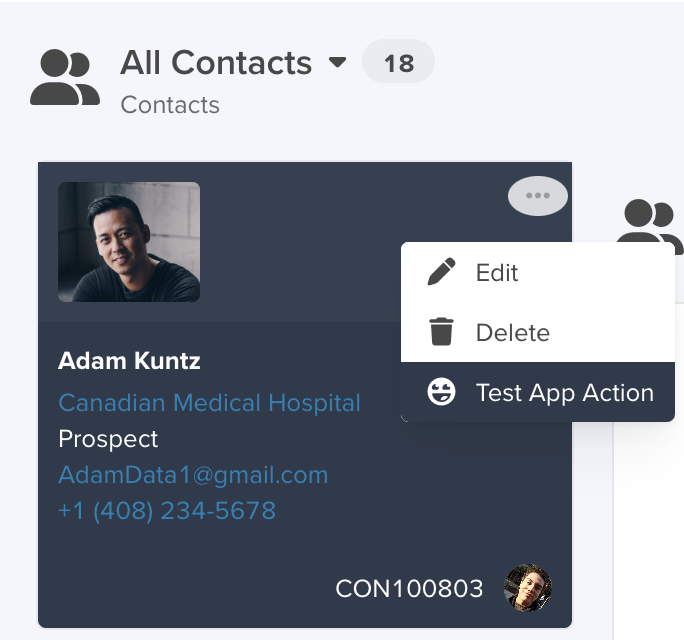
Card – The Action will be listed in the 3 dots icon on the top right corner of the Card.
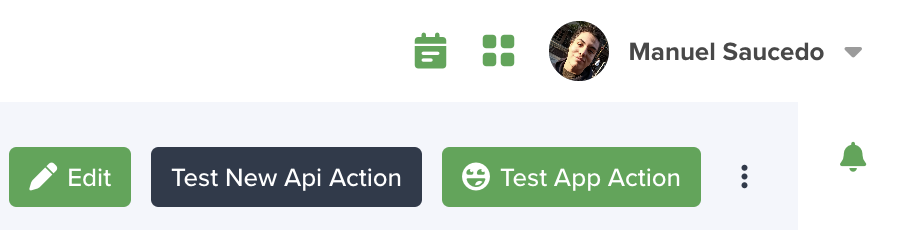
Detail Page – The buttons will show up on the top right corner of the detail page of any record.
Notification Card –
Mobile – Enables the App Action on the mobile App. Related – This is the related list that shows in the detailed view of any record within an app. In this example, I’ve created an Action in the ‘Contacts’ app, and it shows up in the related list options menu of any other app where Contacts are referenced.
|
| Type |
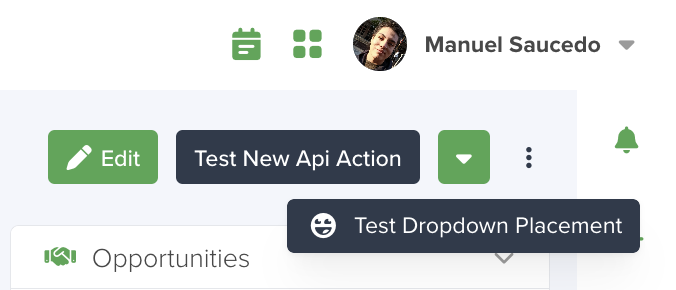
Automation – It will allow you to select from any of the existing automations in the field available above. Bulk – This setting allows you to apply an action to many records at once by using a bulk condition (to determine when an action can be applied in bulk) and a bulk action (what action will occur when the button is pressed). Custom Code – For more complex actions that might involve 3rd-party apps. Dropdown – works in the same capacity as an overflow, but instead of an ellipse/three dots its a dropdown button/arrow with options and sub
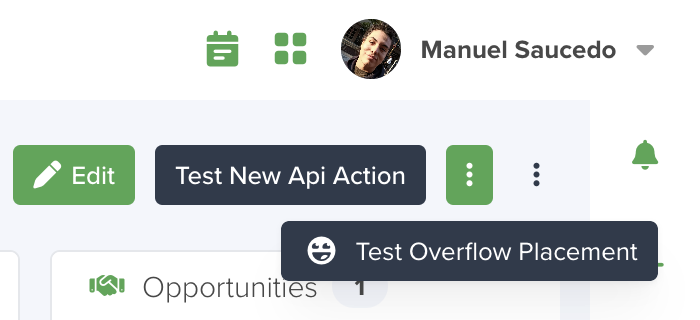
Overflow – This allows for a vertical ellipse to host more app actions in the form of child app actions. Great for storing other app actions like “audit log” and “delete” or anything else you wouldn’t use frequently but would need convenient access to.
System – For existing App Actions like Edit, Delete, Create, Audit Log, and duplicate. |
| Automation | If the type is ‘Automation’, here you will need to select the automation that will be triggered when the App Action button is clicked on. |
| Custom Code | Here is where you can add the code for your App Action. From simple status changes to more complex integrations with 3rd party apps. |

Once you have saved your App Action, if you go to the detail page of any record of that App, the App Action will be available according to the configured placement options.
Edit App Action
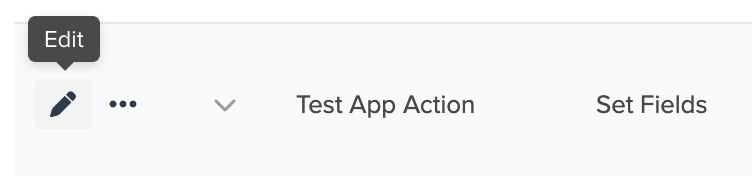
Select the “…” icon next to the app action name and click the ‘Edit’ button. Make your changes and save once you are done.
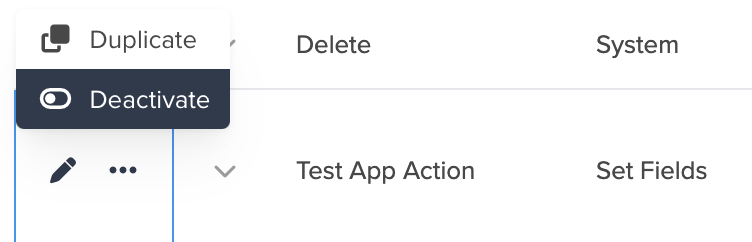
Deactivate / Activate App Action
Select the “…” icon next to the name of the app action and click on ‘Deactivate’. To start using it again, click the ‘Show deactivated’ checkbox to show all App Actions and click ‘Reactivate’ in the same menu you used previously.
Reorder App Actions
You can change the order in which the buttons appear on the detail page. Just click the ‘Reorder’ button and drag & drop your App Actions in the desired order. Then just save your changes.
Automations
In order for the App Actions to do something, it is necessary to create an Automation for them. There are different types of Automations available, from the creation of new records or tasks to more elaborate ones, like those based on Custom Code. To learn more about Automations and how to create them, please visit the following tutorial:
Automations
Form Rules for App Actions
You can create a set of conditions for App Actions. If those conditions are not met, then it doesn’t matter how many times you click the App Action button; nothing is going to happen. To learn more about them, please visit the following tutorial:
Form Rules
Access Control Lists
With servis.ai Access Control List (ACLs), you have the option to limit the access your team members have in your Apps, based on their Roles, in two different levels:
- Field – Limits write or read access to a specific field.
- Record – Limits create, delete, update, or read access to the records.
- Section – Limits write or read access to a specific section containing fields.
You can use conditions to further specify when a role should have limited access to those operations.
User Permissions: Only Administrators can use this feature.
Navigate to Access Control Lists
Go to Settings > Apps, then select your desired app and click on the ‘Access Control List’ tab. You can also use the search function to get there faster, just start typing ‘Access Control List’.
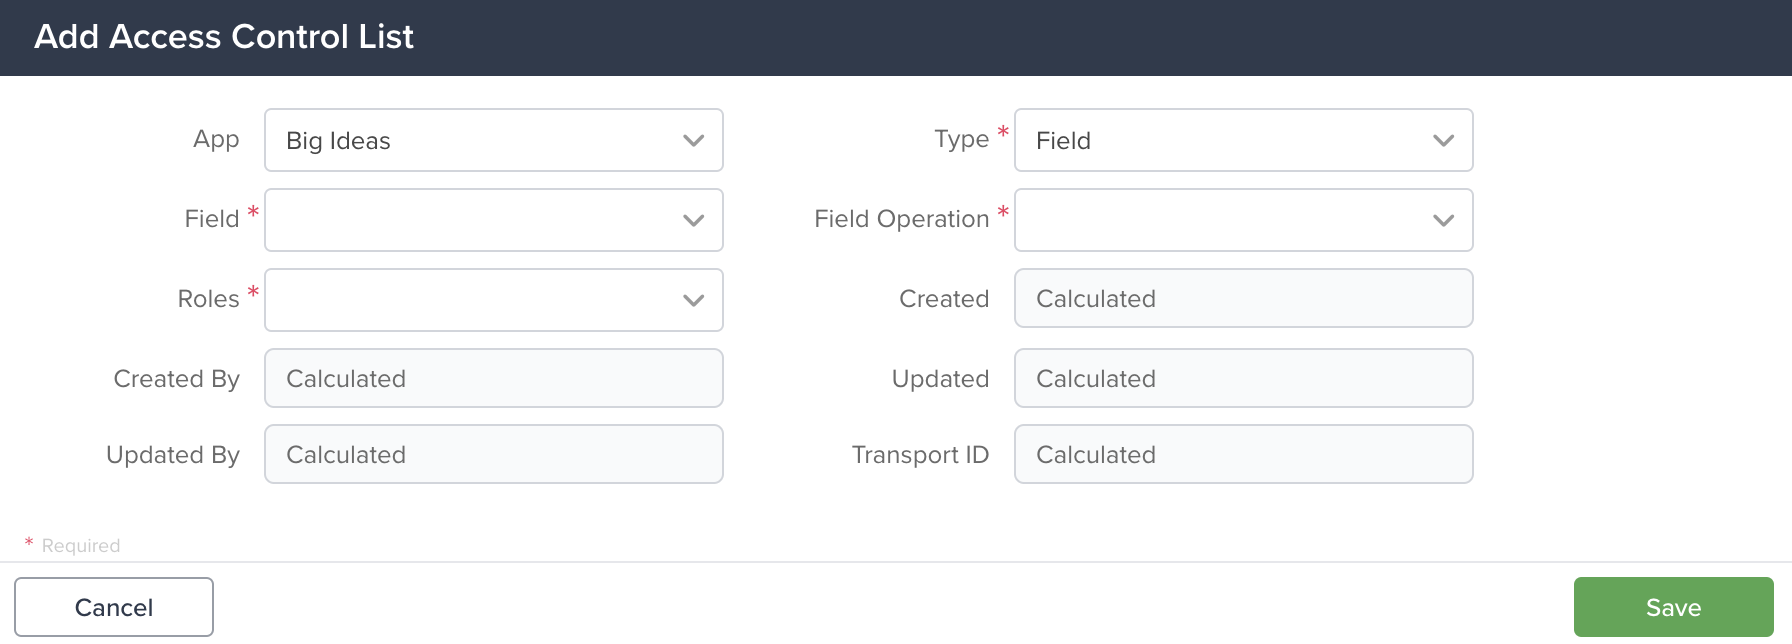
Create a New Access Control List (ACL)
To get started, click the ‘Add Access Control List’ button. Here is a detail of the information needed to create an ACL.

Next, if needed, you can create Conditions. These are especially useful when you expect the ACL to work only when certain circumstances occur.
| Field | Description |
| App | Select the App for which you want to create the ACL. |
| Type |
Field – The Access level will apply at the field level (selected field*). Record – The Access Level restriction will apply to the selected records. Section – The Access Level will apply to one or more App Sections. |
| Fields |
You can select multiple Fields to use for the ACL. |
| Field Operation (only appears when ‘Field’ is chosen for the type) |
Operations can be Read-Only & Hidden |
| Record Operation (only appears when ‘Record’ is chosen for the type) |
Operations can be CREATE, READ, UPDATE, DELETE |
| Section Operation (only appears when ‘Record’ is chosen for the type) | Operations can be Read-Only & Hidden |
Conditions
Note: conditions can only be created for ACLs for Records.
You can define conditions for Access Control Lists to tailor access permissions precisely. These conditions are inclusive, meaning all specified rules must be met for the ACL to take effect. To create conditions, select ‘Records’ from the ‘Type’ dropdown, and then click ‘+ Add Filter By’ to configure your custom rule set.
The operators will vary according to the type of field selected. Here is the list of those available:
| Operator | Description |
| Is, Is Not |
The selected value is included (IS) or excluded (IS NOT) from the filter results.
|
| Exists, Does not Exist |
(Exists) can be any value for the selected record. (Does not Exist) No value exists for the selected record. |
|
Contains, Does not Contain |
Filters results based on whether the selected field includes (Contains) or excludes (Does not Contain) the specified value. |
| Starts With |
Filters results to include only records where the selected field begins with the specified value. |
For a full list and guide with Operators and Filters, take a look at Filter, Sort & More.
Special Considerations
There are some things to keep in mind when creating ACLs.
- When creating an ACL of Record type, remember to include ‘Read’ permissions for create operations if the goal is to allow users to view the newly created record.
- When creating an ACL of Record type, remember to include ‘Read’ permissions for delete operations.
- When creating an ACL of Record type, remember to include ‘Read’ permissions for update operations.
- Each row in the conditions acts as an ‘And’.
For more information on Access Control Lists, see the following articles:
Automations
Automations help you and your organization do more, automatically. You can use them to:
- Assign Work
- Do Work Automatically
- Integrate servis.ai with other systems or processes.
User Permissions: Only Administrators can create automations.
Navigate to Automations
Go to Settings > Advanced > Automations.
Create a New Automation
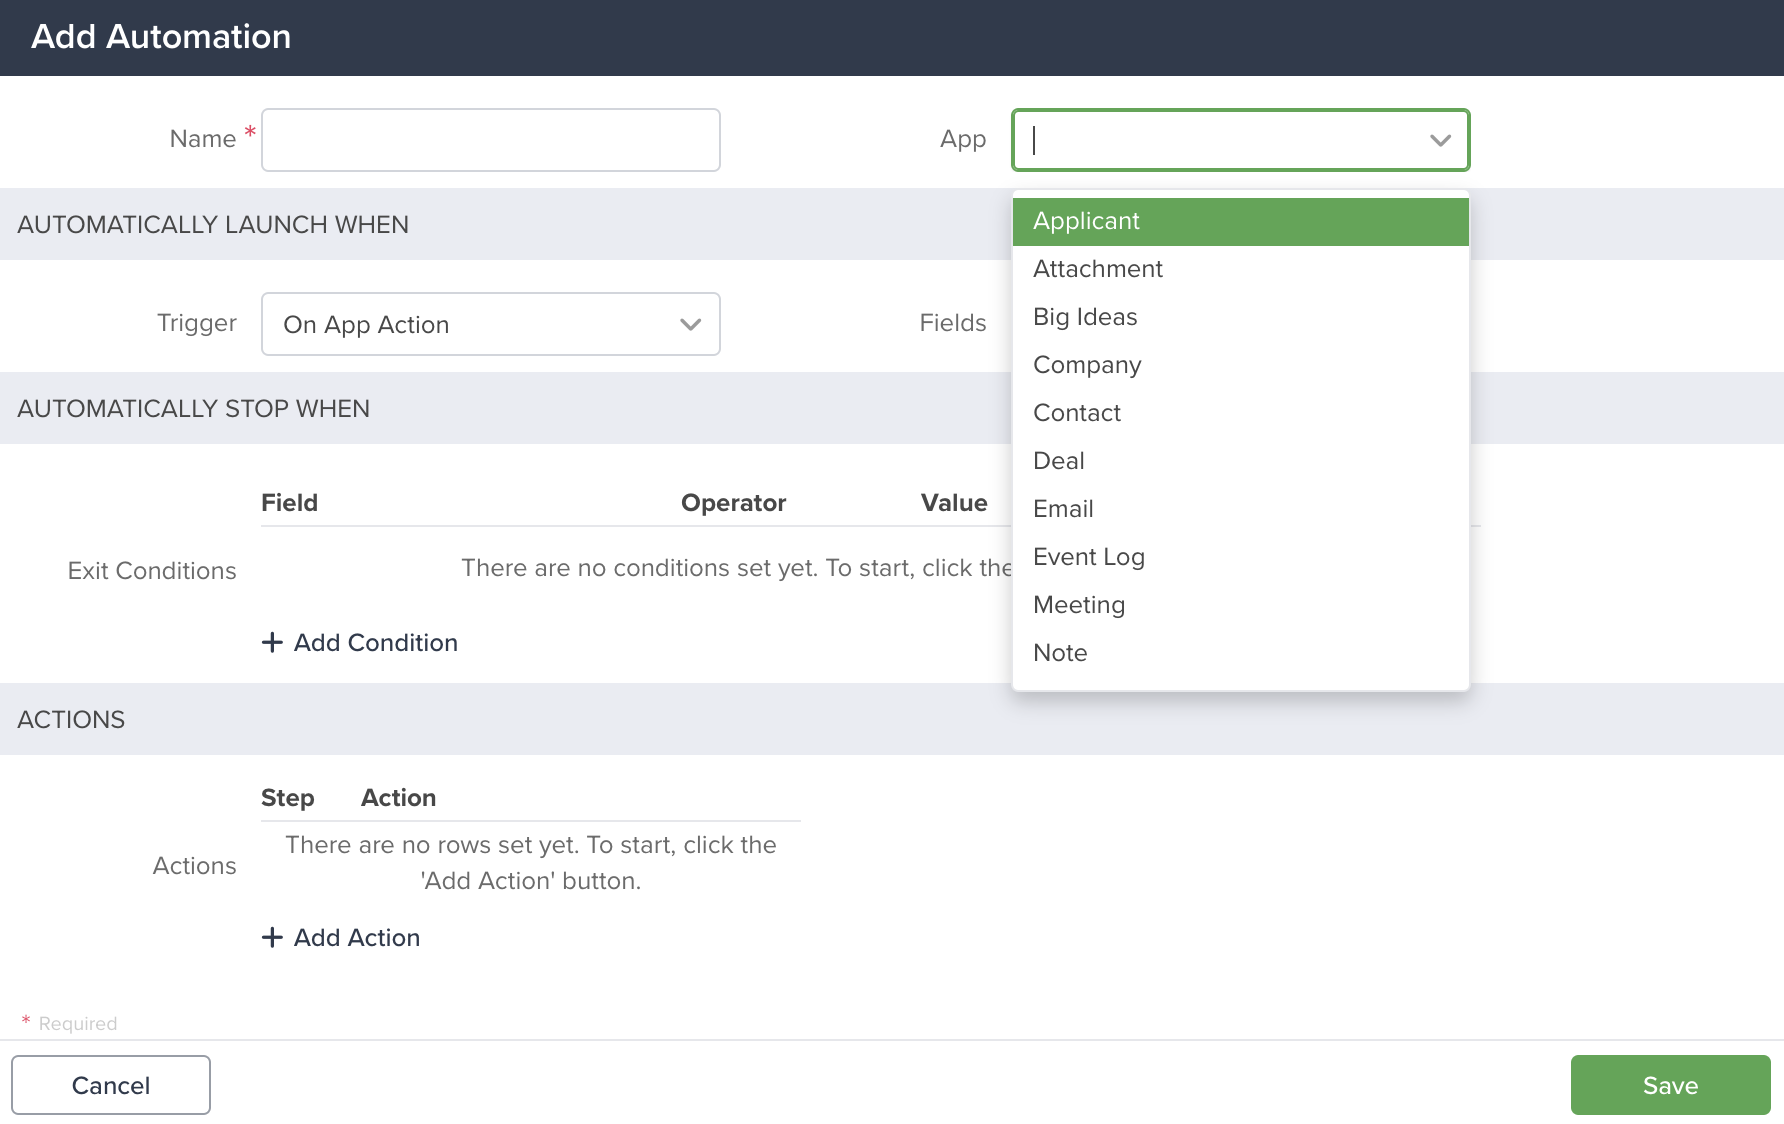
To get started, click the ‘Add Automation’ button.
Give your automation a name and select the App for which you are creating it.
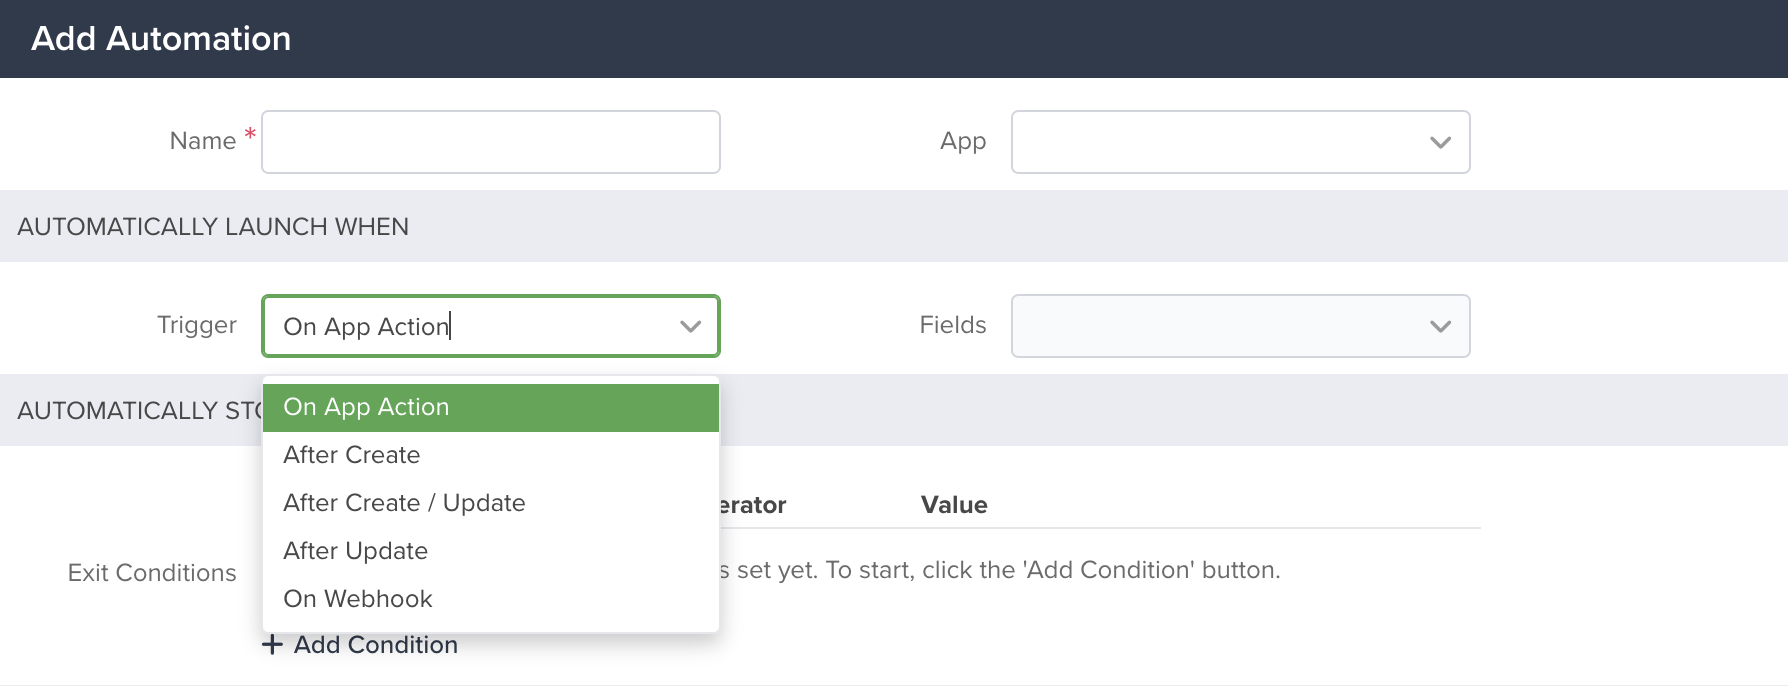
Choose a Trigger
Now you will specify when this automation should be triggered. The following table describes each trigger option available in this step.
| TRIGGER | DESCRIPTION |
| Before Create | Action to be performed before a new record is created. It’s best used as a validation step. |
| Before Create / Update |
Combines the ‘Before Create’ and ‘Before Update’ triggers into a single one. Recommended when a single automation needs to consider both scenarios. Under fields, you will need to select one or multiple fields that will be used to trigger the workflow if they are updated and match the conditions (if available). |
| Before Update | Action to be performed before a record is updated. It’s best used as a validation step. |
| On App Action | As soon as you click the App Action Button, the automation will be triggered. |
| After Create | As soon as you create a new record on the specified App, the automation will occur. |
| After Create / Update | Combines the ‘After Create’ and ‘After Update’ triggers into a single one. Recommended when a single automation needs to consider both scenarios |
| After Update | When a change in the selected field is detected, the automation will take place. |
| On Webhook | Requires Webhook. The automation will occur as soon as the Webhook gets triggered. |
| Schedule Chron | Think of this as a recurring event; you will be able to specify how often you want the automation to occur. This value is based on the Crontab system. Set this value with your current time zone in mind, not UTC. |
| Schedule Field | A single event is triggered on a specific date, determined by the field selected. |
Note: For all triggers that include an ‘Update’, you will need to select one or multiple fields that will be used to trigger the automation if they are updated and match the conditions (if available).
To learn more about App Actions, please visit the following tutorial:
App Actions
Automations are a powerful tool within servis.ai. To learn more, see the following article:
